
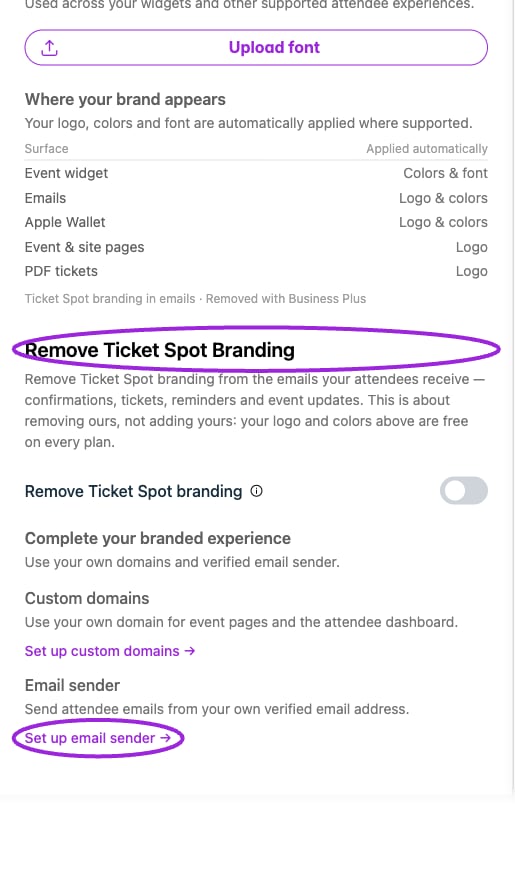
Design → Brand includes Remove Ticket Spot Branding and shortcuts to custom domains and email sender identity.
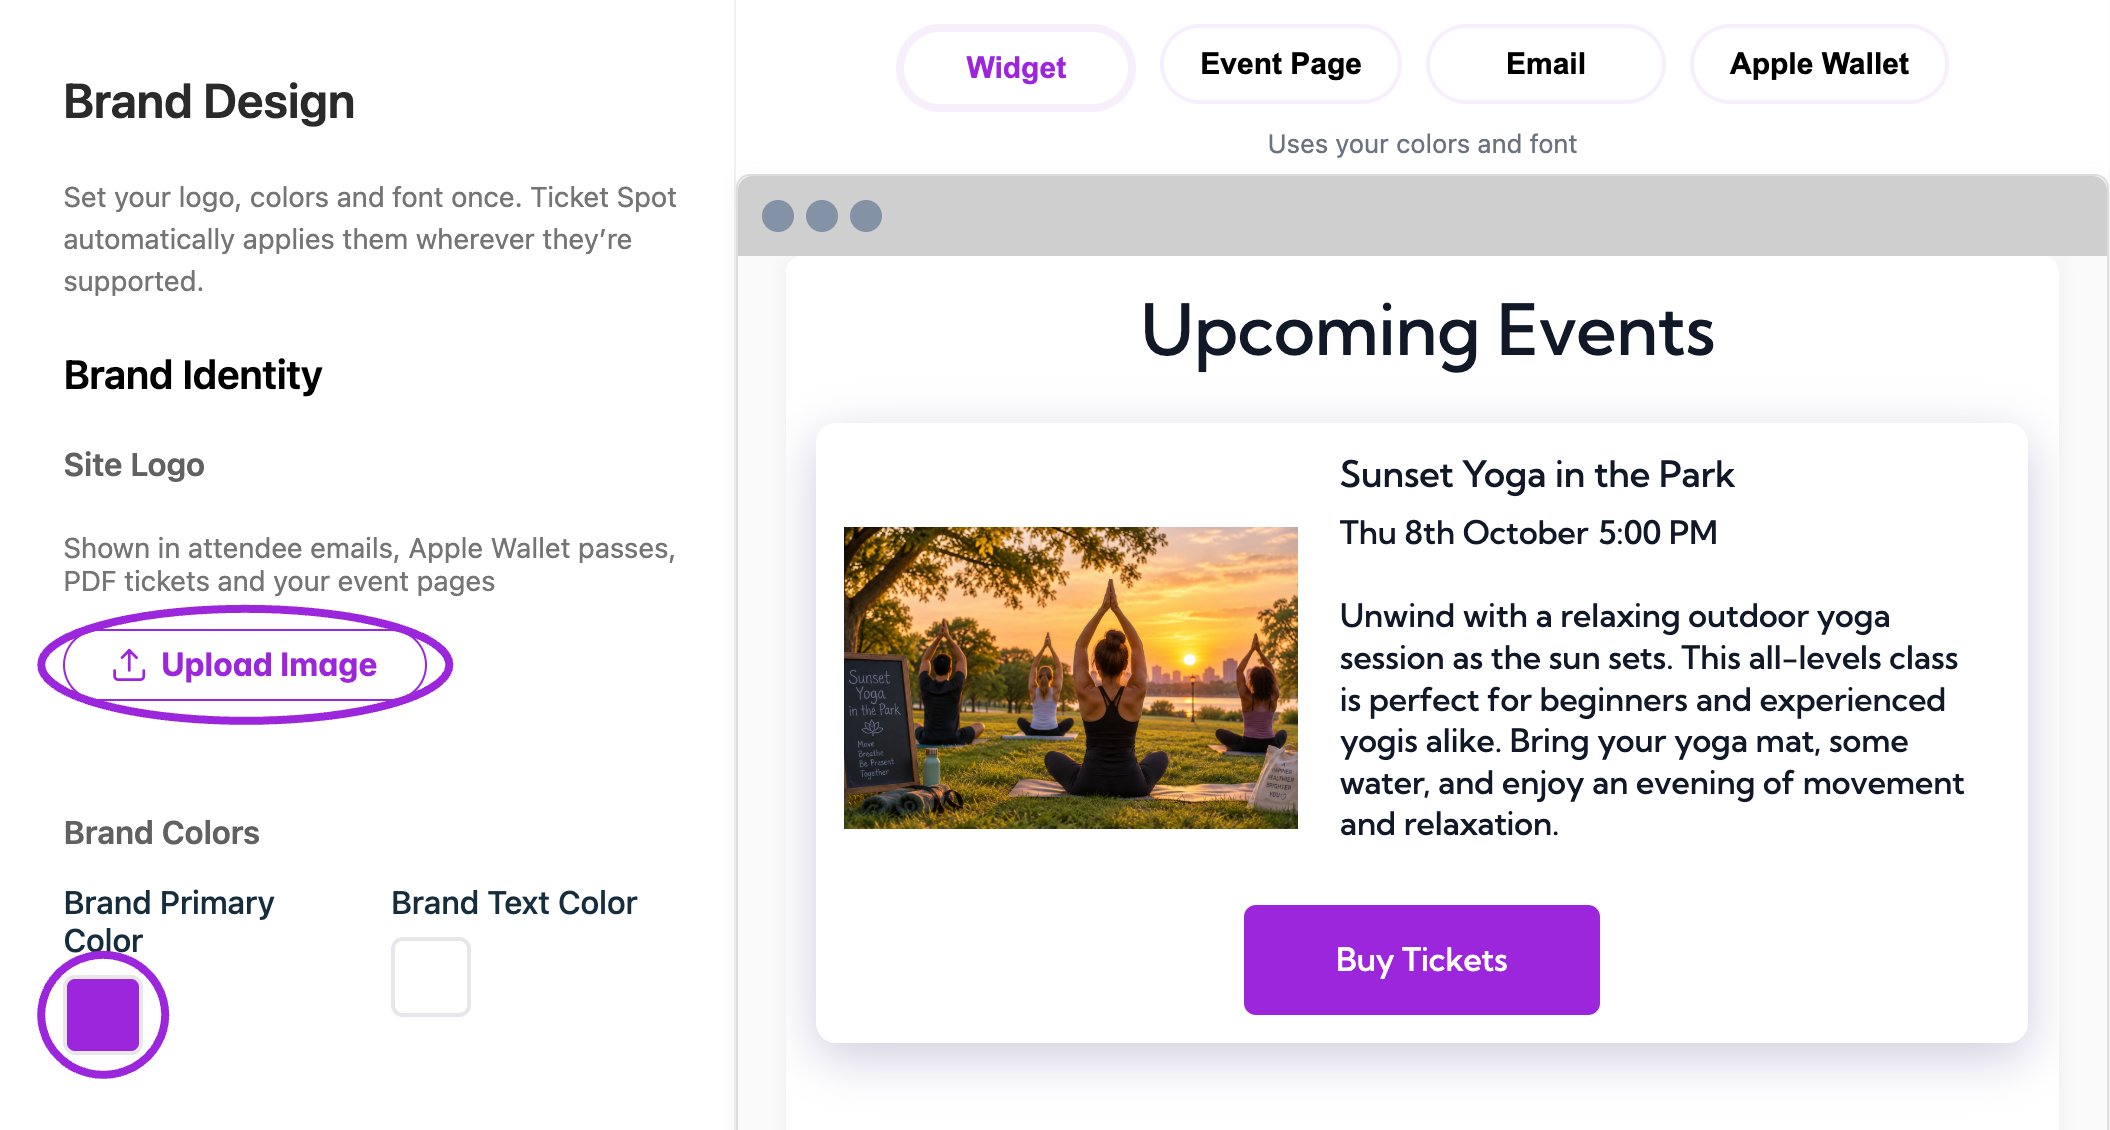
Design → Brand contains the logo upload, shared brand colors, and a live preview.
- Open Design → Brand and set your logo and shared colors. Follow Brand setup.
- Select Your Brand where available and review Widget, Site, and Event Page previews. Set any surface-specific images, text, and layouts.
- In Tickets & Passes, check Ticket PDF, Receipt PDF, Membership PDF, wallet, and printer templates used by your events.
- In Attendee Communication, review confirmations, reminders, approval messages, and other enabled templates.
- Set Remove Ticket Spot Branding where included. This Brand control affects the email footer’s Ticket Spot content; separately inspect the other surfaces you use.
- Configure Attendee Ticket Page sections and actions to fit your support and transfer policy.
- Connect your event and attendee dashboard domains and sender identity.
- Walk through a booking on the published website, then inspect the confirmation, attached ticket, wallet pass, and attendee portal on a phone.