Edit Event
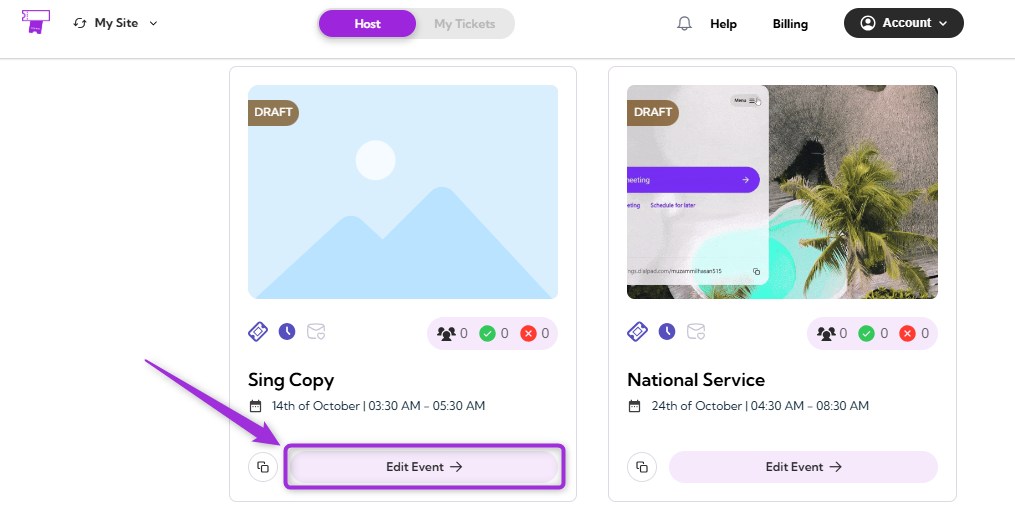
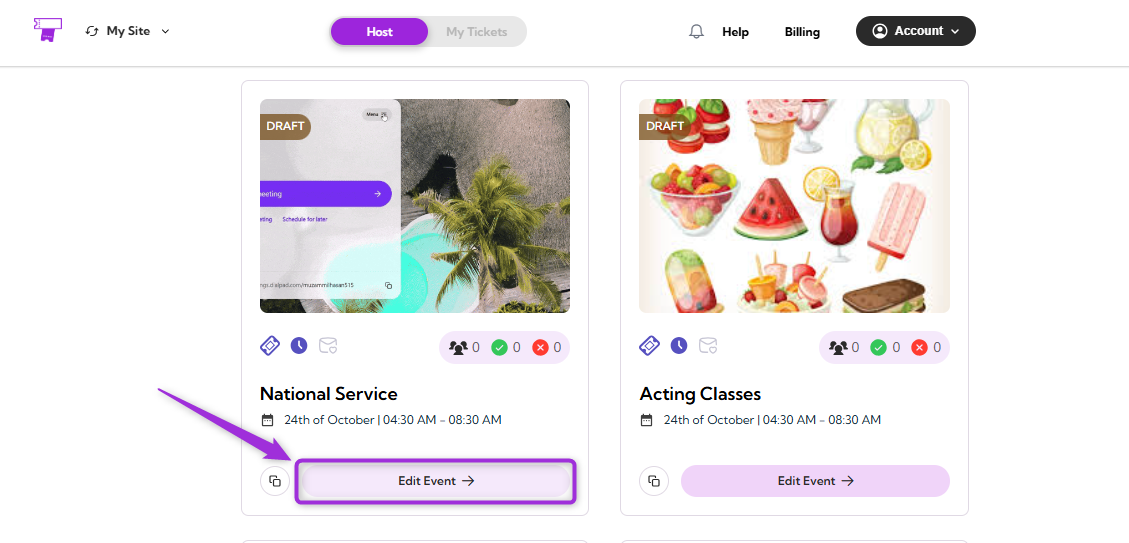
To make changes to an existing event, select the event you want to edit from your event dashboard and click Edit Event. You can update details such as the event title, description, date, time, venue, waitlist, and other key information. After reviewing your updates, click Save to apply the changes. The dashboard will refresh automatically, displaying the updated event details.
Cancel Event
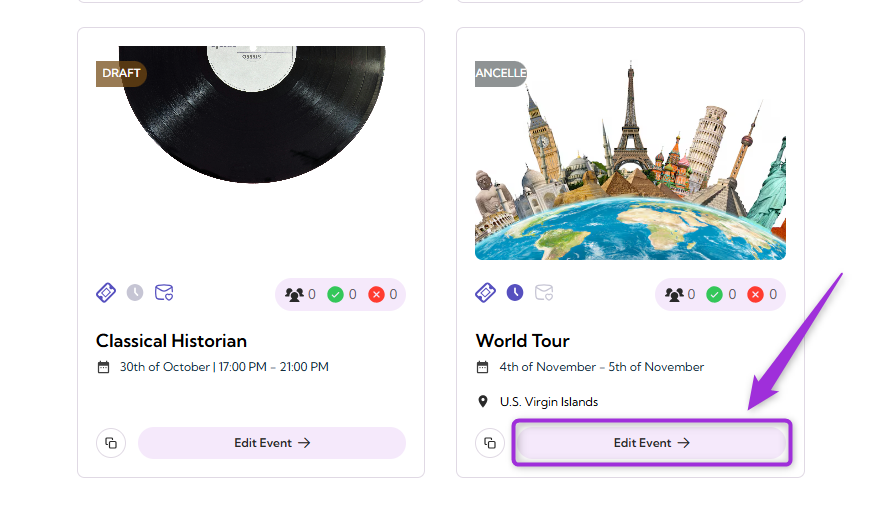
If you want to remove an event from your dashboard without deleting it permanently, you can use the Remove Event option. This hides the event from your active listings while keeping its data stored for future access or reactivation.- Select the event you want to remove from your event dashboard and click on the Edit Event.
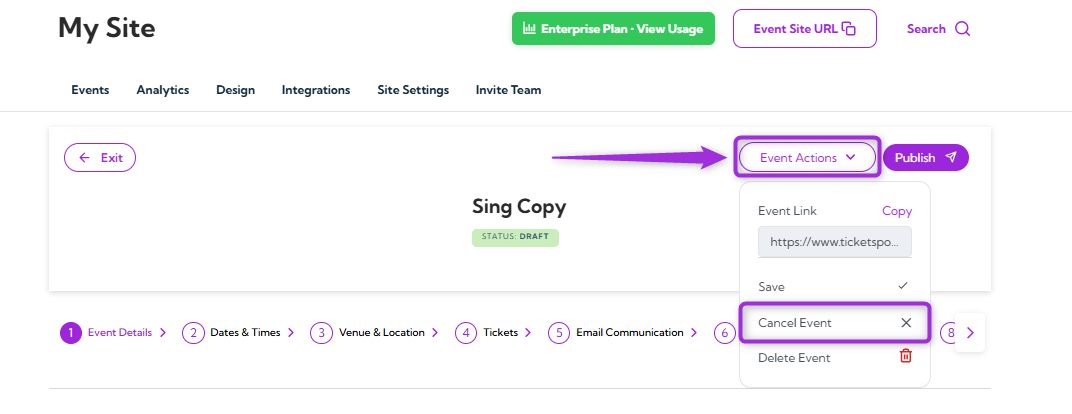
- Click on the Event Actions at the top-right corner of the event page and select Cancel Event.
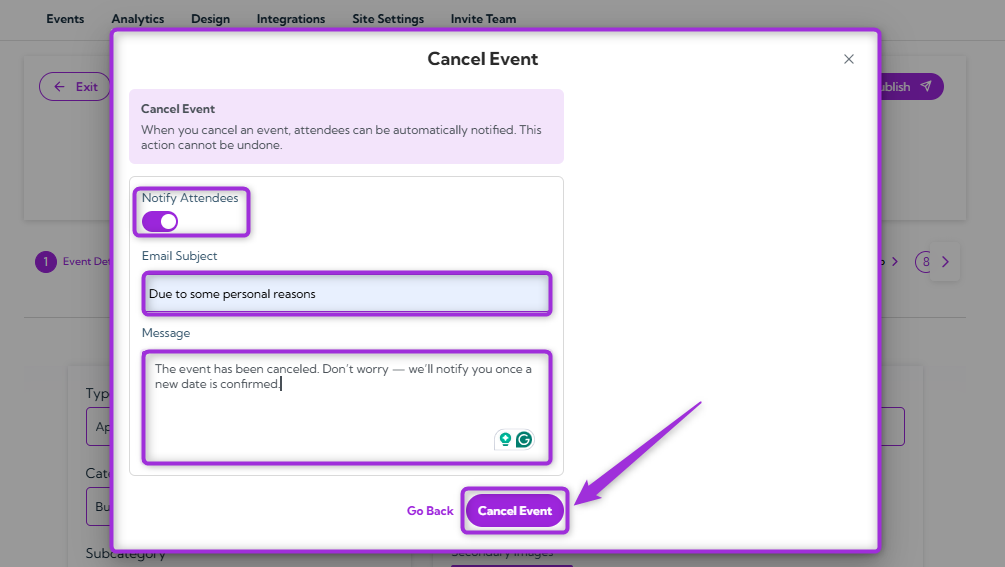
- If you want to notify attendees about the event cancellation, keep the toggle on, enter an email subject and message, and click on Cancel Event to confirm.
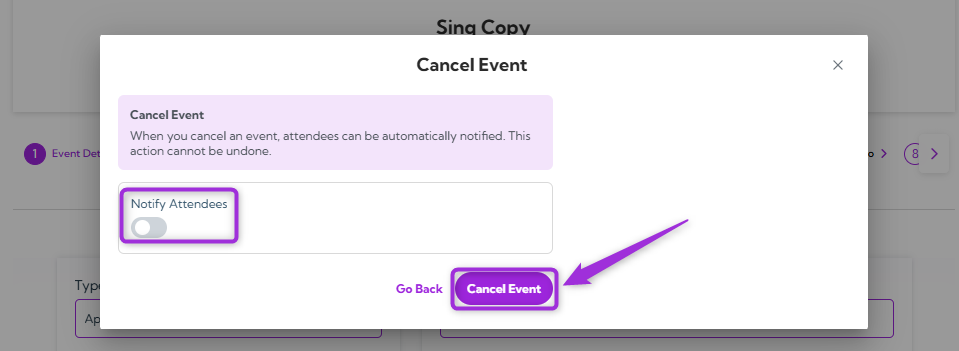
- If you don’t want to notify attendees, turn the toggle off and click Cancel Event to confirm the cancellation.
Note: Cancelling an event only removes it from your active dashboard and marks it as Cancelled. It’s not deleted and can be restored later if needed.
Restore Event (as Draft)
If you want to bring back a previously canceled or removed event, you can restore it as a draft. This allows you to make updates before publishing it again.- Select the event you want to restore from your event dashboard and click on Edit Event.
- Click on the Event Actions at the top-right corner of the event page and select Restore as Draft.

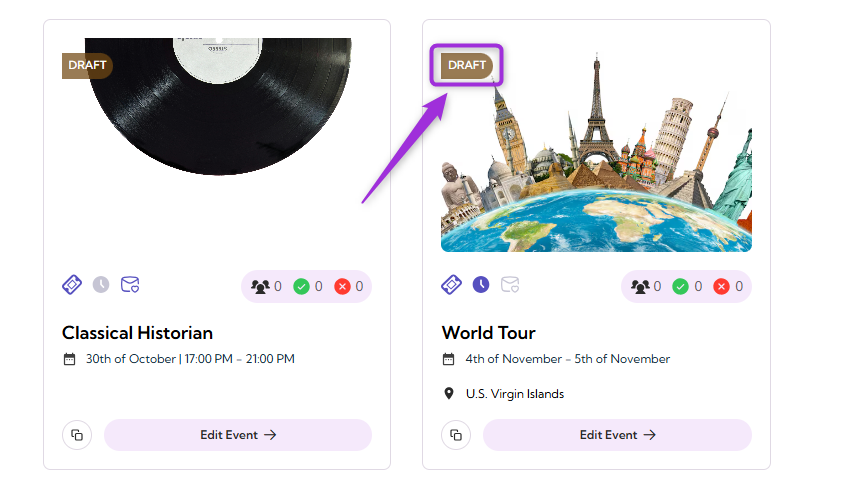
Note: Restored events remain in draft mode until you manually publish them. Review all event details carefully before making it live again.
Delete Event
If an event is no longer required, you can permanently remove it from your dashboard to keep your event list organized and up to date. Deleting an event ensures that all related data is removed from your account.- Select the event you want to delete from your event dashboard and click on Edit Event.
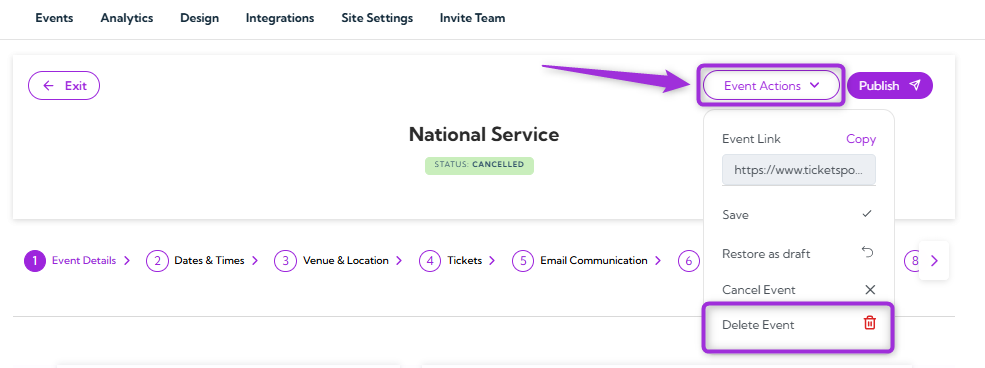
- Click on the Event Actions at the top-right corner of the event page and select Delete Event.
- A confirmation window will appear — review the message carefully, then click Delete Permanently to remove the event.
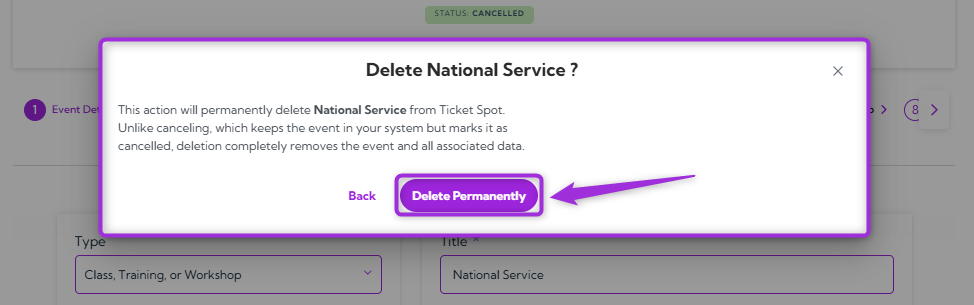
Note: Unlike canceling, which keeps the event in your system but marks it as canceled, deleting completely removes it and all associated information. Once confirmed, the event cannot be restored.
Copy Event Link
The Copy Event Link feature allows you to easily share your event with others. Whether you want to send the link via email, post it on social media, or share it directly with others, this option makes it quick and easy to distribute your event details. Click on the Event Actions at the top-right corner of the event page and choose Copy Link.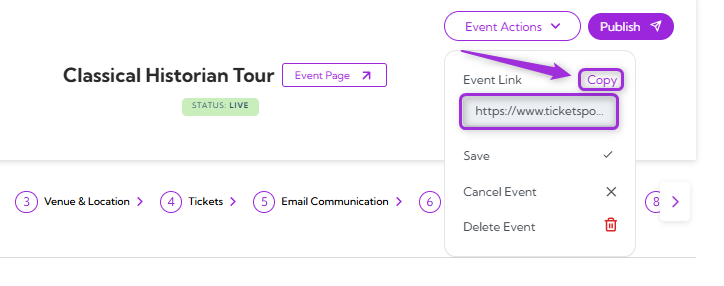
Save Event
The Save Event option lets you save any changes made to the event without publishing it right away. This keeps your event in draft mode, allowing you to make further updates later. Simply click Save Event to store the changes until you’re ready to publish the event.
Publish Event
Once your event is finalized and ready to be visible to attendees, click Publish Event at the top-right corner of the event page.