Navigation
Step 1: Log in to your Ticket Spot account and click on the Design tab.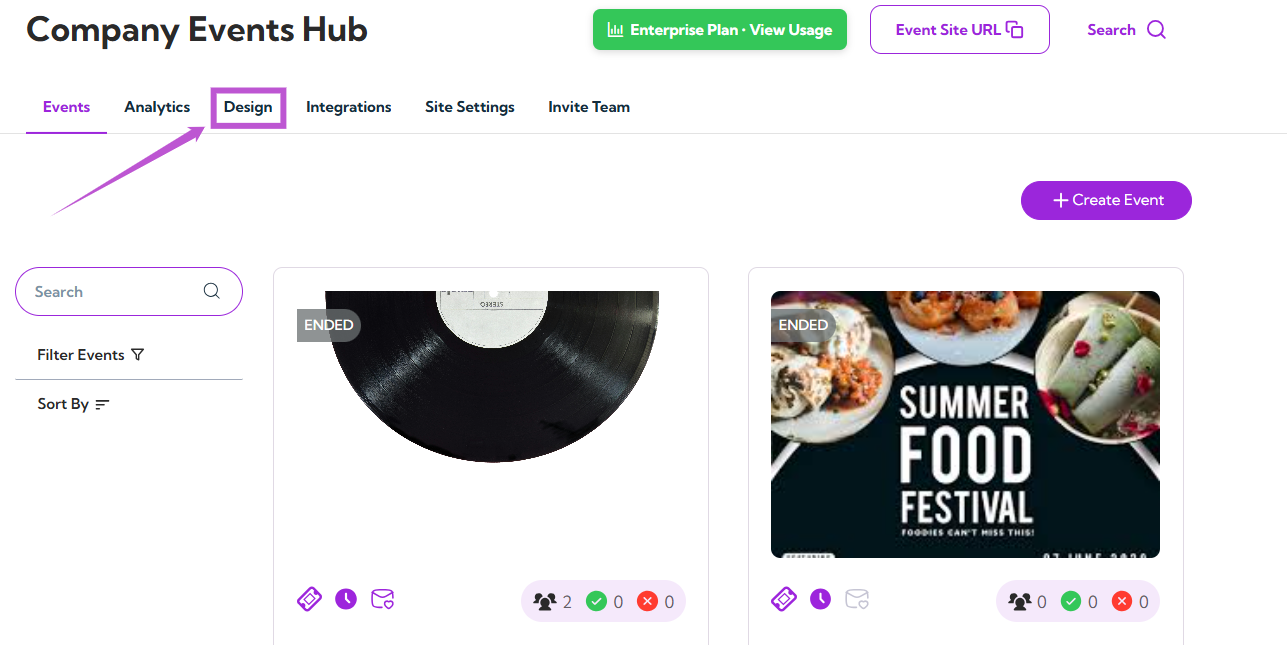
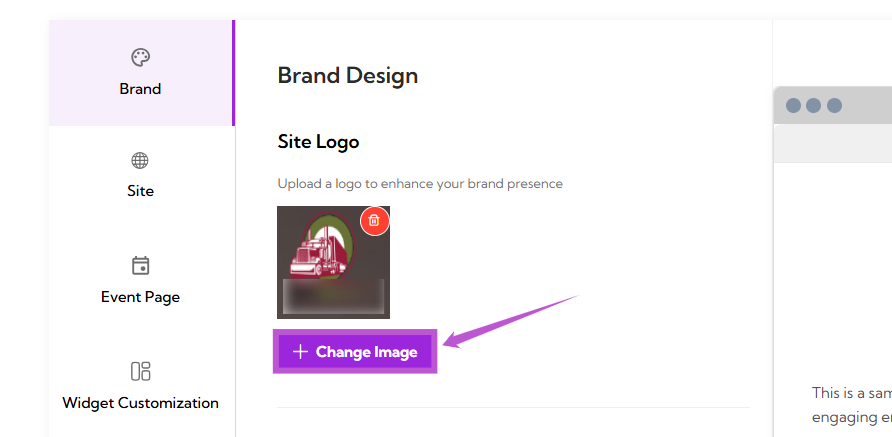
Site Logo
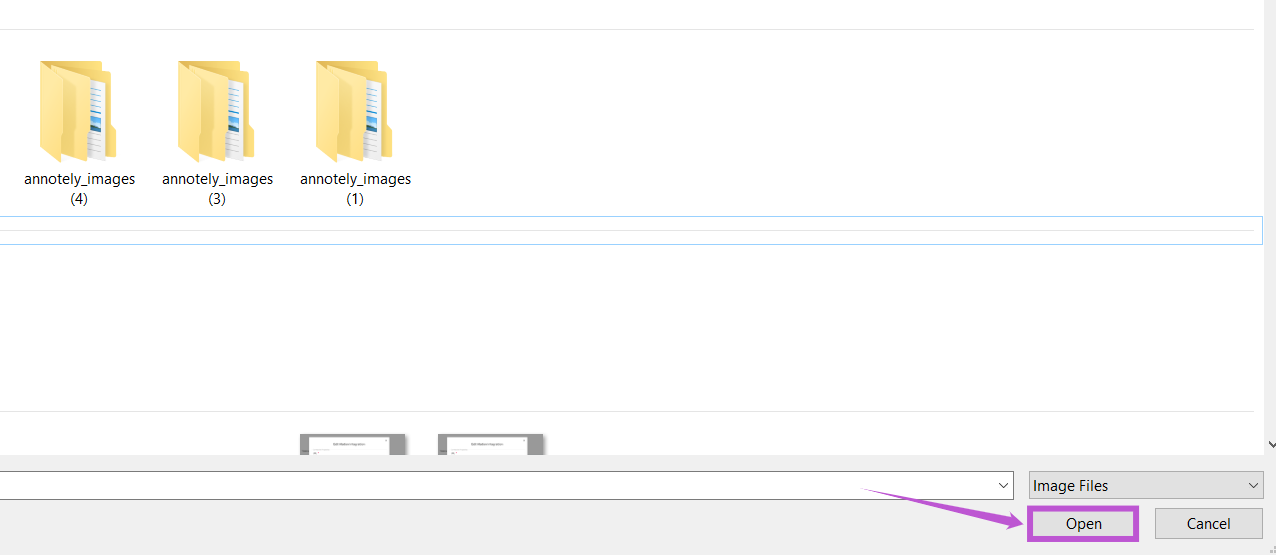
The Site Logo section allows you to upload or change the logo that represents your event page. Step 1: Click on the Upload Image button.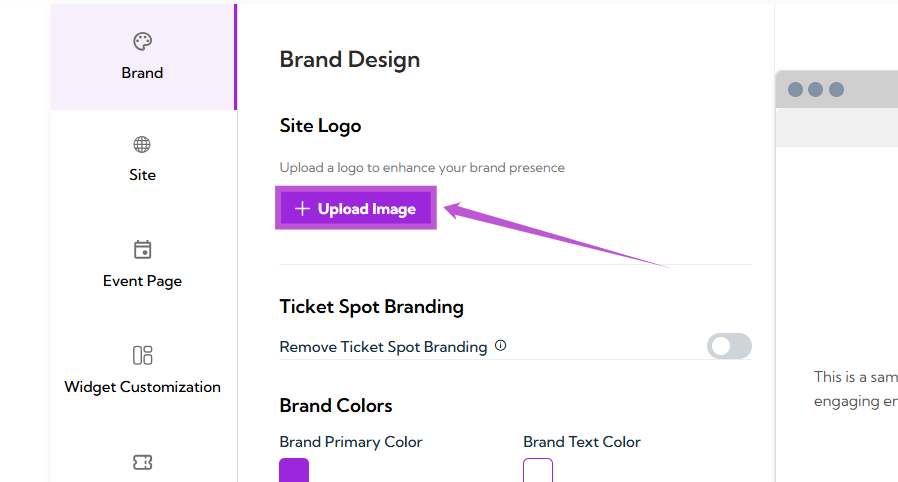
Ticket Spot Branding
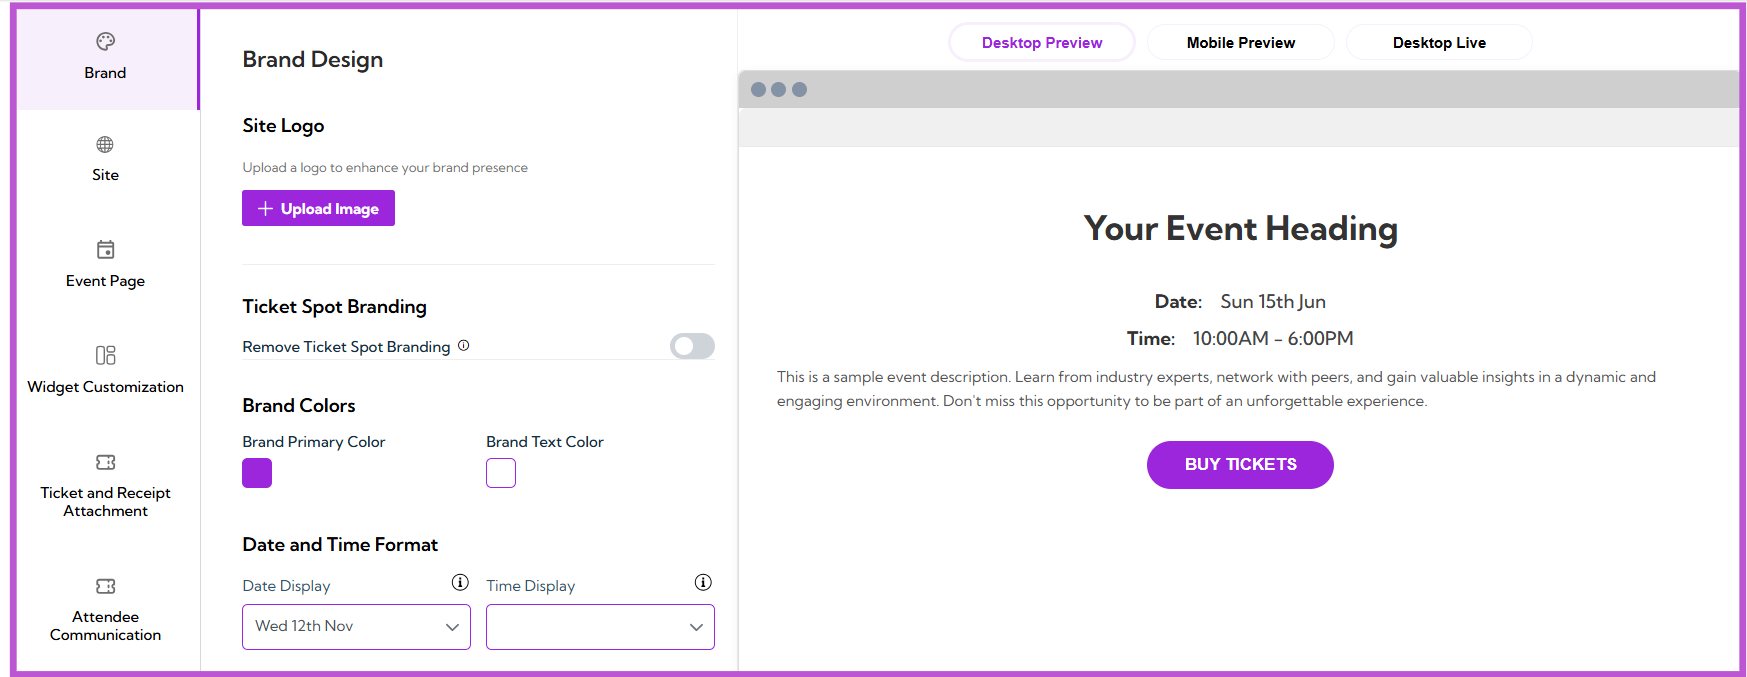
In the Ticket Spot Branding section, you can decide whether or not to show Ticket Spot branding on your event page.
Brand Colors
In the Brand Colors section, you can customize the colors used on your event page to align with your branding.- Brand Primary Color: Click on the color box next to Brand Primary Color to select the main color for your event page (e.g., buttons, accents).
- Brand Text Color: Click on the color box next to Brand Text Color to select the color for the text on your event page.
Date and Time Format
In the Date and Time Format section, you can customize how the date and time appear on your event page.- Date Display: Click on the dropdown menu next to Date Display to choose how you want the date to be shown (e.g., “Wed 12th Nov”).
- Time Display: Click on the dropdown menu next to Time Display to choose the preferred format for displaying the time (e.g., “1:34 PM”).
Preview Your Customizations
After making changes to your event page design, you can preview how it will look on different devices:- Desktop Preview: Click on the Desktop Preview tab to see how your event page will appear on desktop devices.
- Mobile Preview: Click on the Mobile Preview tab to view how your event page will look on mobile devices.
- Desktop Live: Click on the Desktop Live tab to view a live version of your event page.
Tip: Use the Desktop Preview and Mobile Preview to ensure your design looks good on all screen sizes before going live.