
1
Install and activate
Install the Ticket Spot plugin in WordPress, then activate it. If installing from a supplied ZIP, use Plugins → Add New → Upload Plugin, upload the package, and activate it.
2
Connect your site
Open Settings → Ticket Spot, sign in, and choose or create the Ticket Spot site for this website. In Ticket Spot, open Design → Widget, choose the widget in Editing Widget, then open Installation → WordPress and copy its generated shortcode.
3
Add the shortcode
Edit the WordPress page and add a Shortcode block. Paste the generated shortcode. Its format is:Use your actual widget ID, not an event ID or site ID.
4
Publish and test
Update or publish the page and open it as a visitor. Verify the event list loads, an event opens, and ticket selection reaches the expected checkout. Check desktop and mobile views.
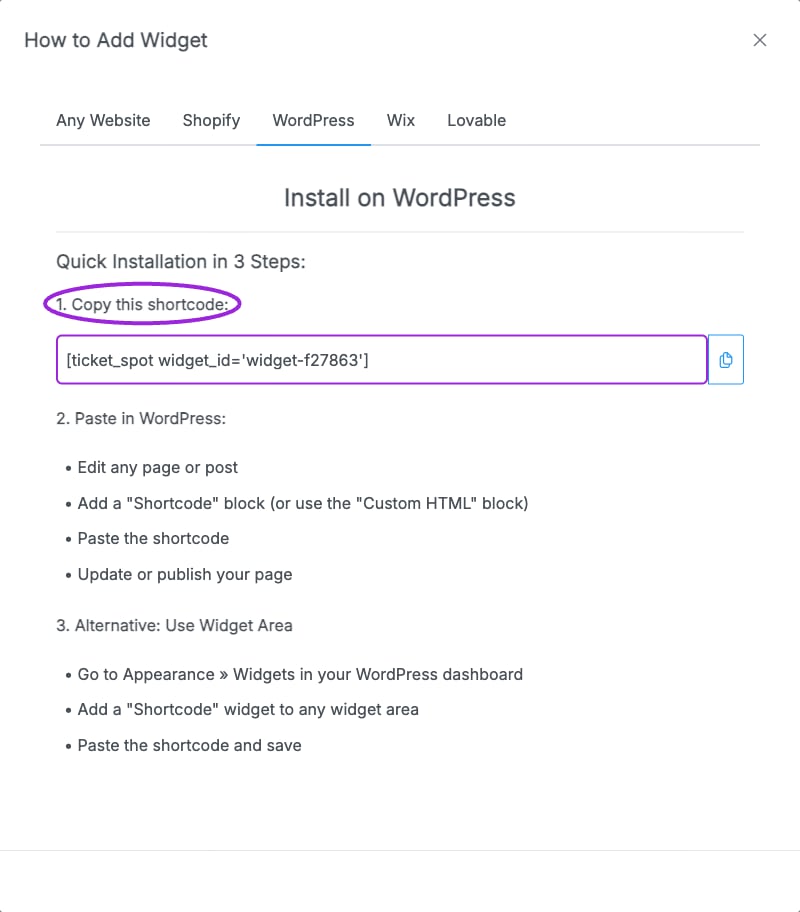
The WordPress installation tab gives the shortcode for the selected widget. Copy it into a Shortcode block on a site with the Ticket Spot plugin active.