Navigation
Step 1: Log in to your Ticket Spot account and click on the Design tab.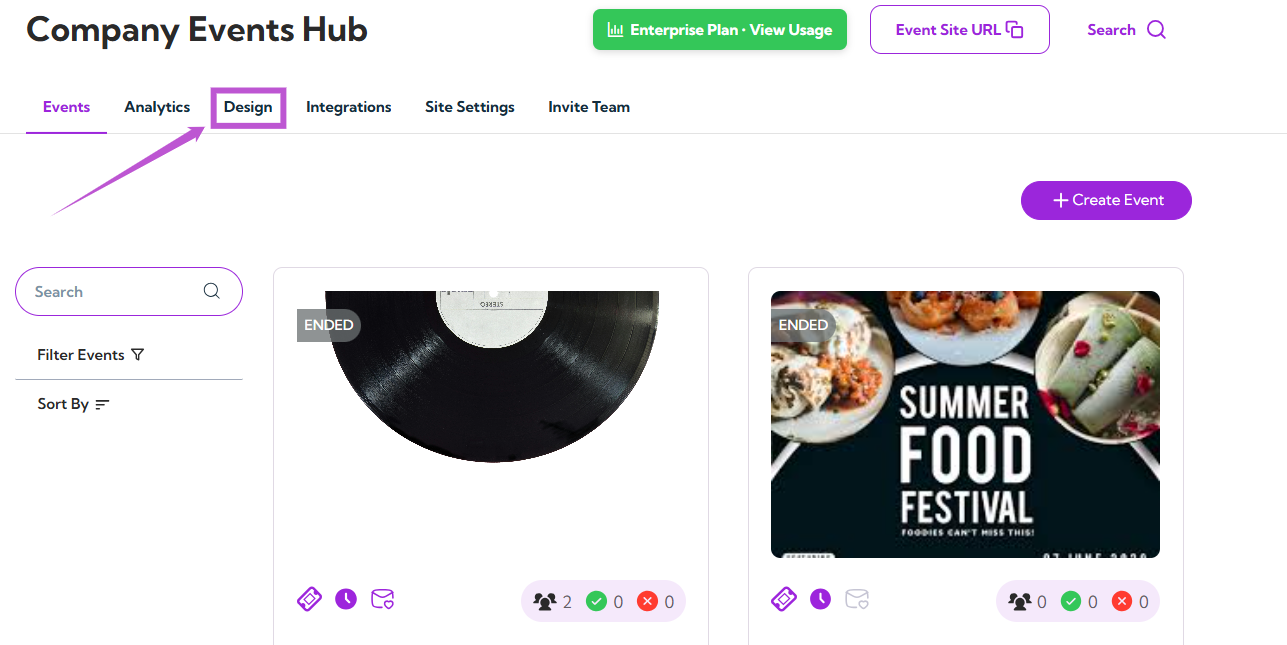
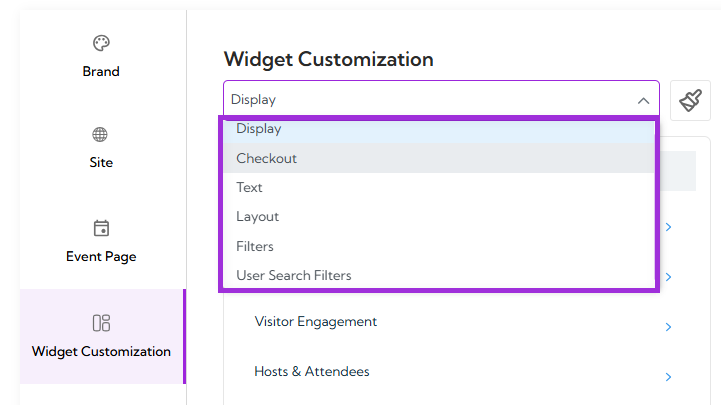
- Display
- Checkout
- Text
- Layout
- Filters
- User Search Filters
Create & Install Widget
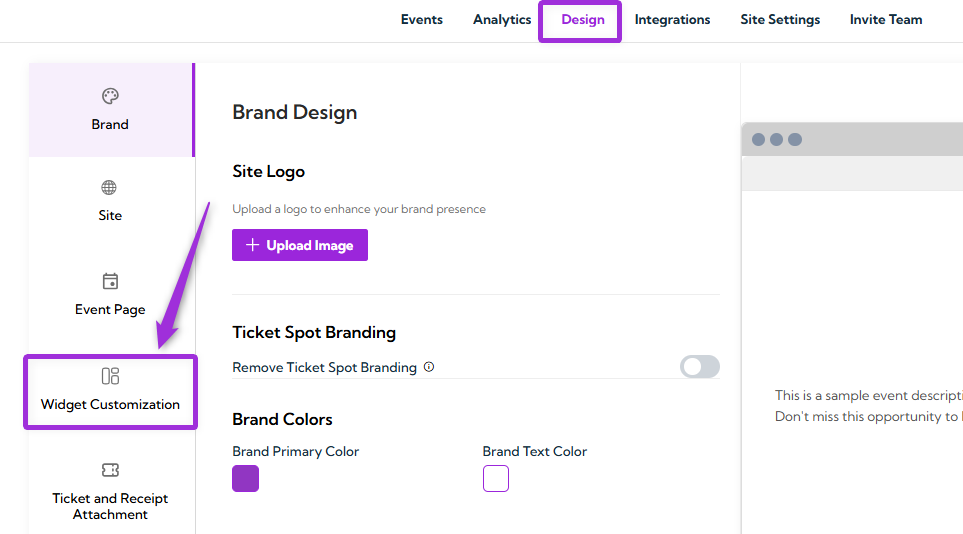
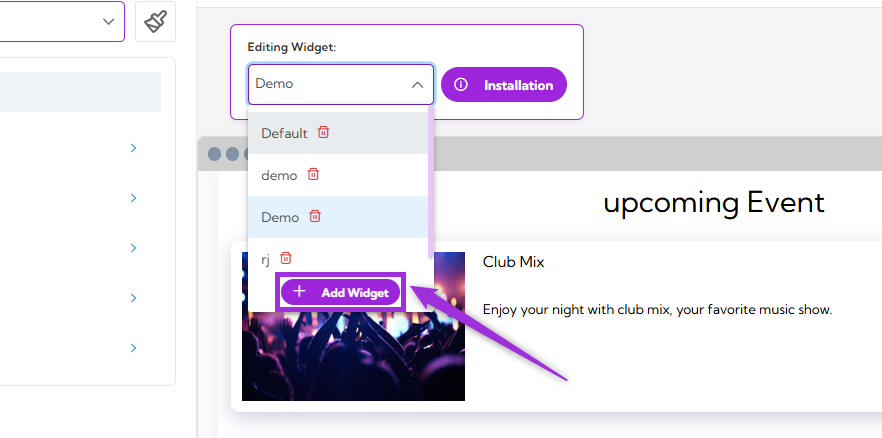
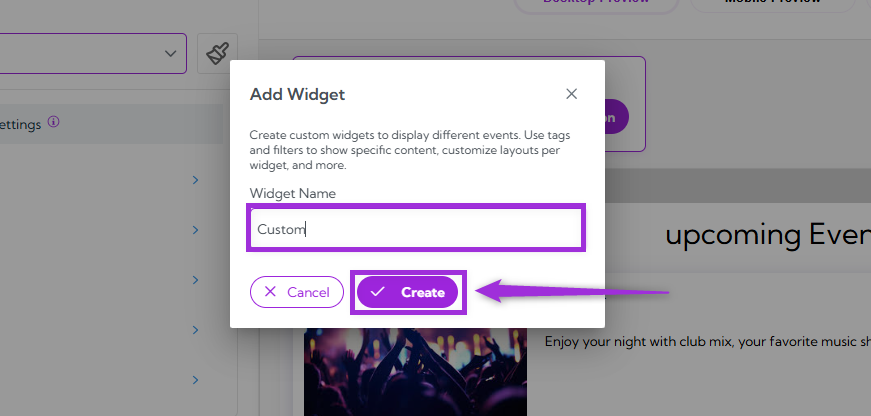
Widgets allow you to display your events anywhere—your website, Shopify store, WordPress site, or Wix pages. By creating different widgets, you can customize layouts, apply filters, and show specific event groups using tags. This helps you control exactly how your events appear across different pages and platforms. Create a Widget Step 1: Click on the Editing Widget dropdown at the top of the page to view all your existing widgets.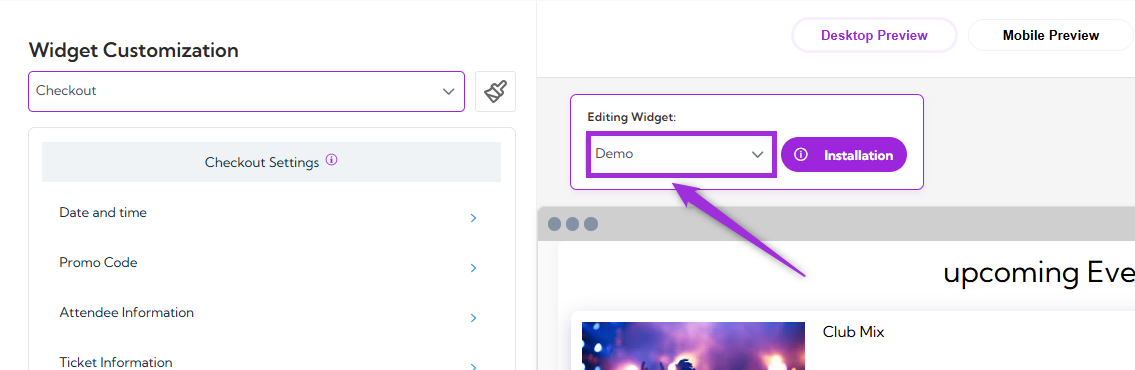
Design Settings
Design Settings control the visual style of your widget. Use this section to change colors, fonts, and how different parts of your widget look.- Click on the paintbrush icon at the top-right corner of the Widget Customization page.
- You can choose a theme such as Ticket Spot or Your Brand. These themes apply preset color palettes and styles to your widget.
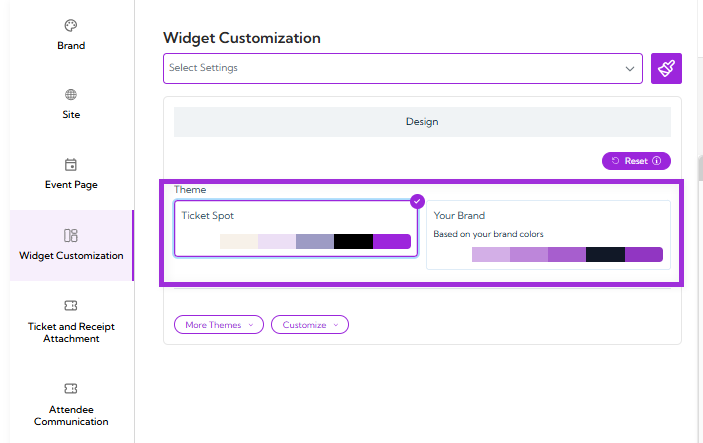
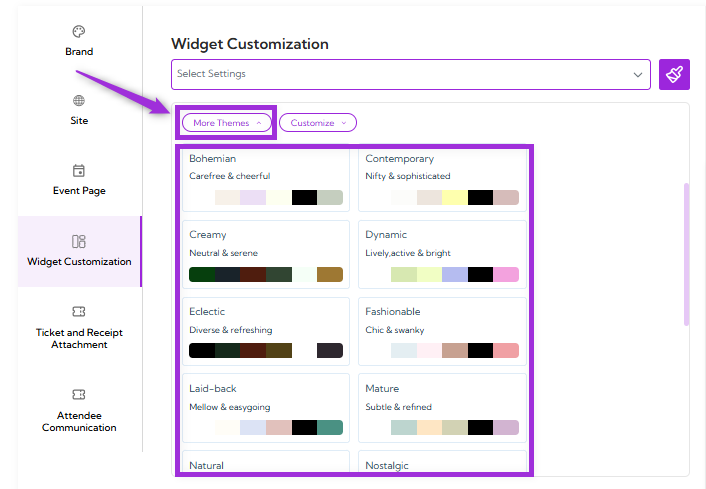
- You can click More Themes to select from several pre-built theme options. Each theme gives your widget a different visual style.
- You can also use the Customize option to adjust individual design elements. Here you can change opacity, desktop text colors, mobile text colors, button styles, calendar appearance, attendee form styling, checkout appearance, multi-day selection, and more.
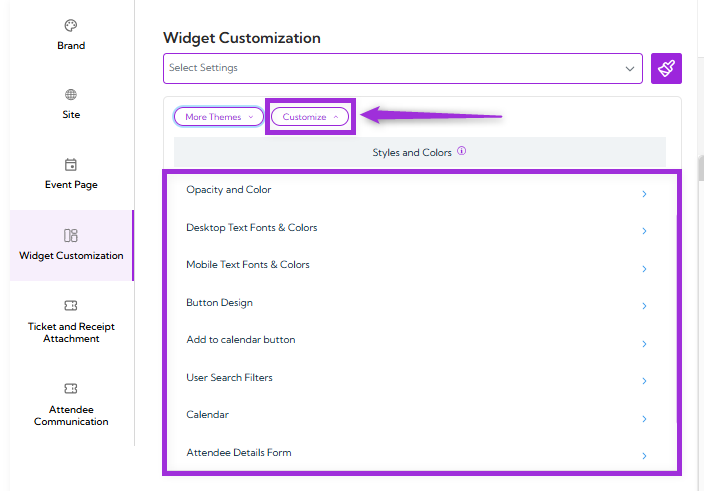
- Click on the arrow icon next to the setting you want to customize, and make your changes based on what fits your design.
