Let’s get started 🚀
Navigation
Step 1: Click on the site name in the top-left corner, open the dropdown menu, and select + Add New Site to start adding a new site.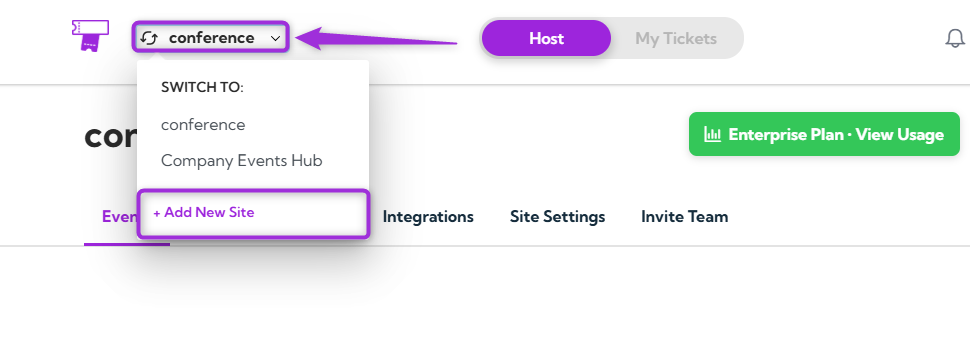
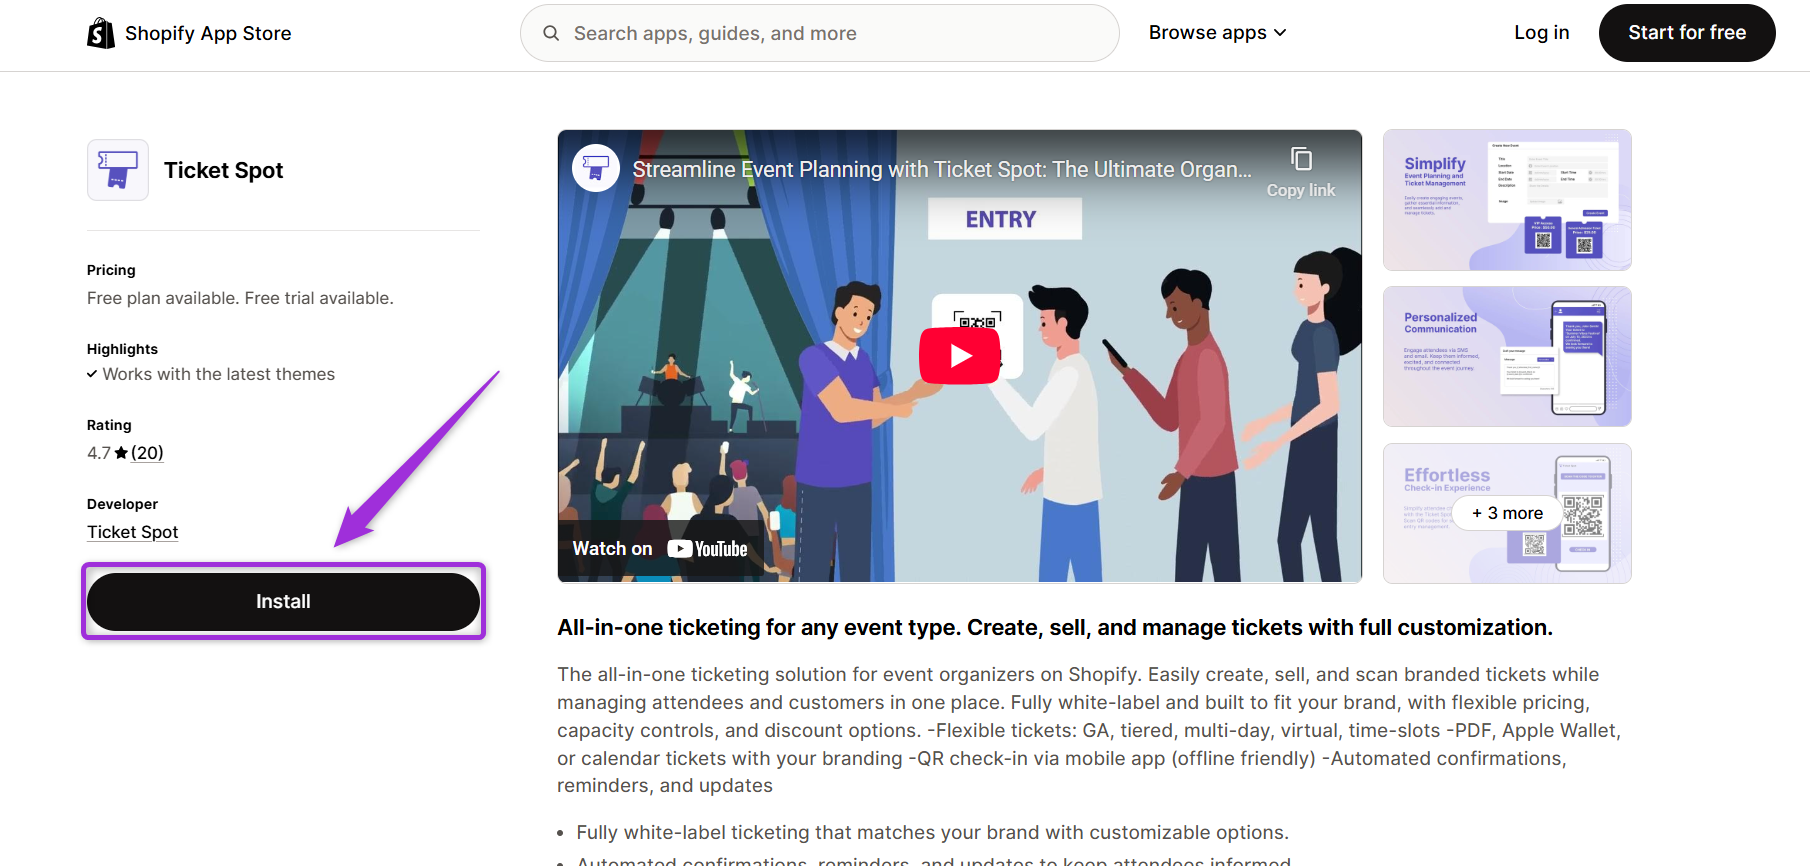
Install the Ticket Spot App
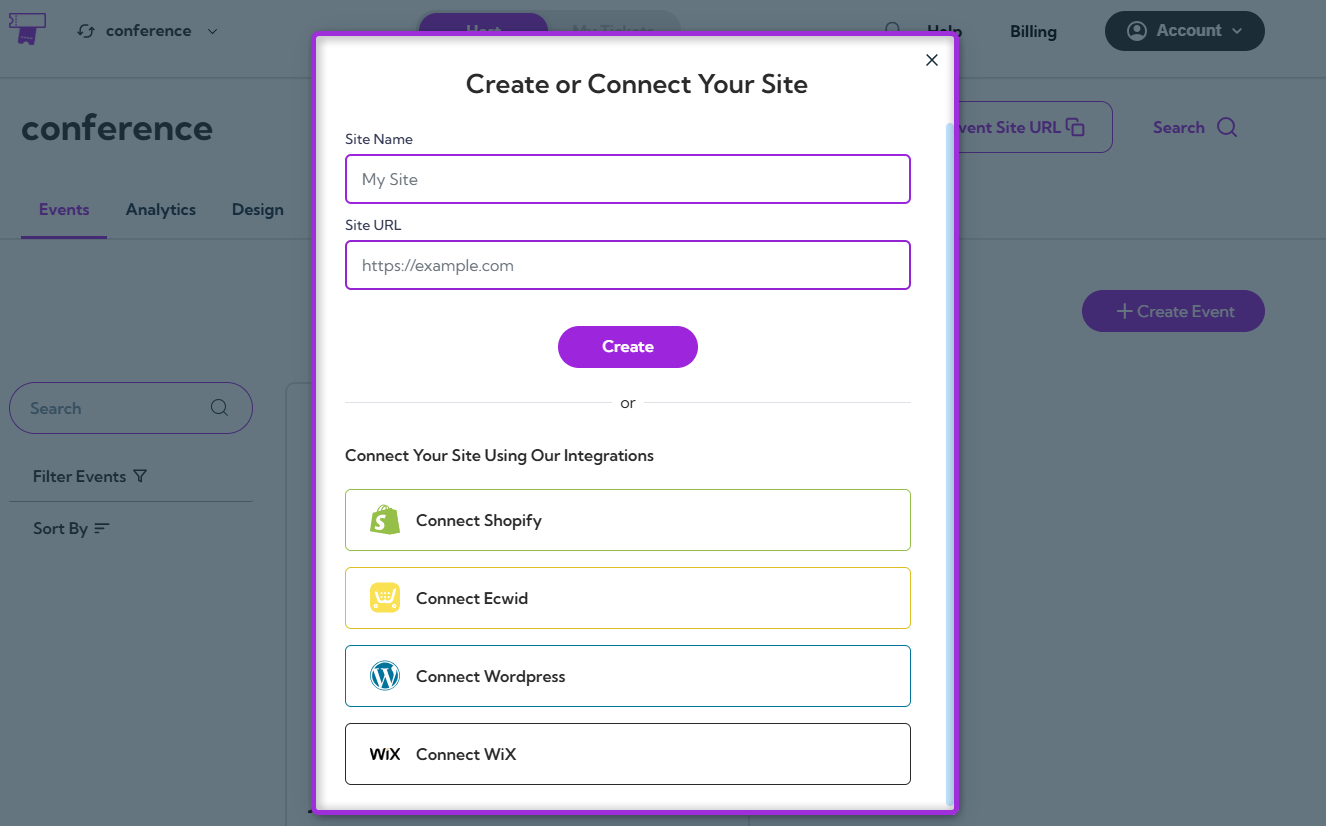
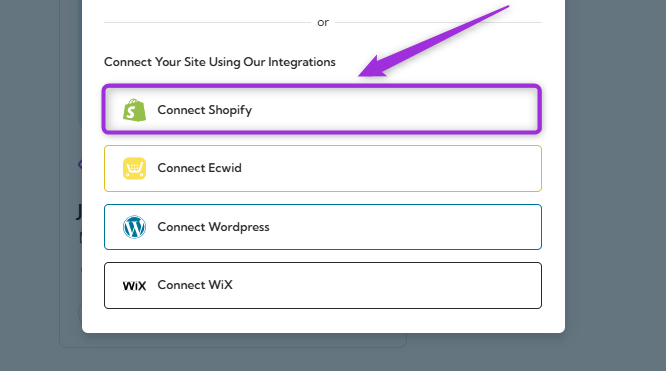
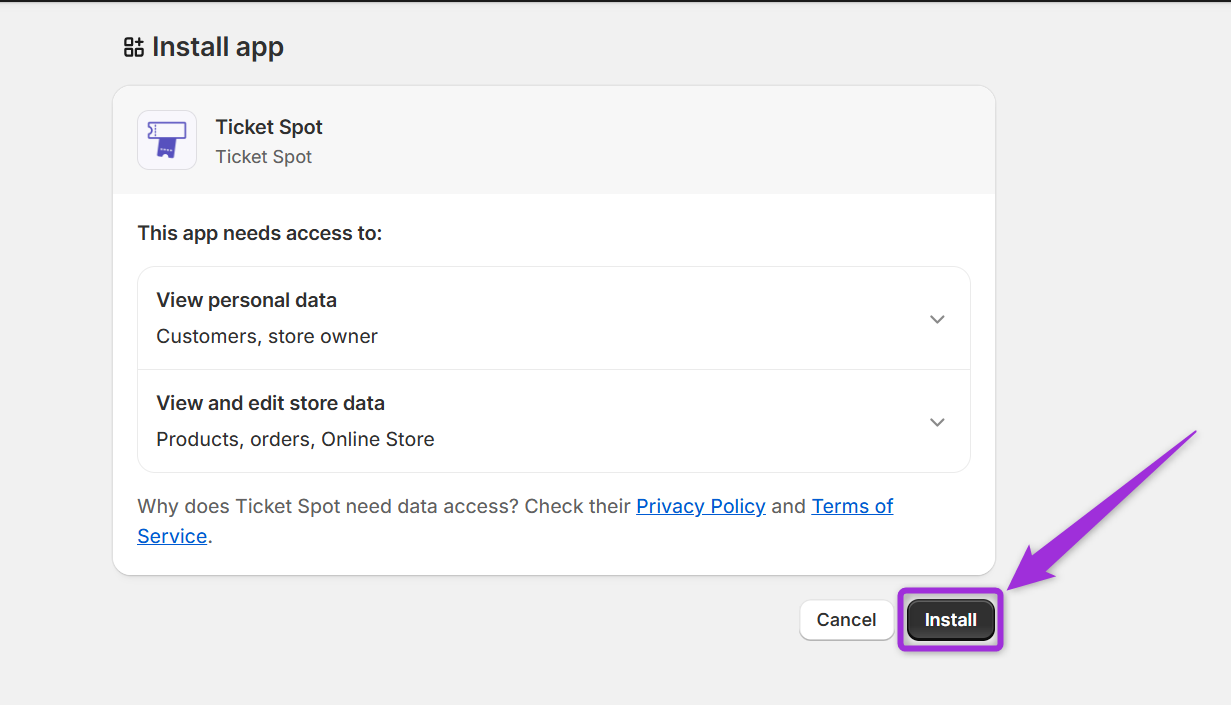
- You’ll be redirected to the Ticket Spot page in the Shopify App Store. Click Install to proceed.
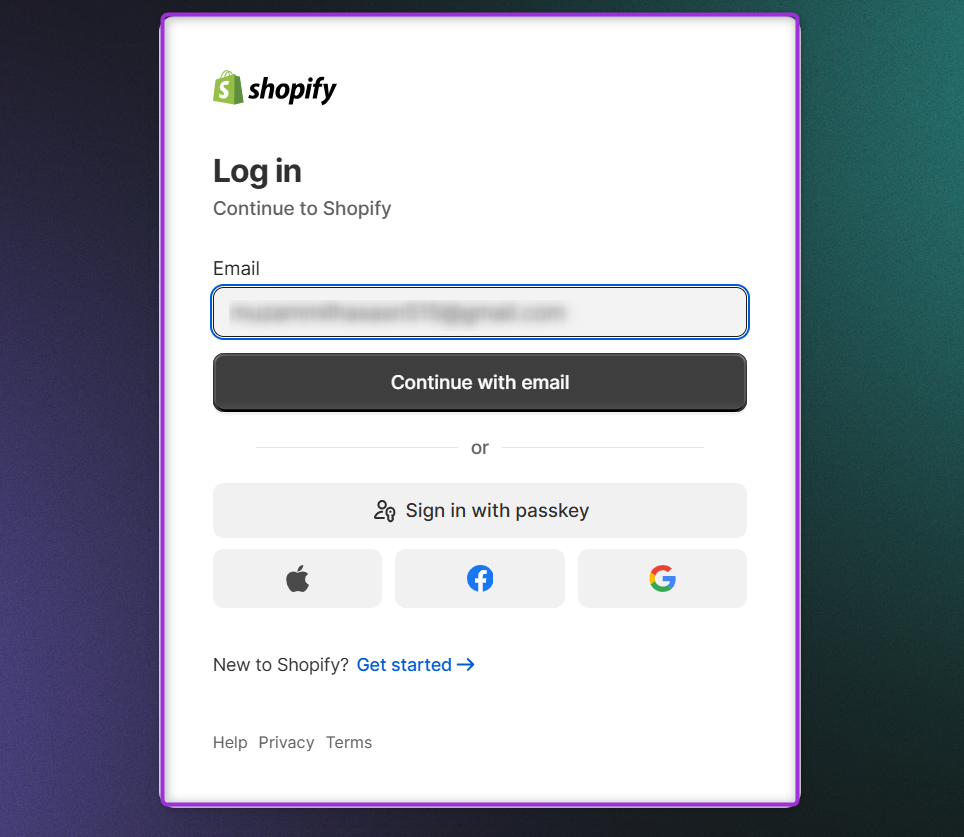
- Shopify authorization screen will appear, where you can authenticate yourself using your store credentials to complete the connection.
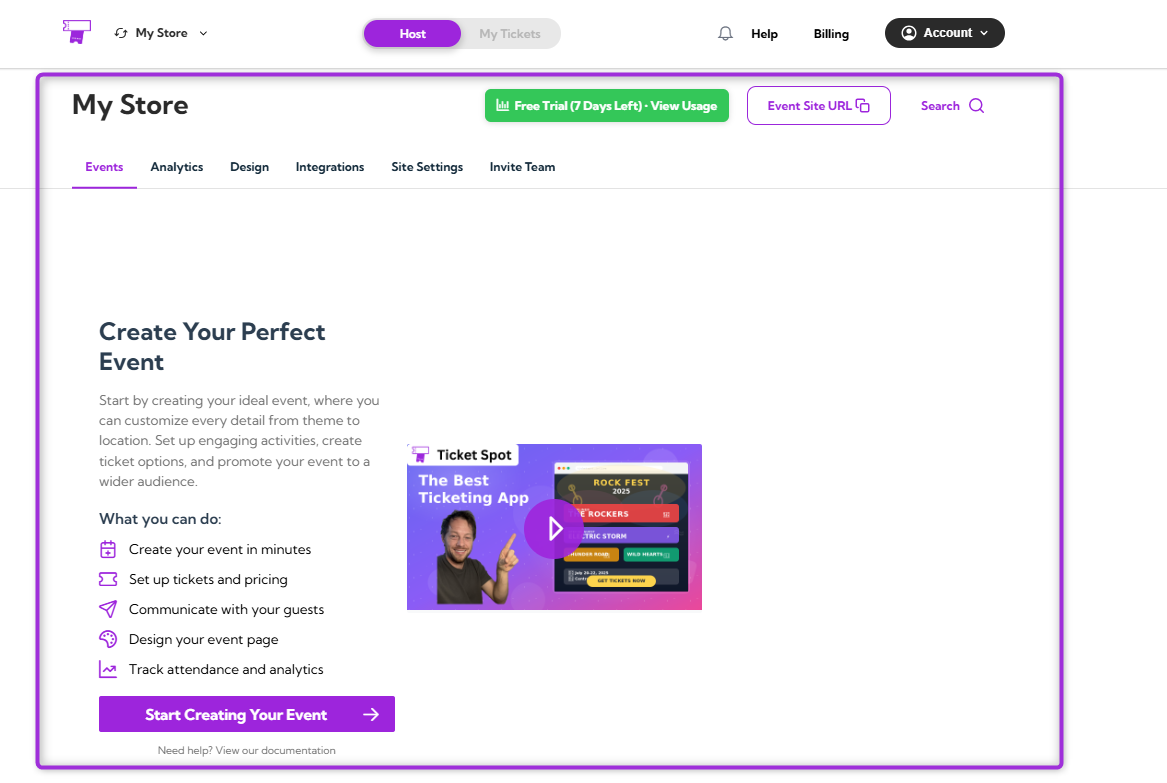
Create Your Event
To create your event, enter the basic details, such as the event name, date, time, and venue. These fields help set up your event in Ticket Spot and prepare it for publishing. For a full step-by-step walkthrough, please refer to our guide: How to Create an Event with Ticket Spot.
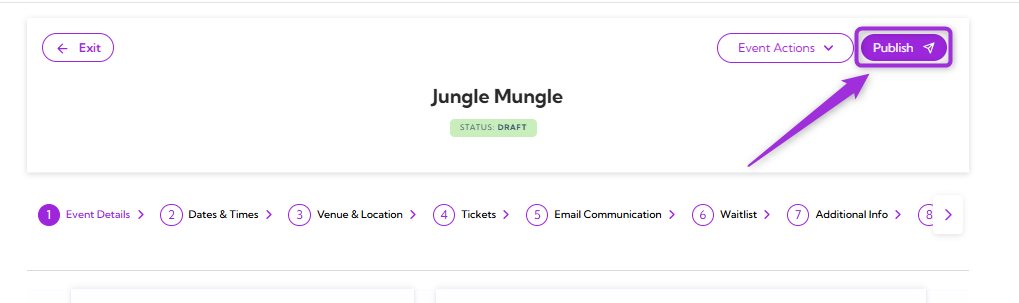
Publish Your Event to Shopify
- Click on the Publish button at the top of your event page.
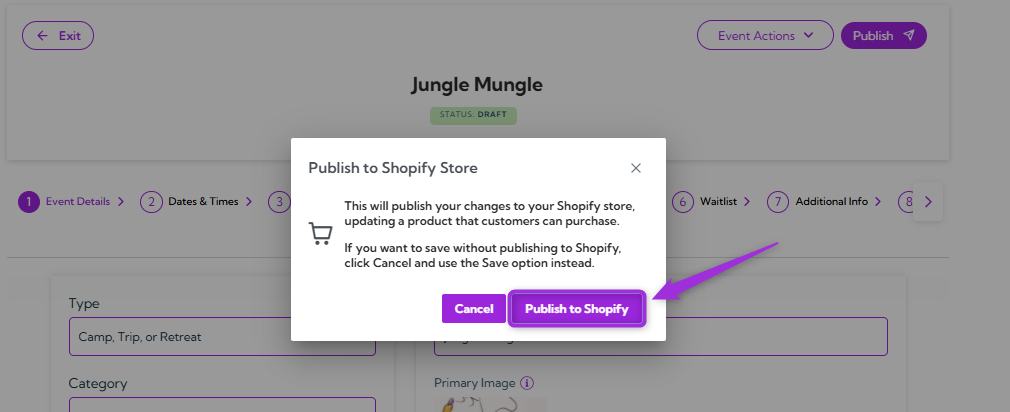
- Click on the Publish to Shopify to publish your event and updates to your Shopify store. This creates or updates the Shopify product that customers can purchase.
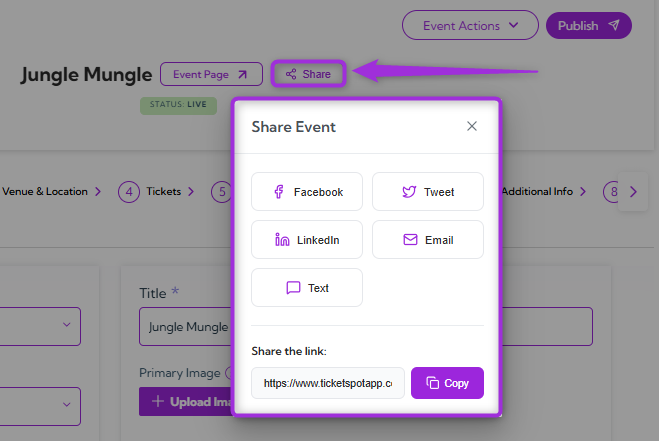
- Click on the Share button to post your event on social media or copy the event link, allowing shoppers to view your event and purchase tickets directly.
Check Out the Event
- Click on the Event Page or open the event link to open your event page, where your event is listed.
- Click on Buy Tickets to purchase a ticket for the event and complete the checkout.
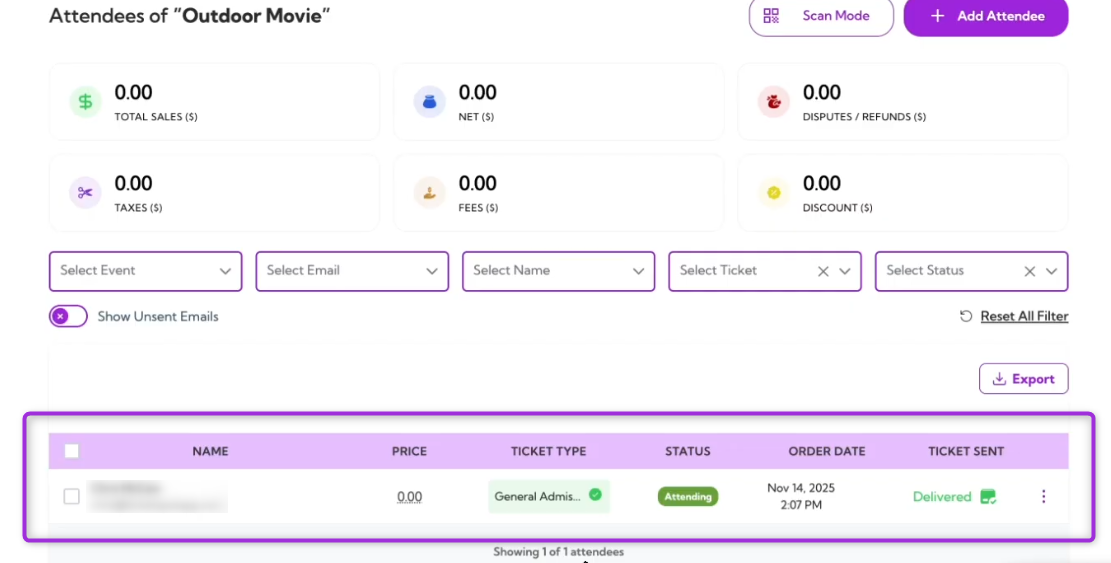
View Attendees in Your Dashboard
Once the purchase is completed, Shopify automatically sends attendee and order details to Ticket Spot. Open your event in Ticket Spot and click on the Manage Attendees to view attendees of your event.
Enable the Ticket Spot Selector (App Embed)
The App Embed allows you to replace Shopify’s basic variant dropdown with a clean Buy Tickets button. When enabled, it opens the Ticket Spot Selector—allowing guests to pick dates, timeslots, and ticket types directly on your product page.- In Shopify, open Online Store from the left-side menu and click on the Customize button.
- Go to App Embeds, enable Ticket Spot Controls, and click Save to activate.
Configure Advanced Ticket Controls
Go back to your Ticket Spot event and click on the Shopify Setup button.
- Select a Collection — Organize your event by adding it to a specific collection so customers can easily find it.
- Select a Location — Assign where the event will take place, helping you manage event details more accurately.
Product Page Config:
- Customize the “Buy Tickets” Button: You can customize the Buy Tickets button text—for example, change it to Checkout or any label you prefer.
- Enable Ticket Spot Selector: Activates a cleaner ticket-selection experience by replacing Shopify’s default checkout flow with Ticket Spot’s built-in ticket interface.
Enable the Ticket Block on the Thank You Page
Ticket Spot gives customers instant access to their tickets—QR code, PDF, and Apple Wallet—directly on Shopify’s Thank You page, making the post-checkout experience faster and more convenient.- In Shopify, go to Settings and select Checkout. Then click on Customize to open the Checkout editor.
- In the Apps section, select the Ticket Spot – Ticket Access block.
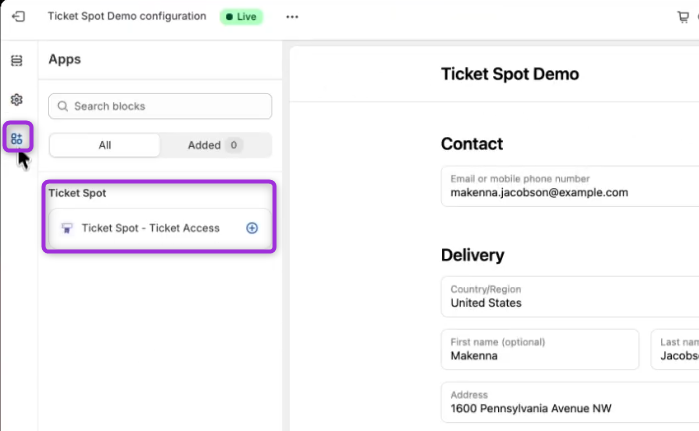
- Select the Thank You Page and click Save to apply the changes.
Access Tickets on the Thank You Page
- Complete your ticket purchase through the Shopify checkout page.
- Once checkout is completed, the Thank You page will display your order details, including View Tickets and Add to Wallet.
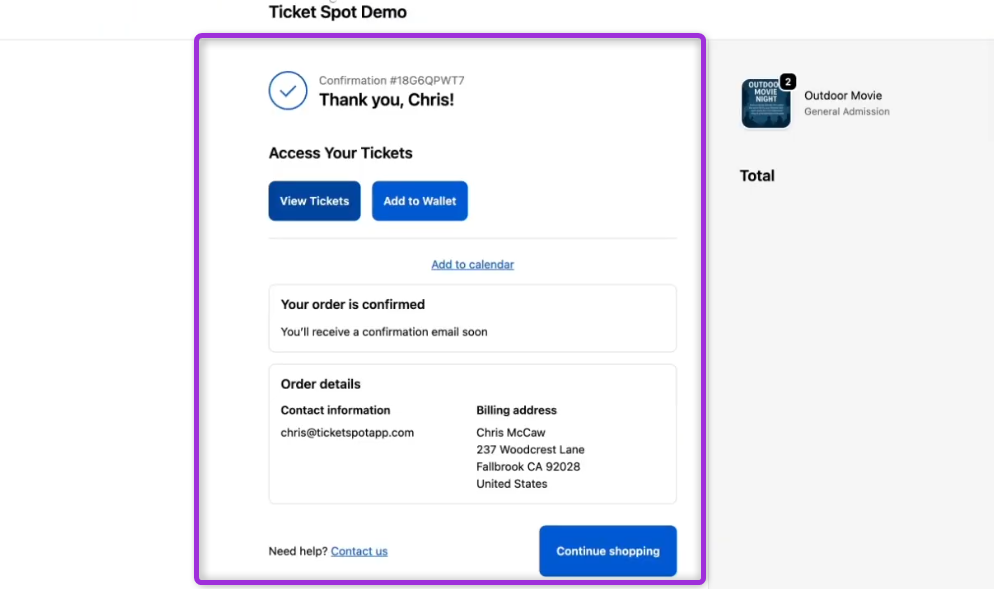
- Click View Tickets or Add to Wallet to instantly download and access your ticket.