Add a New Site
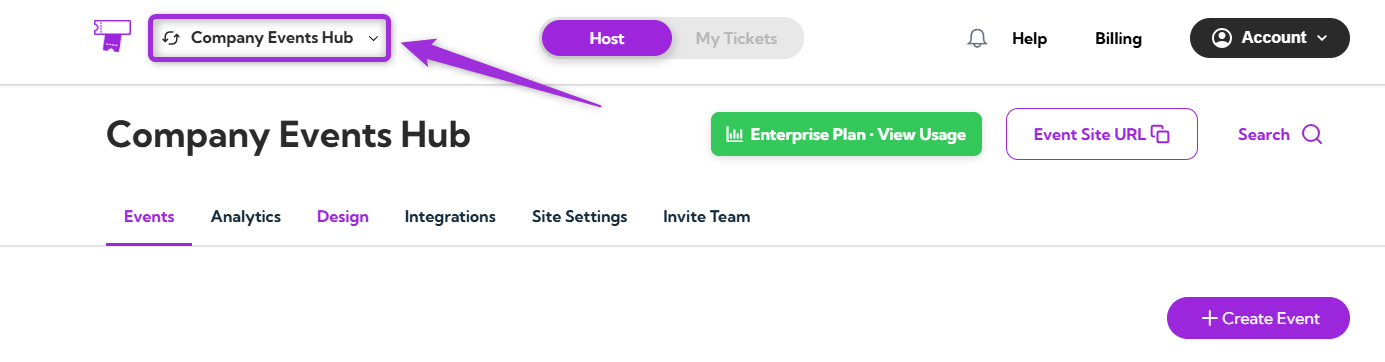
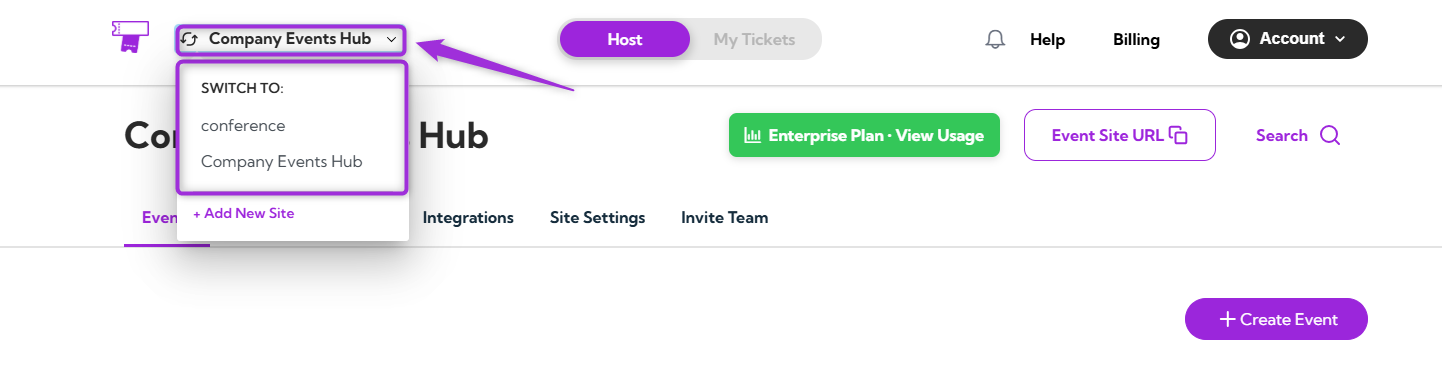
Creating a new site allows you to manage additional event pages within your TicketSpot account. Whether you’re hosting a new event or setting up a different site, this process ensures seamless organization. Step 1: Click on the site name in the top-left corner, open the dropdown menu, and select + Add New Site to start adding a new site.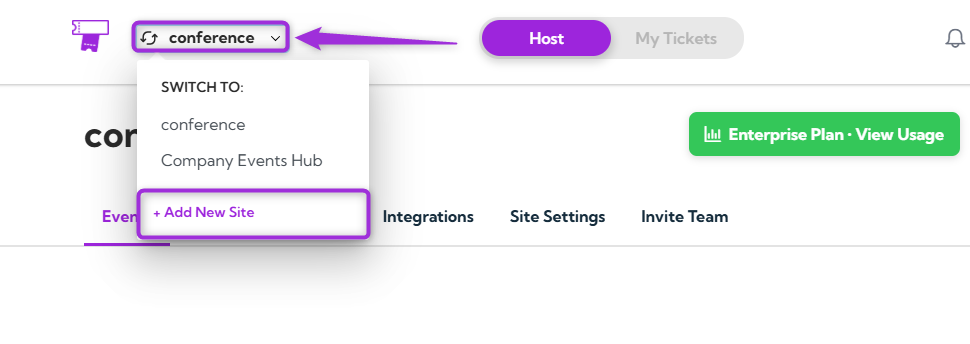
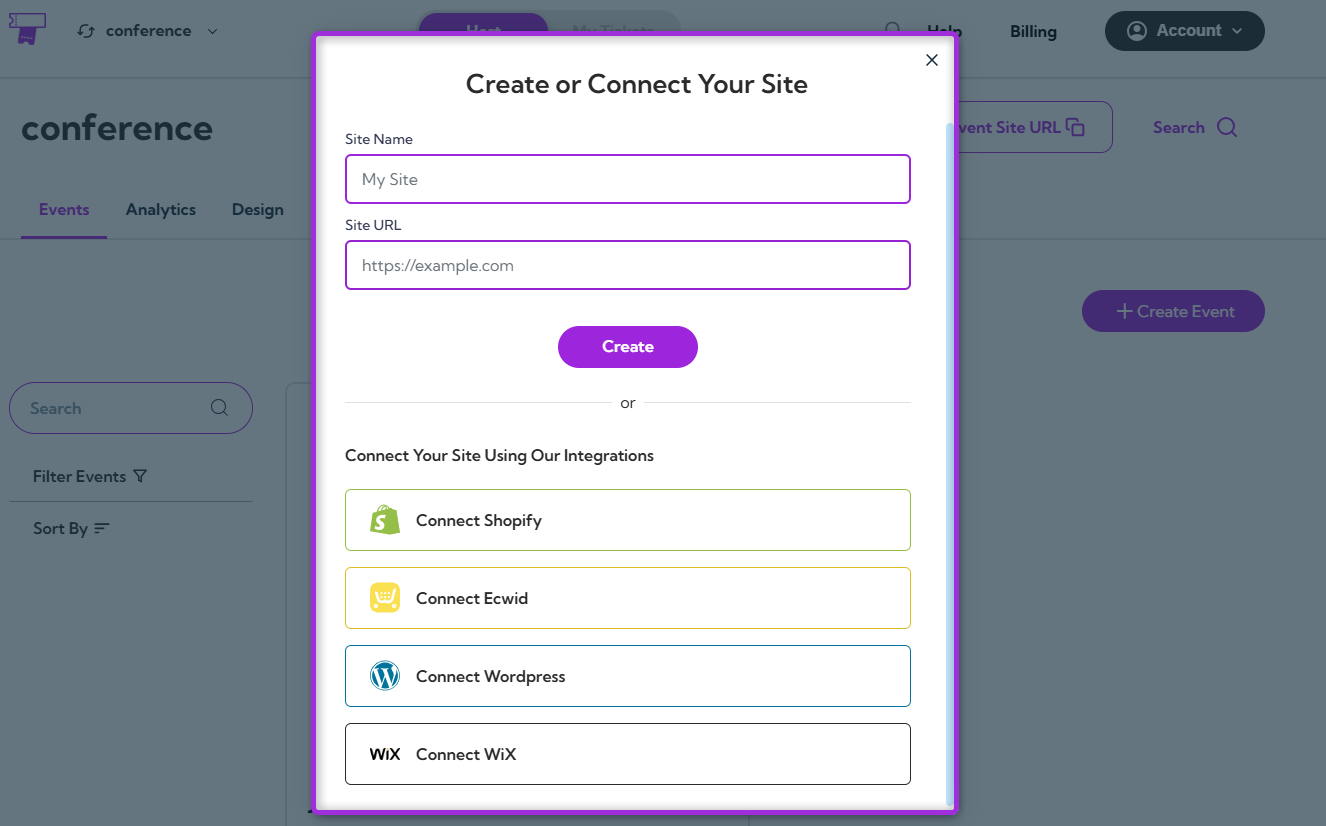
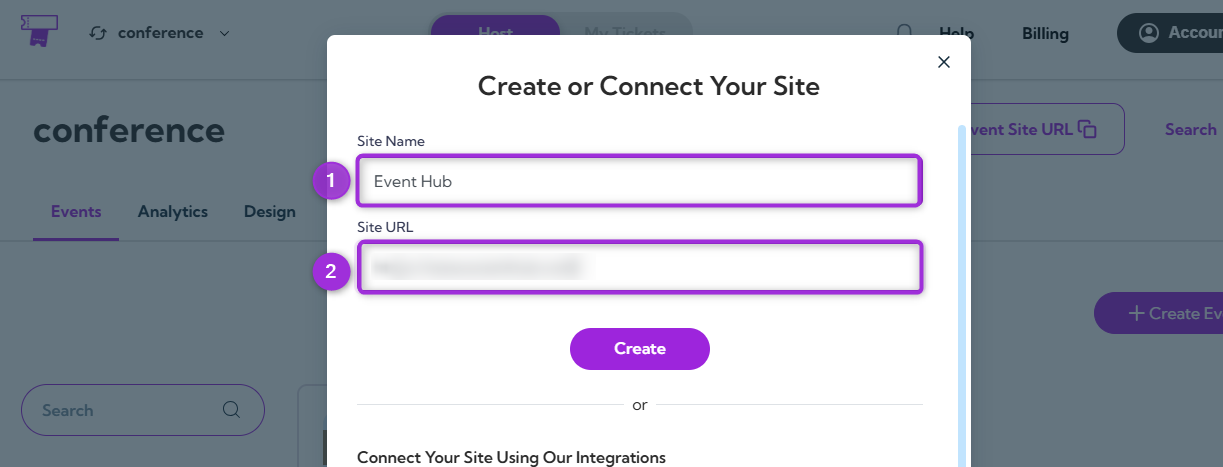
Create Your Site
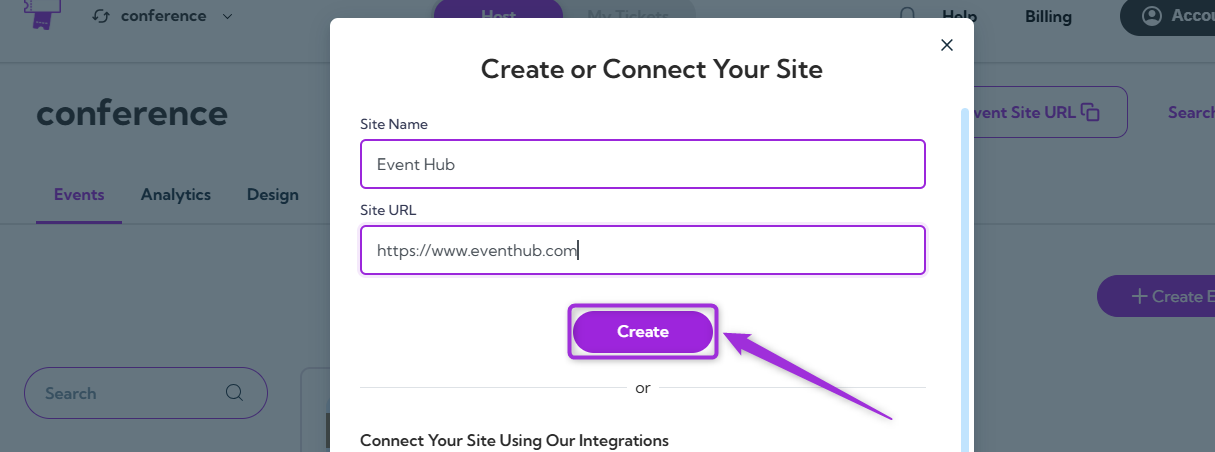
- Enter your Site Name and Site URL — this will define the name and web address for your new site.
- Click the Create button to finalize the setup of your new site.
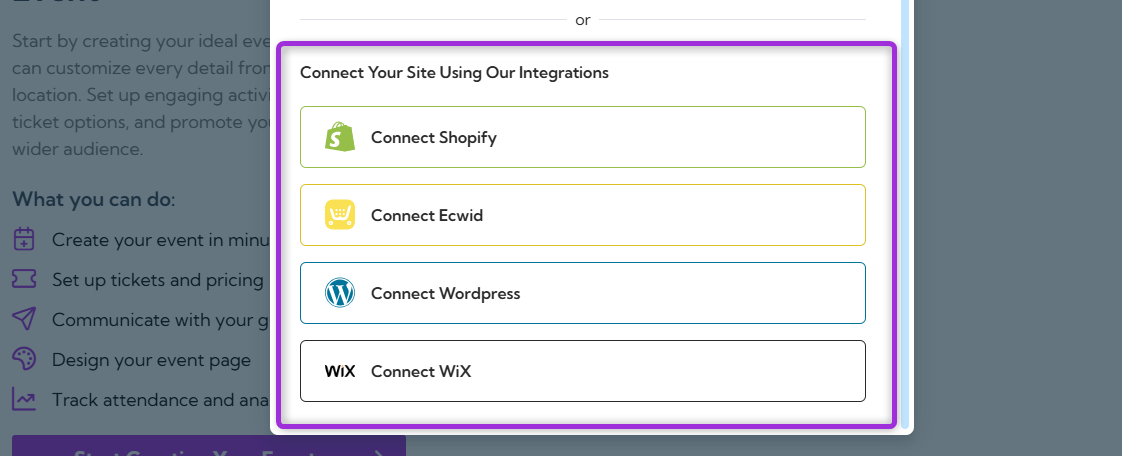
Connect Your Site
If you want to connect your site using one of our integrations, follow these steps for each platform:- Shopify Integration: If you’re using Shopify, click Connect Shopify to link your Shopify store with TicketSpot.
- Ecwid Integration: For Ecwid users, click Connect Ecwid to sync your Ecwid store with your TicketSpot account.
- WordPress Integration: To connect a WordPress site, click Connect WordPress and follow the instructions to link your WordPress site with TicketSpot.
- WiX Integration: If you have a site on WiX, click Connect WiX to integrate it with TicketSpot.
Switch Site
Step 1: Log in to your Ticket Spot account and click on the Site Name (e.g., My Site or company event hub) in the top-left corner of the page.