
Add the agreement
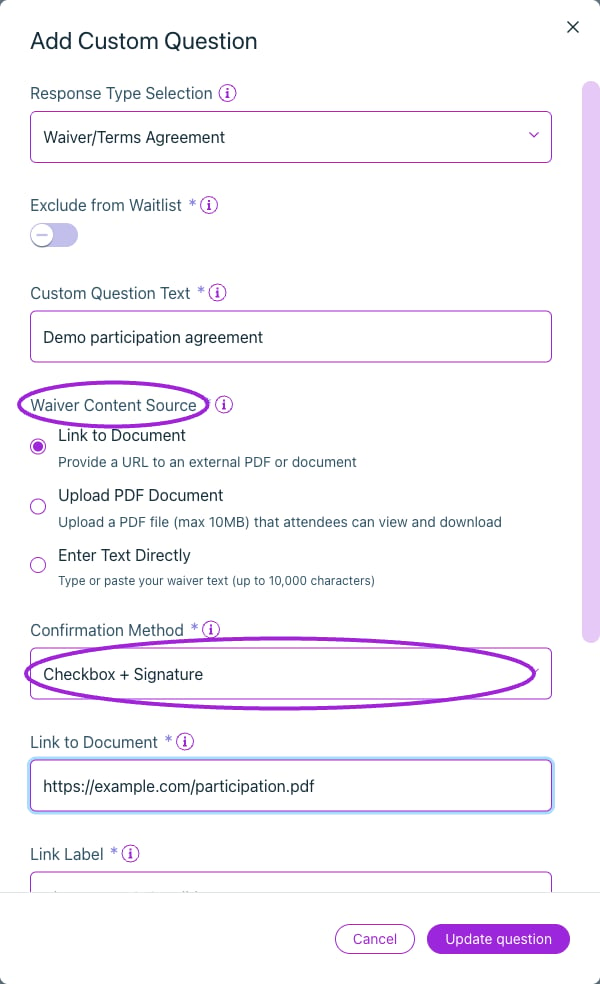
Waiver/Terms Agreement supports an external document, an uploaded PDF or entered text, with a separate confirmation method.
- Edit the event and open Additional Information.
- Add a question and choose Waiver/Terms Agreement under Response Type Selection, or start with a waiver preset.
- Enter the Custom Question Text attendees will see.
- Choose a Waiver Content Source: link to an external document, upload a PDF, or enter the agreement text.
- For a link, enter Link to Document and a descriptive Link Label. For an upload, use a PDF no larger than 10 MB.
- Choose the Confirmation Method, Required at checkout and/or Required at check-in, and ticket applicability. Leave Required at checkout off when an attendee may complete the agreement later.
- Save the question and event.
Use Exclude from Waitlist when the agreement should be collected during registration rather than waitlist sign-up. Apply the question to specific tickets when only certain activities require it.
View more current controls
View more current controls
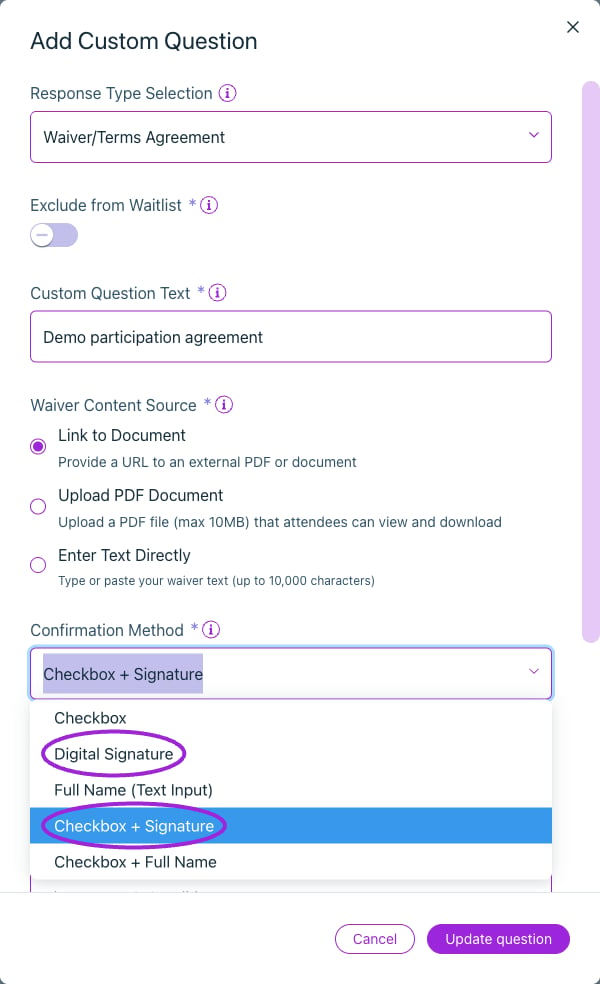
Choose Checkbox, Digital Signature, Full Name, Checkbox + Signature, or Checkbox + Full Name. Set required-at-checkout and required-at-check-in separately.
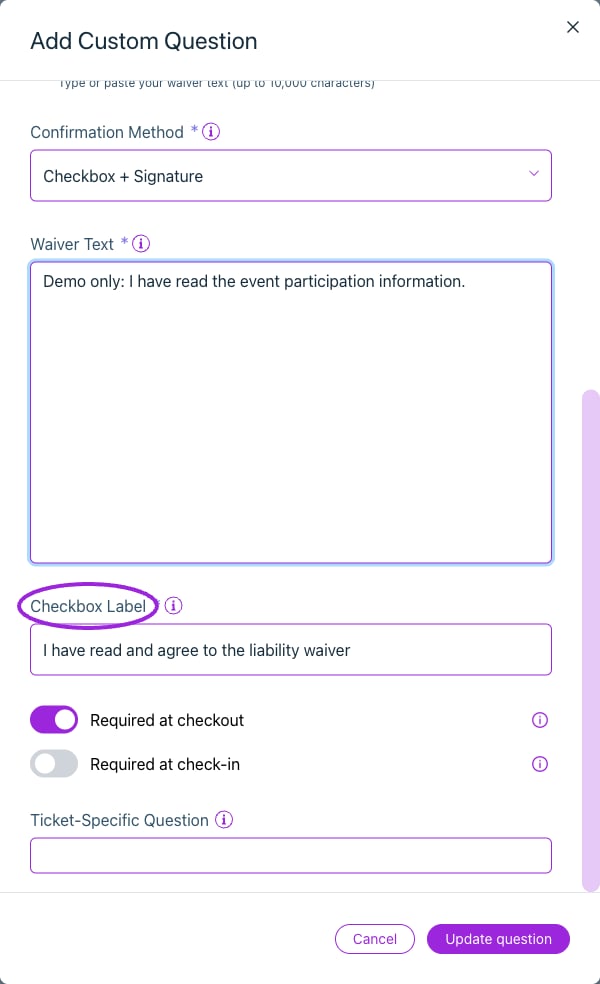
Enter Text Directly accepts up to 10,000 characters. This example uses demo wording and a configurable checkbox label.
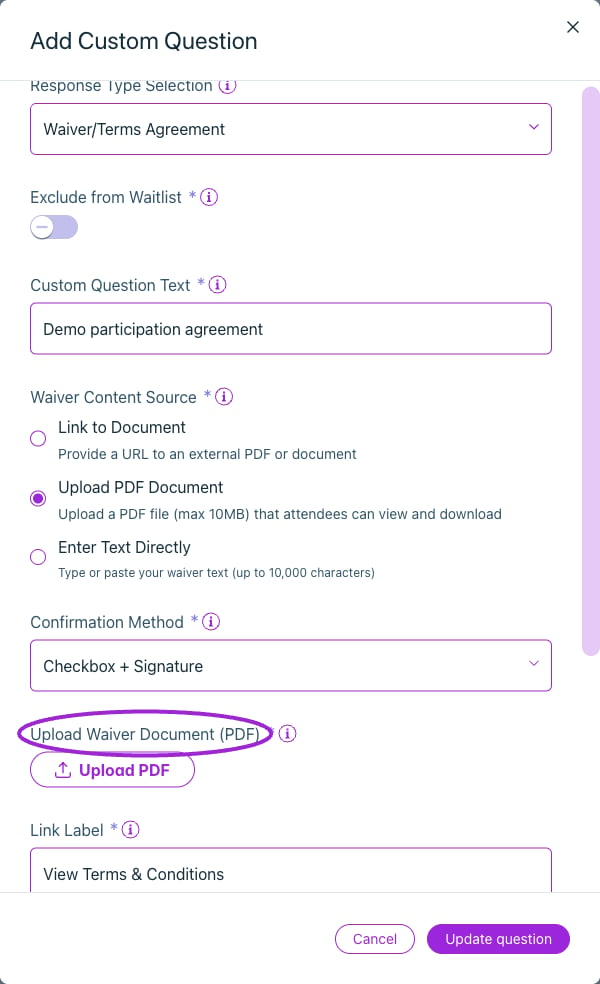
Upload a PDF up to 10 MB and set the label attendees use to view or download it.
Complete an agreement after registration
When Required at checkout is off and Required at check-in is on, attendees can register first and complete the agreement before entry. They must sign into the attendee portal with an email that has access to the order.- Open the ticket and find Attendee Details. Information required shows how many attendee records still need required details.
- Choose Complete Attendee Details, then select the attendee. For an order collected under one shared attendee record, the form states that it applies to all of that record’s tickets.
- Choose Review & Sign beside the waiver. Read its text or open the linked document.
- Complete the selected confirmation method. For a signature, draw in the signature area; Clear signature starts again.
- Save the attendee details. Opening or drawing in the form alone does not save acceptance.
- Reopen the attendee and choose View accepted waiver. A saved acceptance shows its timestamp and the saved confirmation, including the signature or full name where applicable. The accepted record is read-only.