
Dashboard ticket designs
Star ticket settings
Star ticket settings
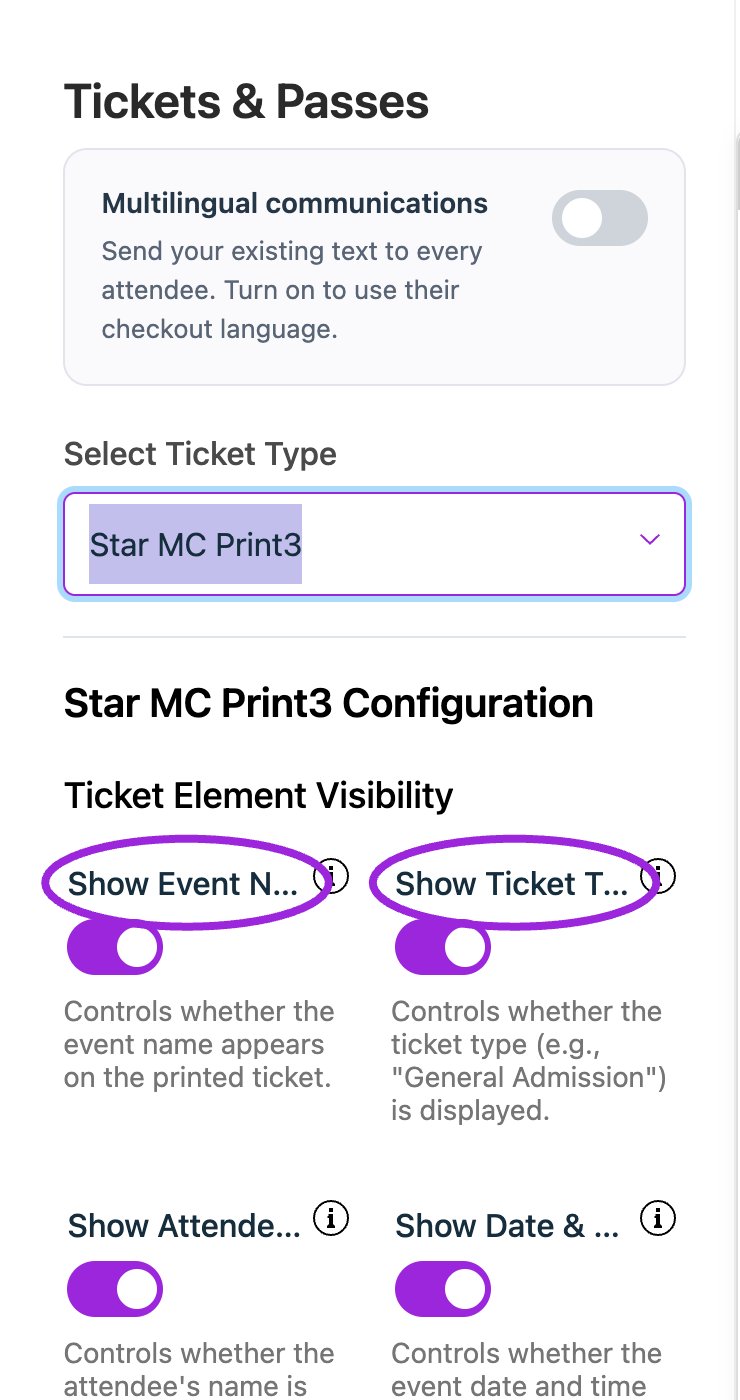
In Design → Tickets & Passes, choose Star MC Print3 to configure its labels, visibility, and appearance. This is the current configuration panel.
Boca ticket settings
Boca ticket settings
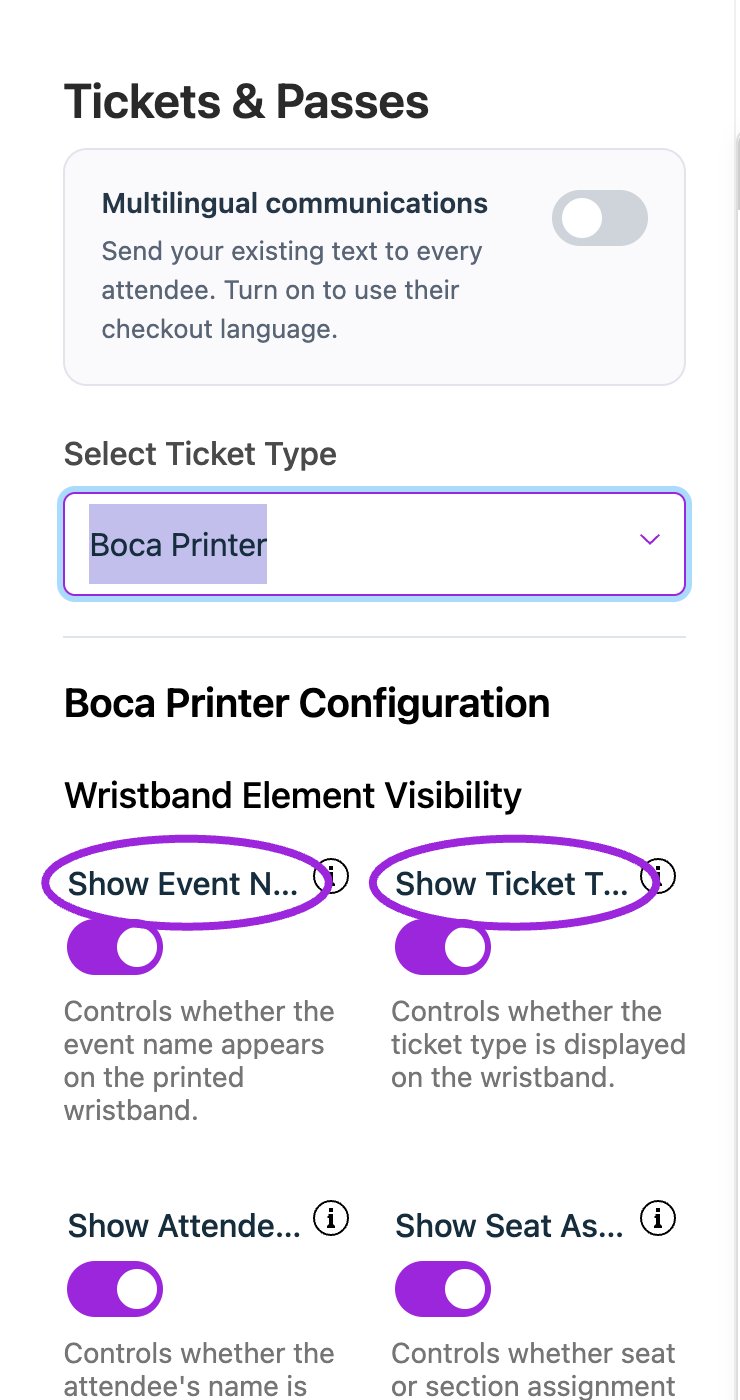
In Design → Tickets & Passes, choose Boca Printer to configure its labels, visibility, and appearance. This is the current configuration panel.
Configure and test
- Open Design → Tickets & Passes in the dashboard and choose the matching Star or Boca design. Set its text, dimensions, and QR placement for your ticket stock.
- Connect the POS device and printer to a network where the device can reach the printer.
- Open POS settings and find Printer Configuration.
- Select the Ticket Printer Model, choose Network (TCP/IP), and enter the printer’s network address and port.
- Save the configuration and send a test print. Verify the paper feed, alignment, text, and QR code physically.
- Print a ticket from a completed test order and scan its QR code using the check-in app.