
Before you start
- Create an event and its ticket types, then open Events → Edit event → Checkpoints as the site owner or an administrator.
- For recurring events, configure checkpoints on the parent that supplies the ticket types. Guests must still book a particular occurrence.
- Configure and enable checkpoints before issuing the tickets. Tickets issued before enablement keep their existing check-in behavior.
- Use a subscription that includes team invitations to assign site staff, or invite event-specific hosts.
- Update the scanner and provide an internet connection at every checkpoint.
1. Set up Ticket Checkpoints
- Open the Checkpoints tab in the event editor, next to the other event setup steps.
- Check Enable ticket checkpoints.
- Under Checkpoints, select Add checkpoint and name each place where guests scan, or use the small Load example action to start with Entrance, Activity 1, Activity 2 and Lunch. New checkpoints receive names such as Checkpoint 1, selected automatically so you can type the name immediately. Names must be nonempty and unique.
- Under Ticket Access, tick the checkpoints included with each ticket type. Each row controls that ticket type independently.
- Choose Save checkpoints, directly below Ticket Access. Save becomes available after settings change. Enabling requires at least one active checkpoint and one inclusion on a current ticket type. Wait for the spinner to finish and the success toast before issuing tickets.
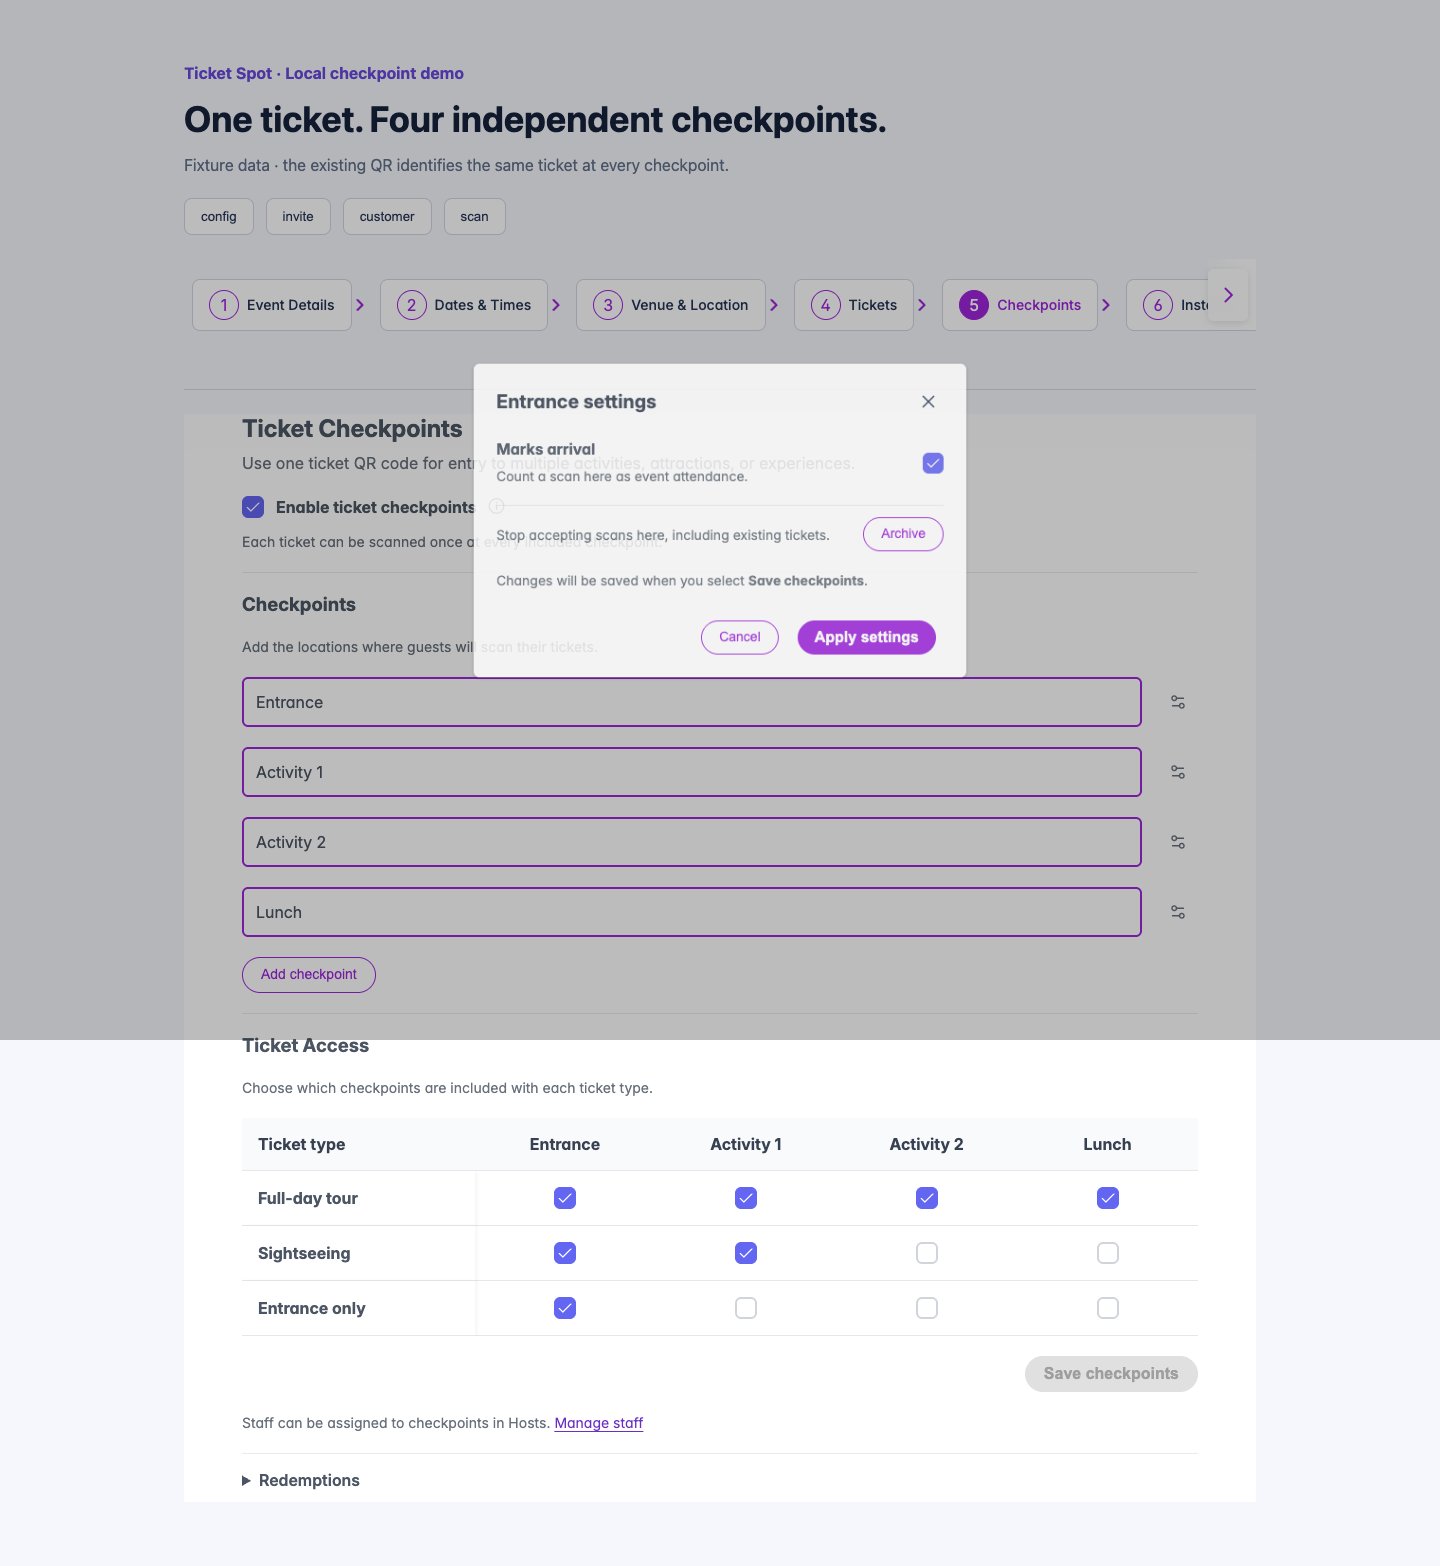
Local demo: enable the feature, add Checkpoints, choose Ticket Access, and save. Full-day tour, Sightseeing and Entrance only each include different checkpoints.
Optional checkpoint settings
Optional checkpoint settings
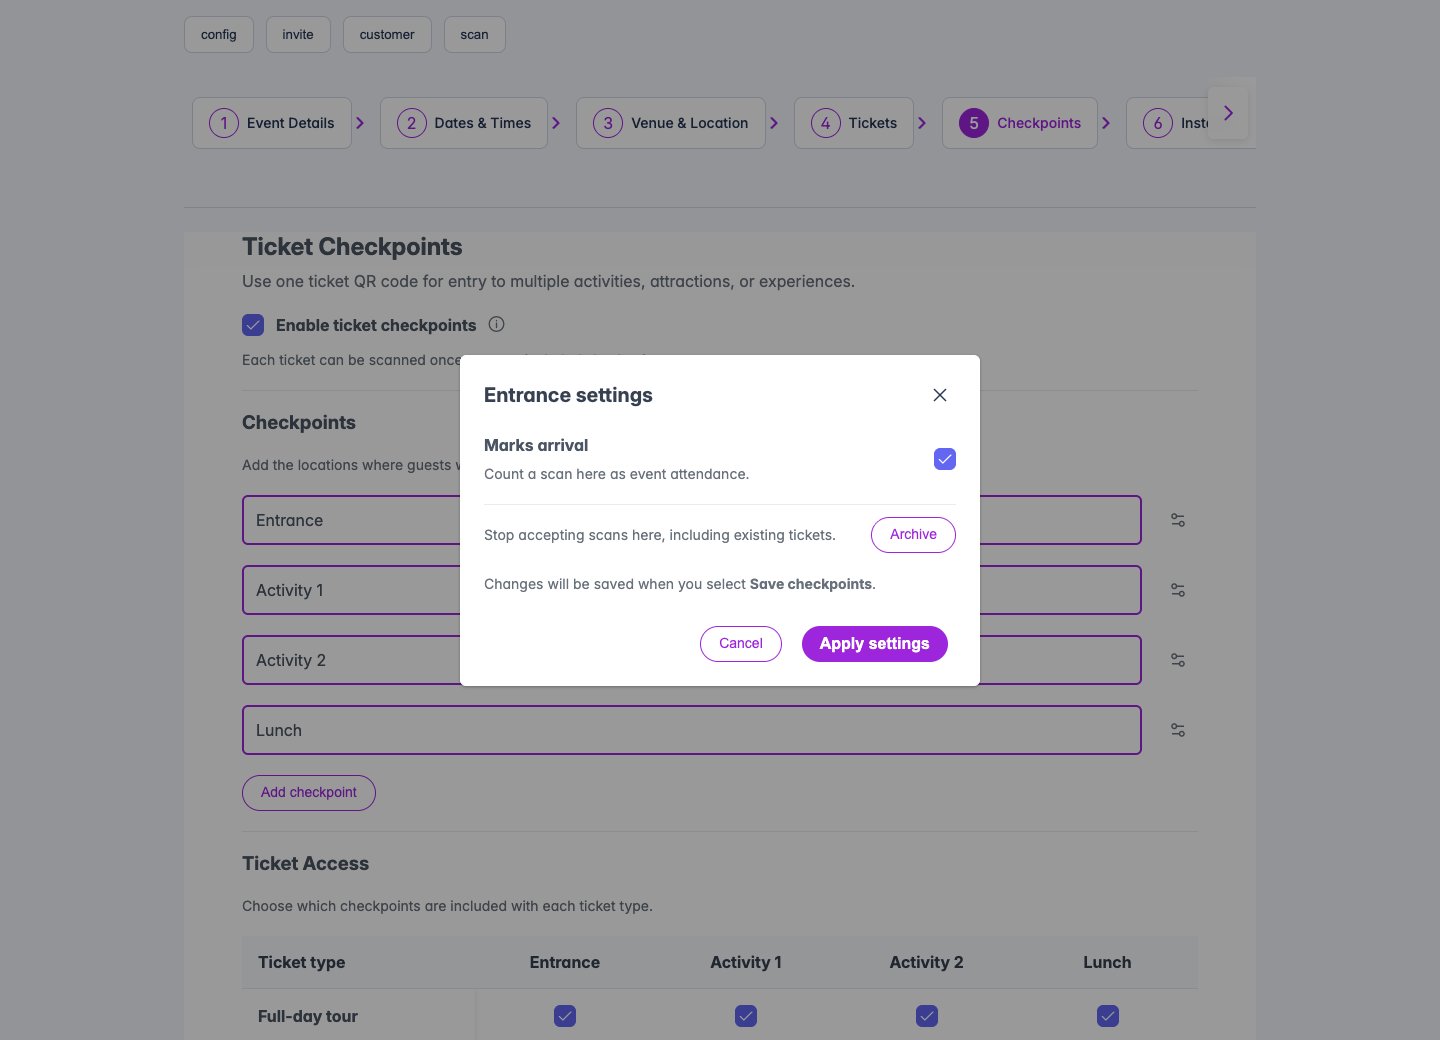
Local demo: checkpoint settings open in a modal with arrival and archive controls. Cancel discards modal edits; Apply settings adds them to the form.
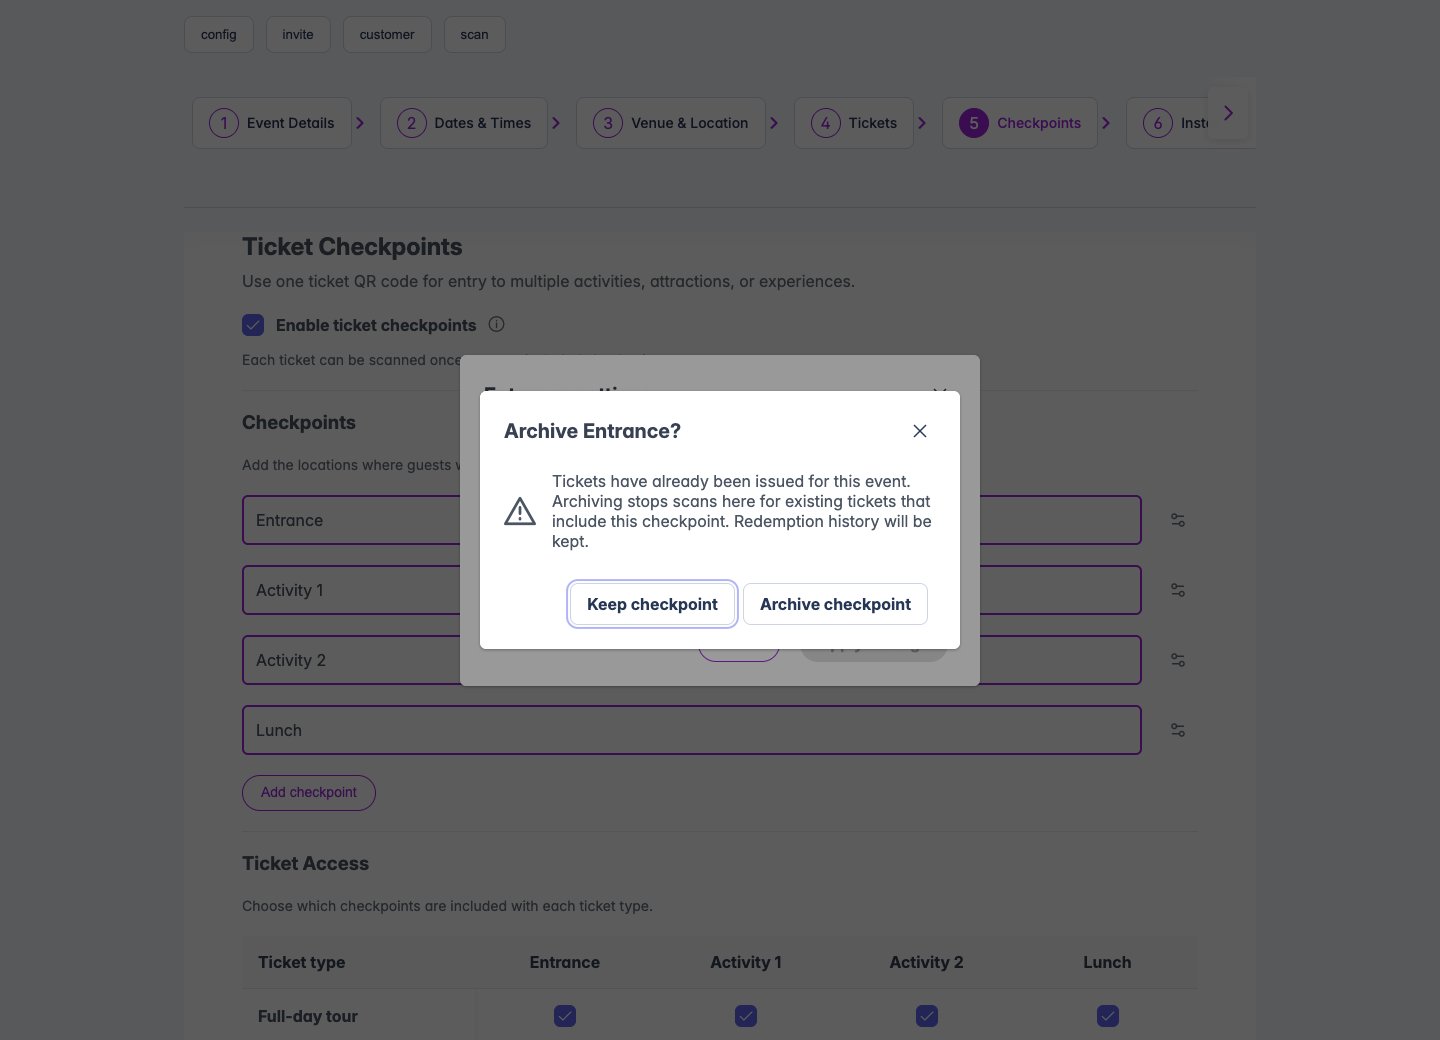
Local demo: archiving asks for confirmation and explains the effect on existing ticket access. Redemption history is preserved.
Save confirmation
Save confirmation
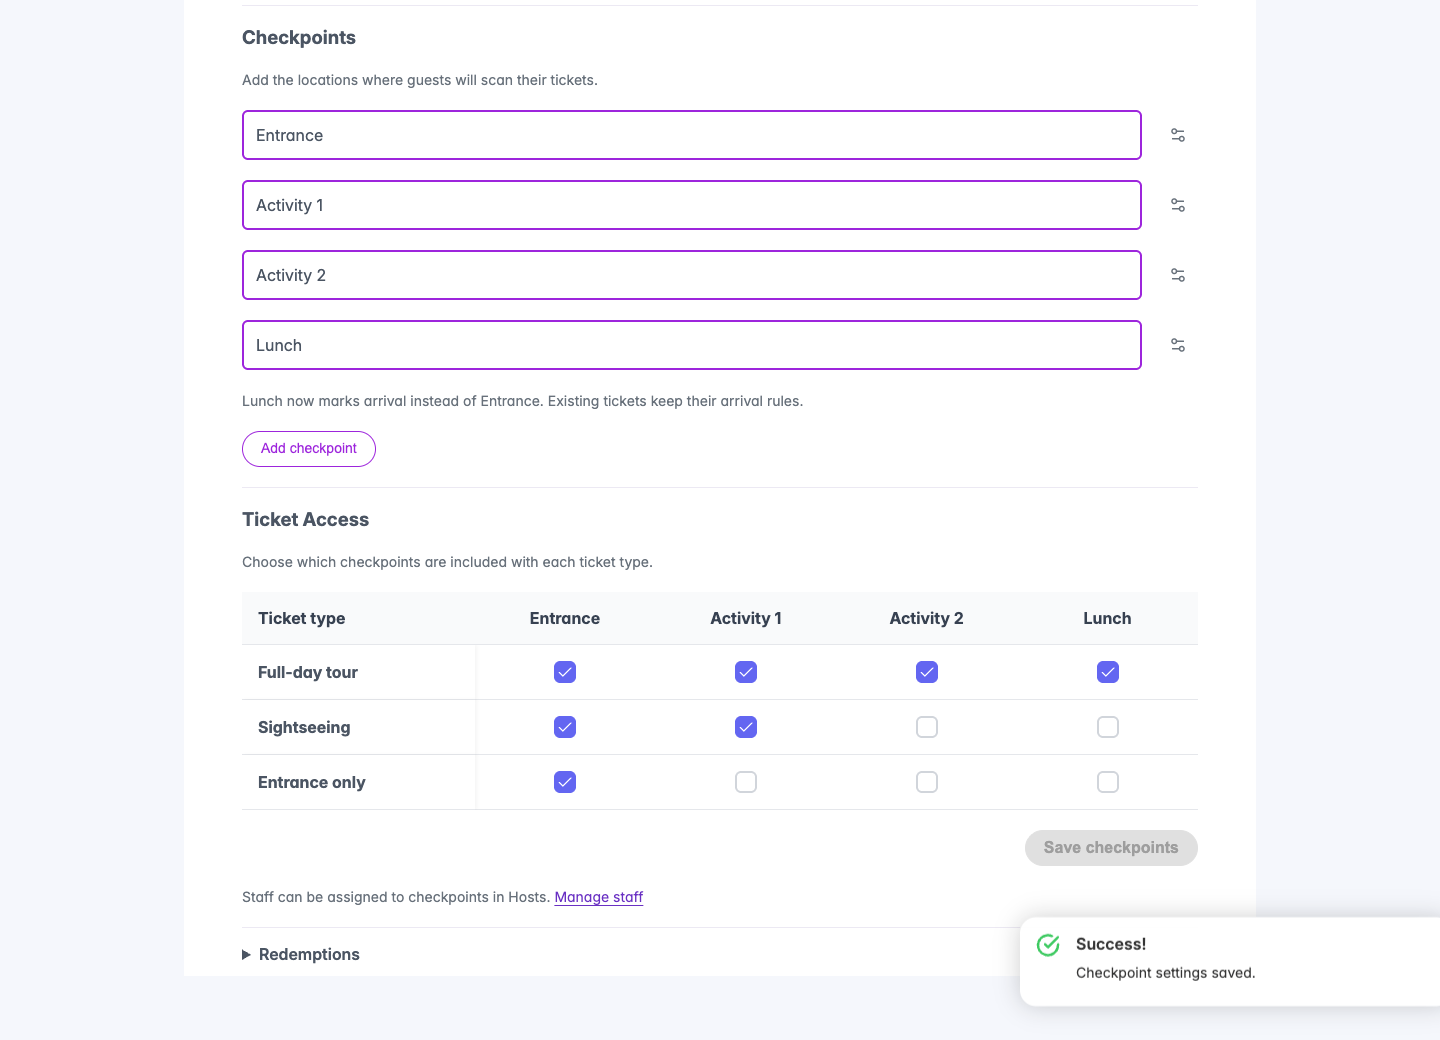
Local demo: the standard success toast confirms checkpoint settings were saved.
2. Assign staff to a checkpoint
- Open Invite Team, select Invite Team Member, enter the email address, and choose Ticket Checker.
- Checkpoint assignment appears below Role when Ticket Checker is selected. Choose the event and its Checkpoint. Use + Add event for another event, or the trash icon to remove a row. Save the invitation.
- Ask the staff member to accept the invitation and sign in to the scanner with that account.
- Check the assignment shown in Active Members or Pending Invitations. Edit an active member to change their assignment.
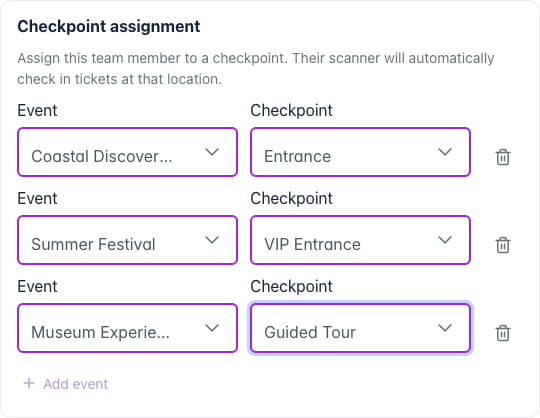
Local demo: one Ticket Checker has a different checkpoint at each of three events. Compact rows use Add event and a trash icon.
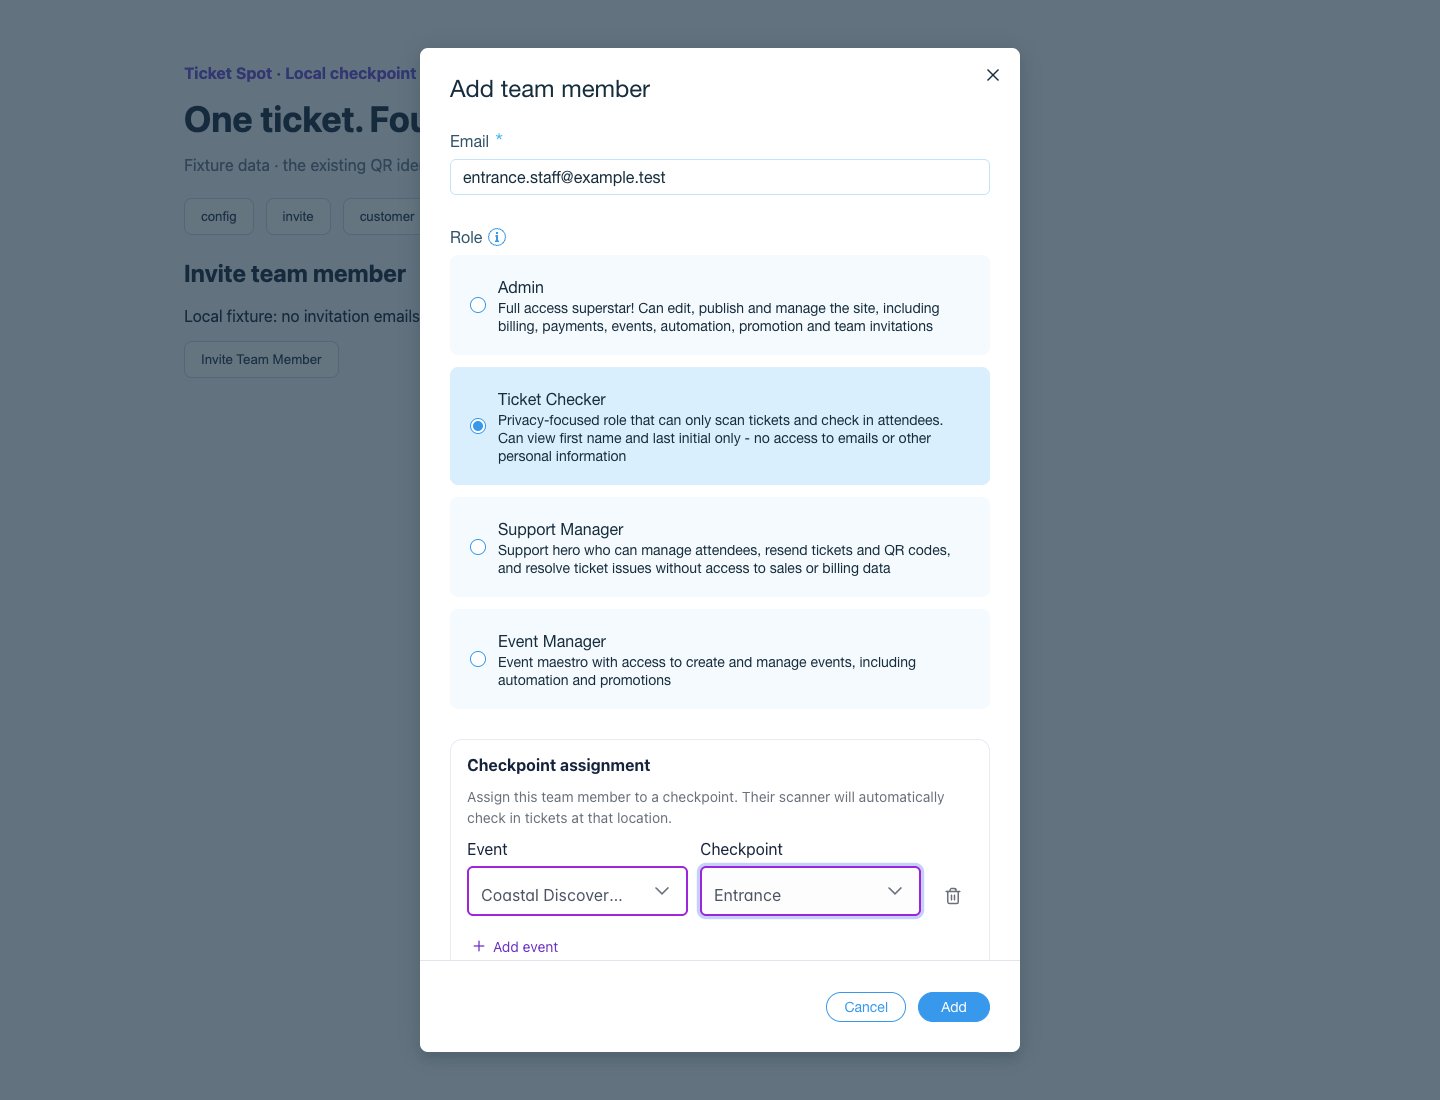
Local demo: the real Team invitation dialog shows Email, Role and checkpoint assignment for a Ticket Checker at the tour's Entrance checkpoint. Fixture APIs are used; no invitation is sent.
3. Give the guest their usual ticket QR
Send or show the guest their regular ticket QR. The QR identifies the same ticket at every checkpoint. Staff look up the entitlements attached to that ticket; guests do not need a separate QR for each activity.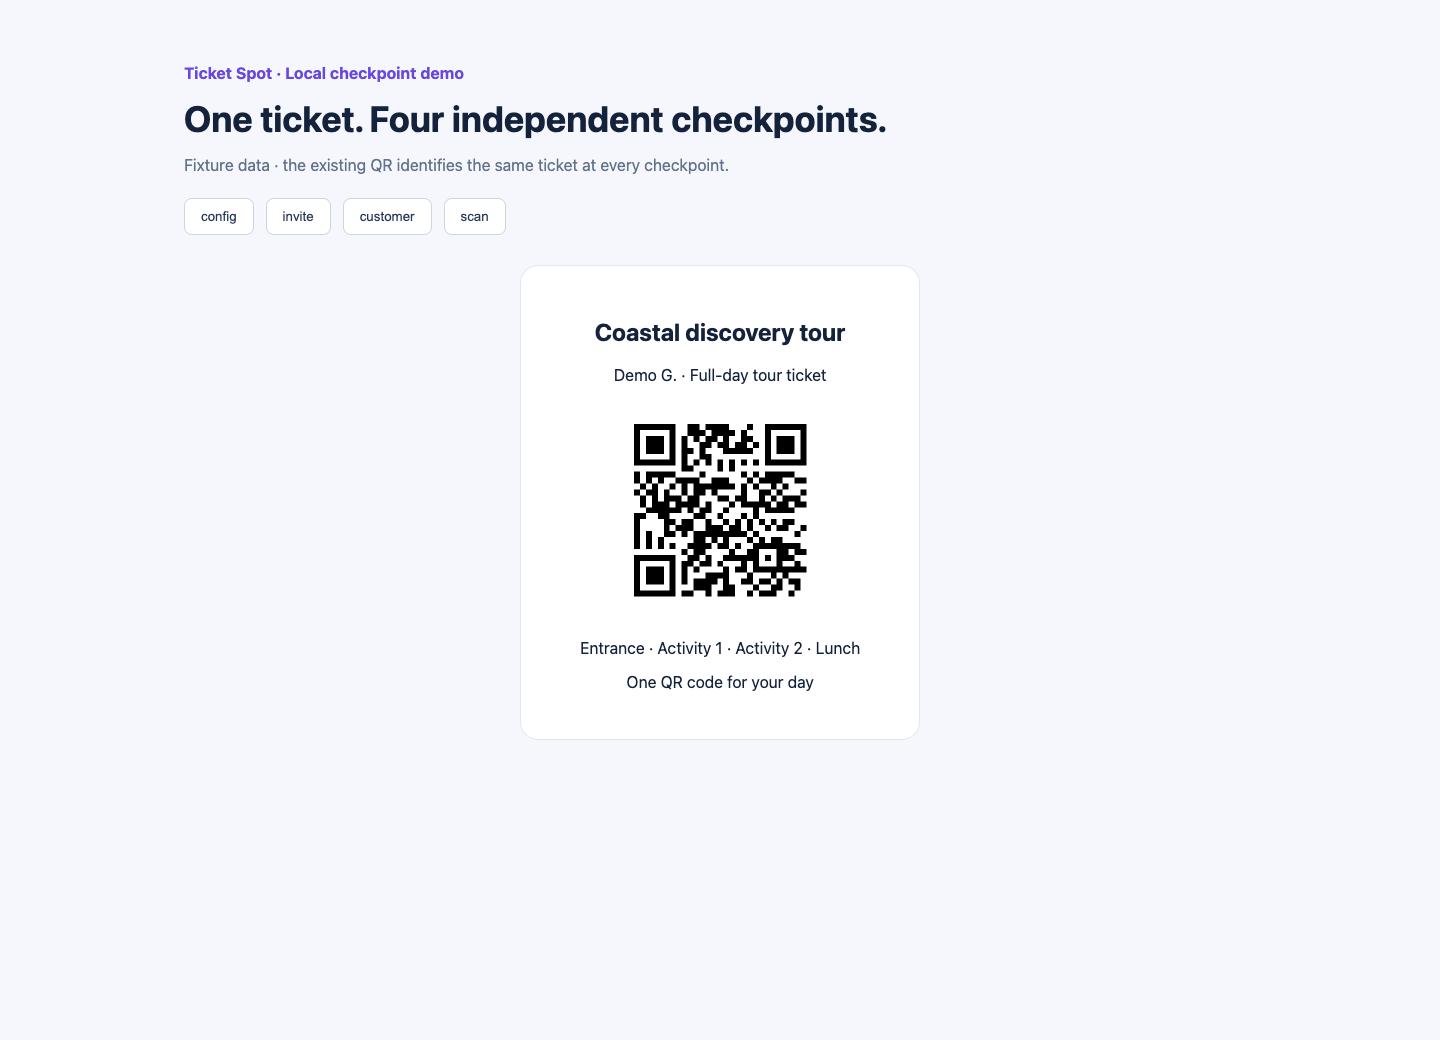
Illustration using a synthetic ticket QR. This example card explains the single-QR workflow; it is not a new production ticket template or a redeemable live ticket.
4. Scan at each checkpoint
In the dashboard, open the event’s attendee list and launch Scan Mode. Connect a USB or Bluetooth scanner in keyboard mode. In the updated mobile app, open Check-In and use the camera or external scanner. Assigned staff see Scanning: Entrance or their assigned checkpoint. Scanning redeems that entitlement automatically, without asking them to choose it for each guest. Owners and administrators can select any active checkpoint before scanning in the dashboard.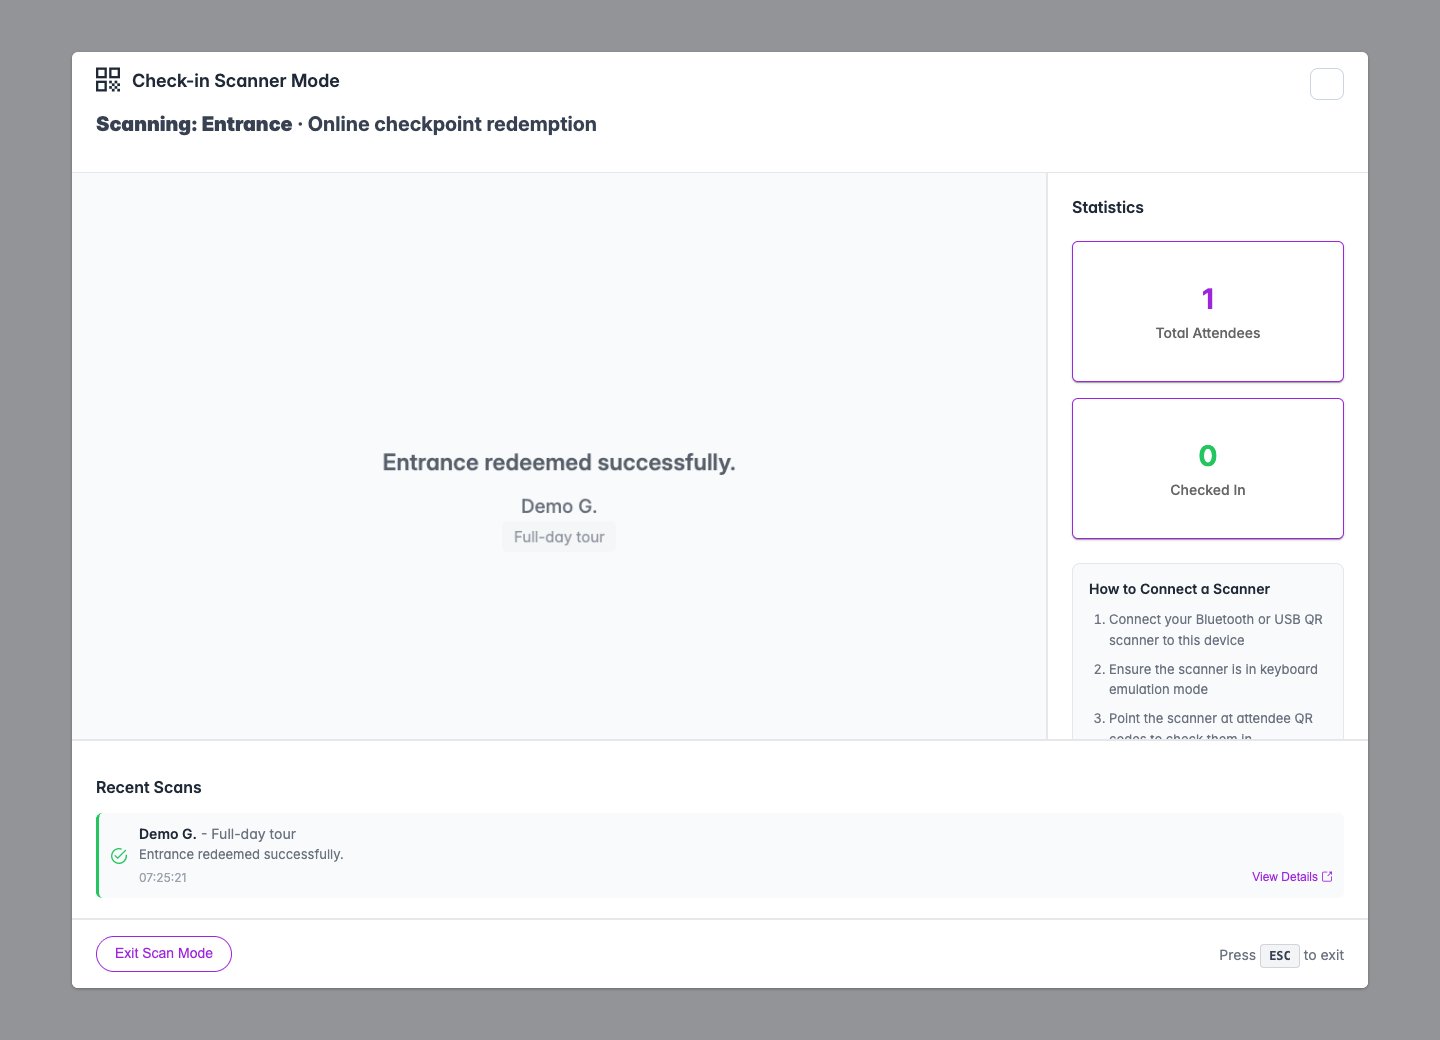
Local demo: Entrance succeeds once for the ticket. If Entrance was set to mark arrival on that issued ticket, it also updates attendance.
Activity 1: the same QR remains valid
Activity 1: the same QR remains valid
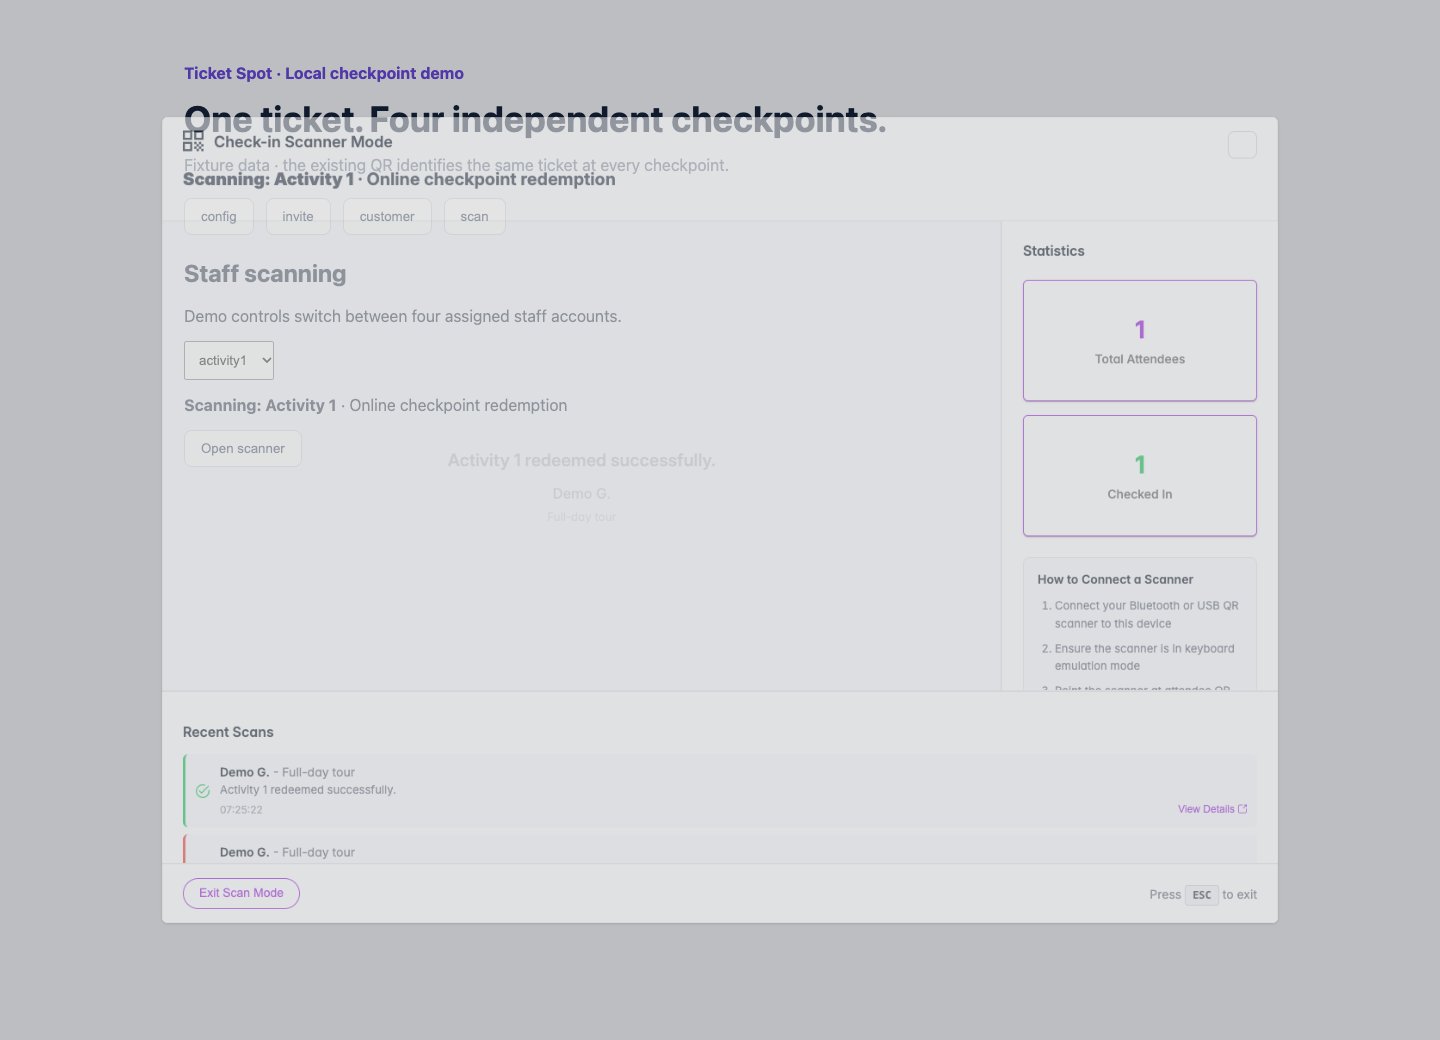
Local demo: after Entrance was used, the same ticket succeeds at Activity 1.
Activity 2: a separate entitlement
Activity 2: a separate entitlement
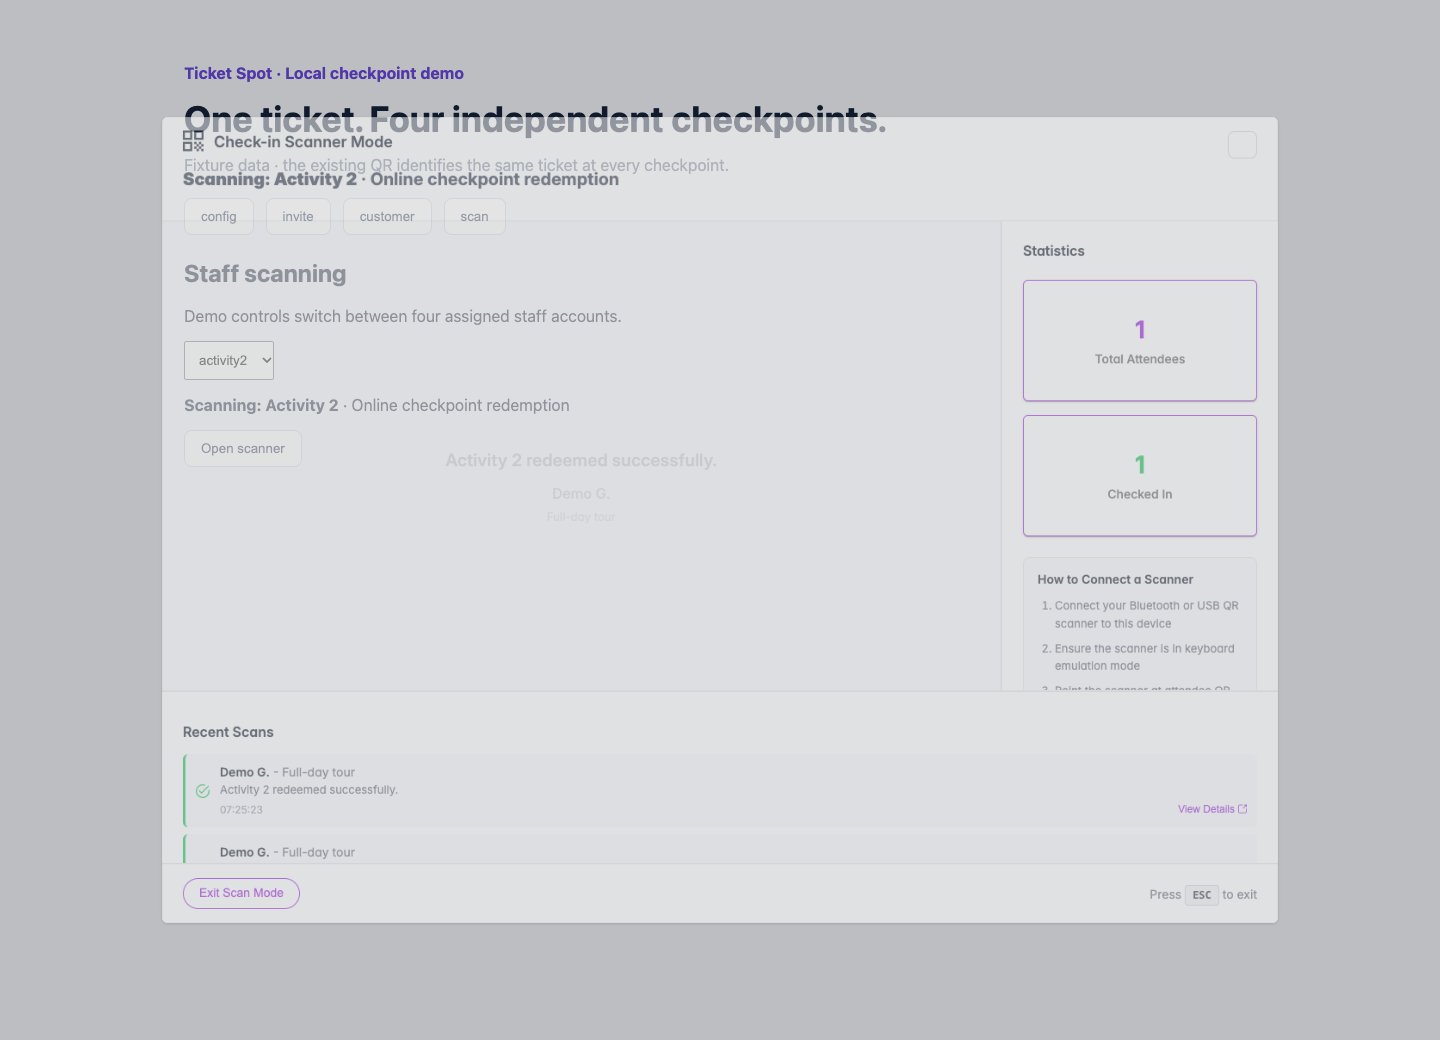
Local demo: Activity 2 has its own once-only redemption.
Lunch: the remaining meal entitlement
Lunch: the remaining meal entitlement
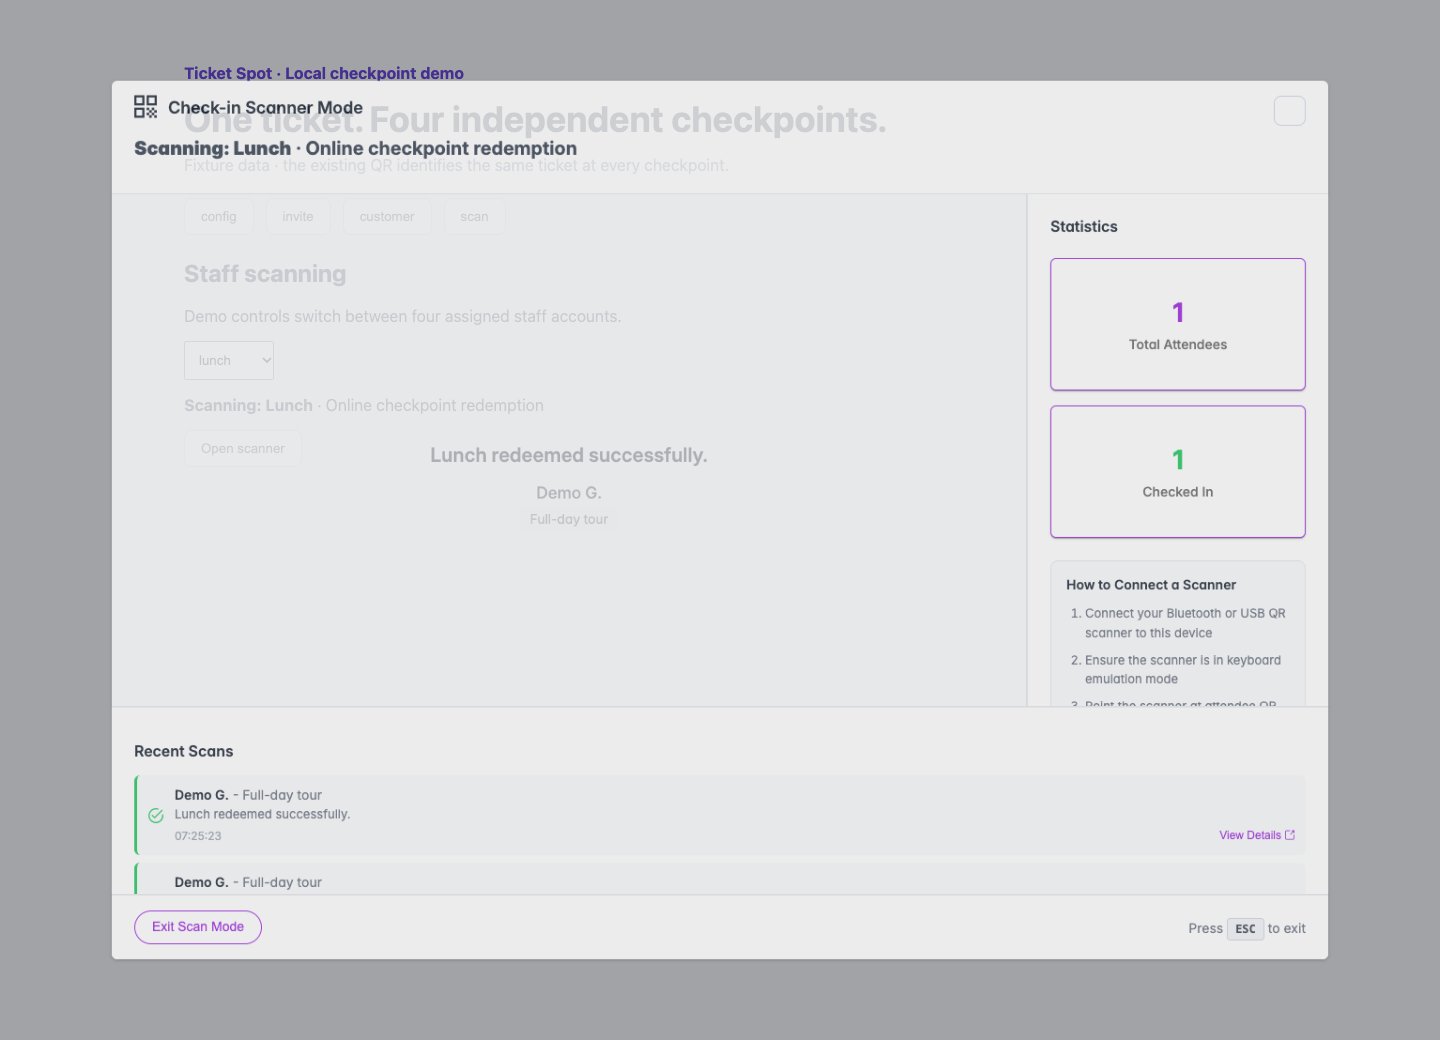
Local demo: Lunch still succeeds after Entrance and both activities were redeemed.
5. Reject repeats and unavailable entitlements
A new scan at an already used checkpoint shows already redeemed and the original timestamp. Other unused checkpoints remain available. Successful checkpoint redemptions also appear in the attendee’s Activity history as Checkpoint Redeemed, with the checkpoint name, staff member and time. The audit record stores the checkpoint ID and optional device ID. The Activity page also shows these as checkpoint use, separately from ordinary check-in. Repeats and request retries do not add another successful-redemption entry.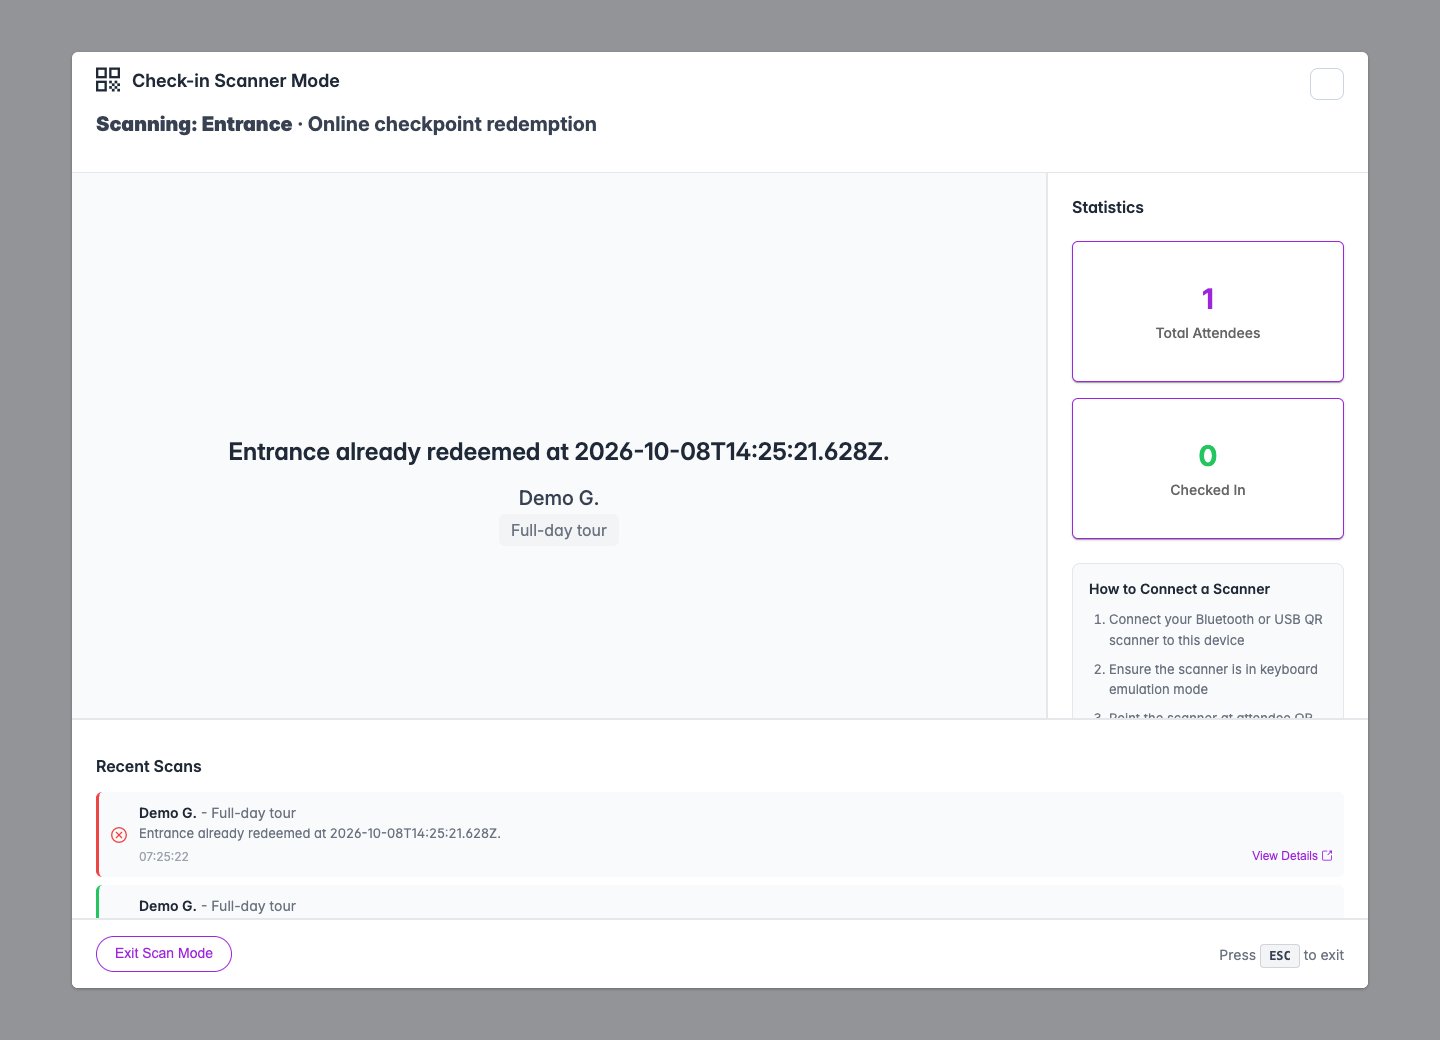
Local demo: rescanning at Entrance is rejected, while the activities and lunch can still be redeemed.
6. Review the redemption report
As an owner or administrator, return to Checkpoints and expand Redemptions below the setup. The report loads when opened. Use Refresh report to update it, and review each checkpoint’s count and the ticket, time and staff account in the table. Use Load more redemptions when there are additional records.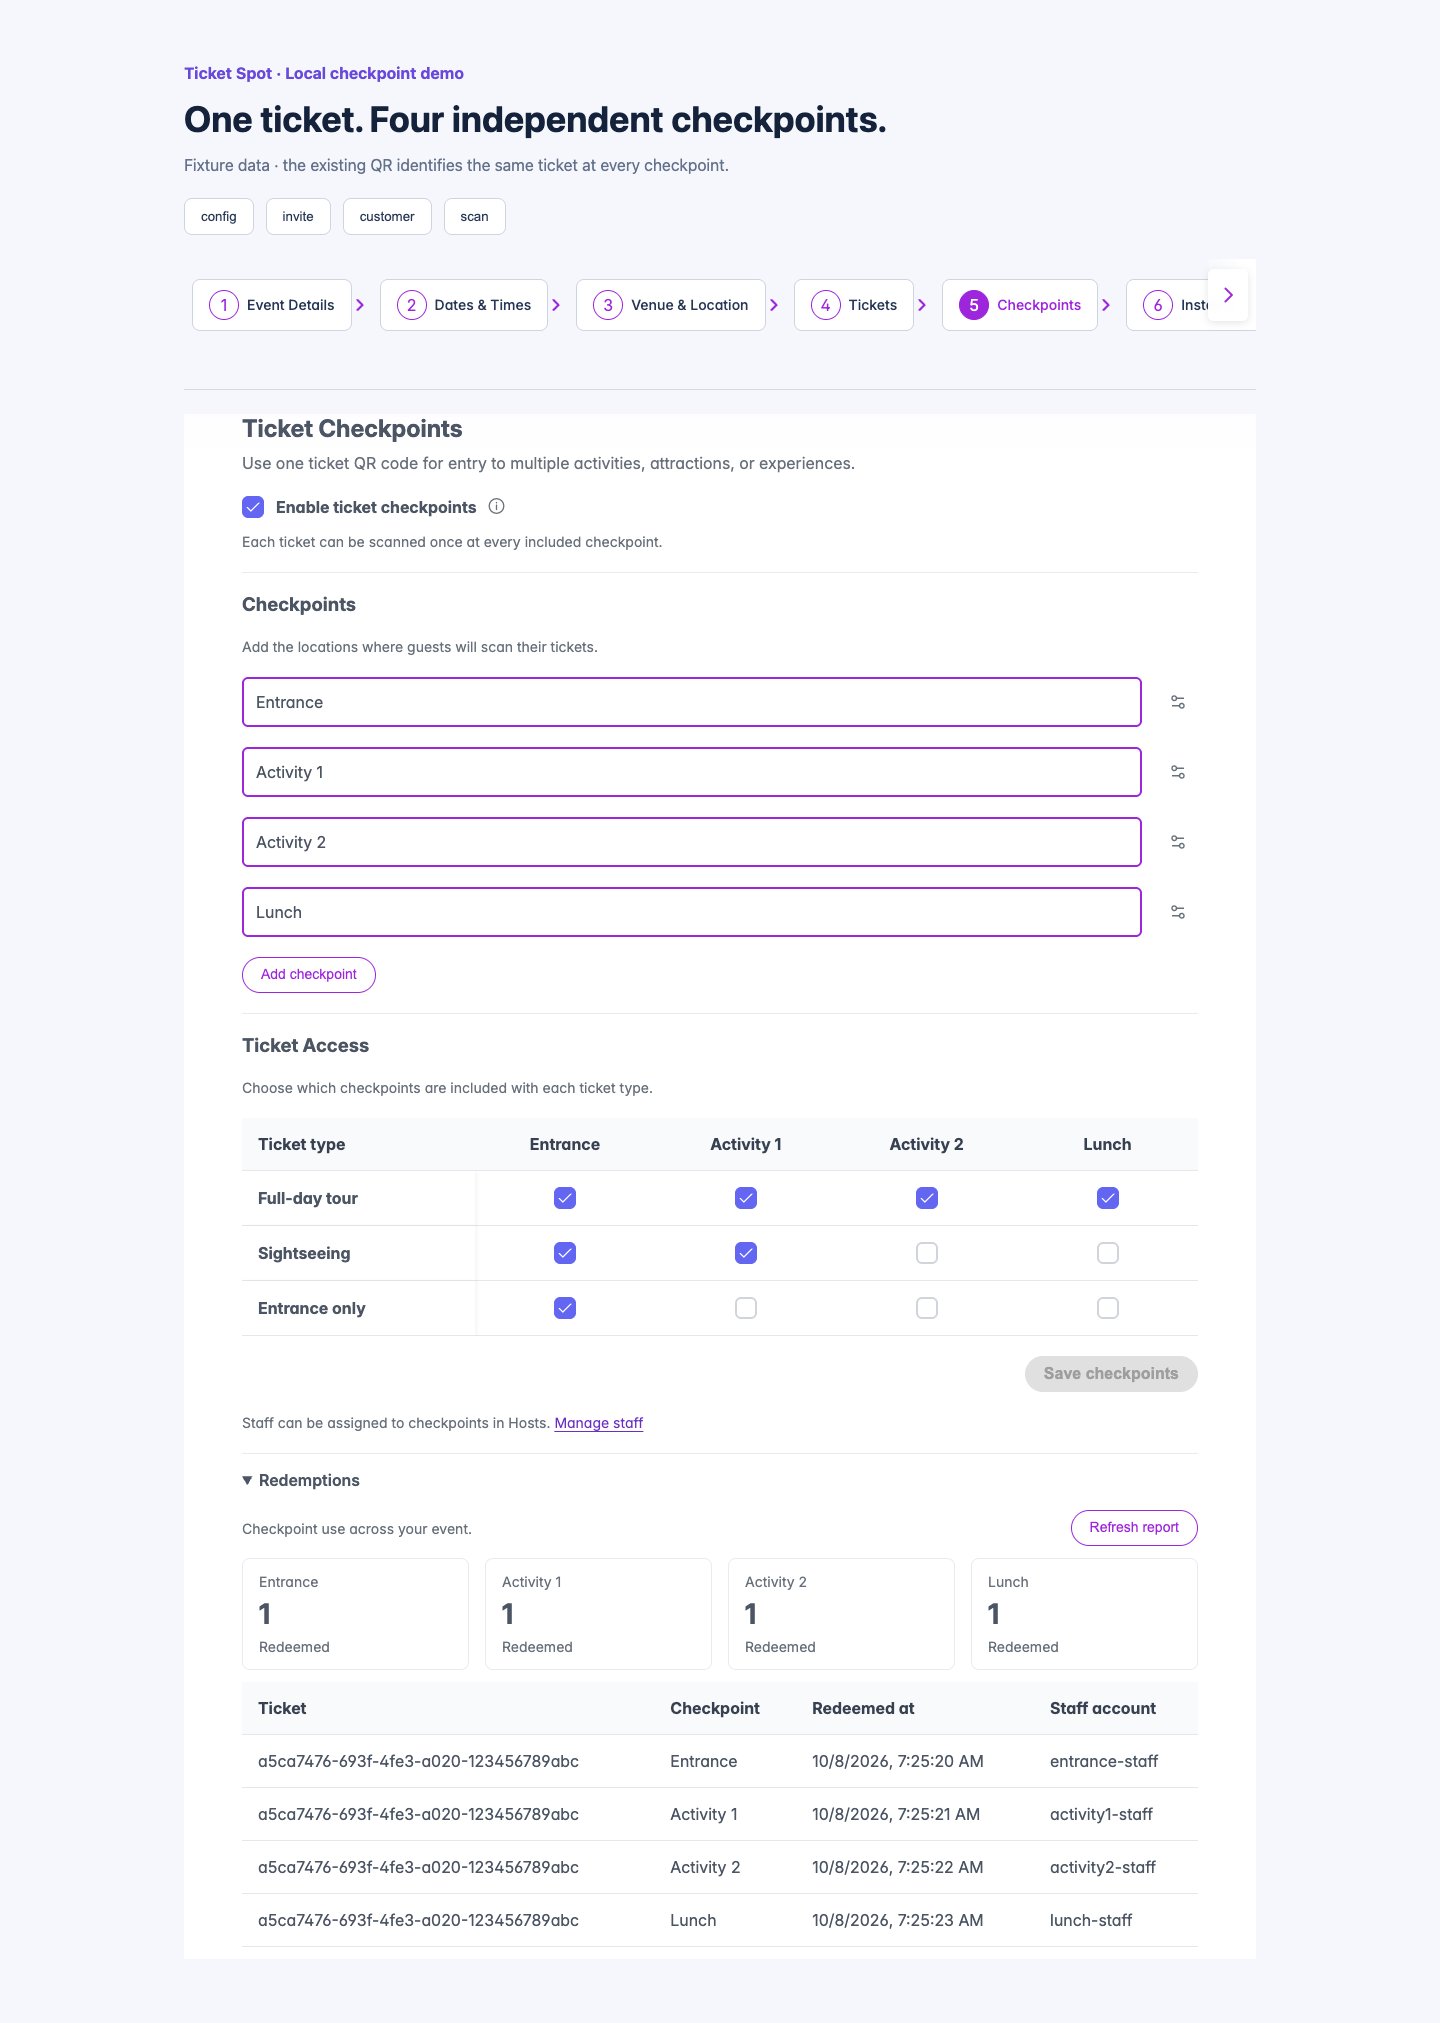
Local demo: one ticket has four independent redemptions. Each checkpoint's count is one, with its own staff account and time.
Maintain the configuration
- Rename a checkpoint to change its label while preserving its permanent identity and redemption history.
- Archive it to stop redemption there. Restoring it does not reset used entitlements.
- Change ticket inclusions for future ticket sales. Existing tickets retain their issued entitlements and arrival designation.
- Disable checkpoints to stop redemption on checkpoint tickets. Disabling does not convert those tickets to ordinary check-in.
- Remove an assignment or revoke staff access to stop that account from redeeming checkpoints.