
Build and publish a chart
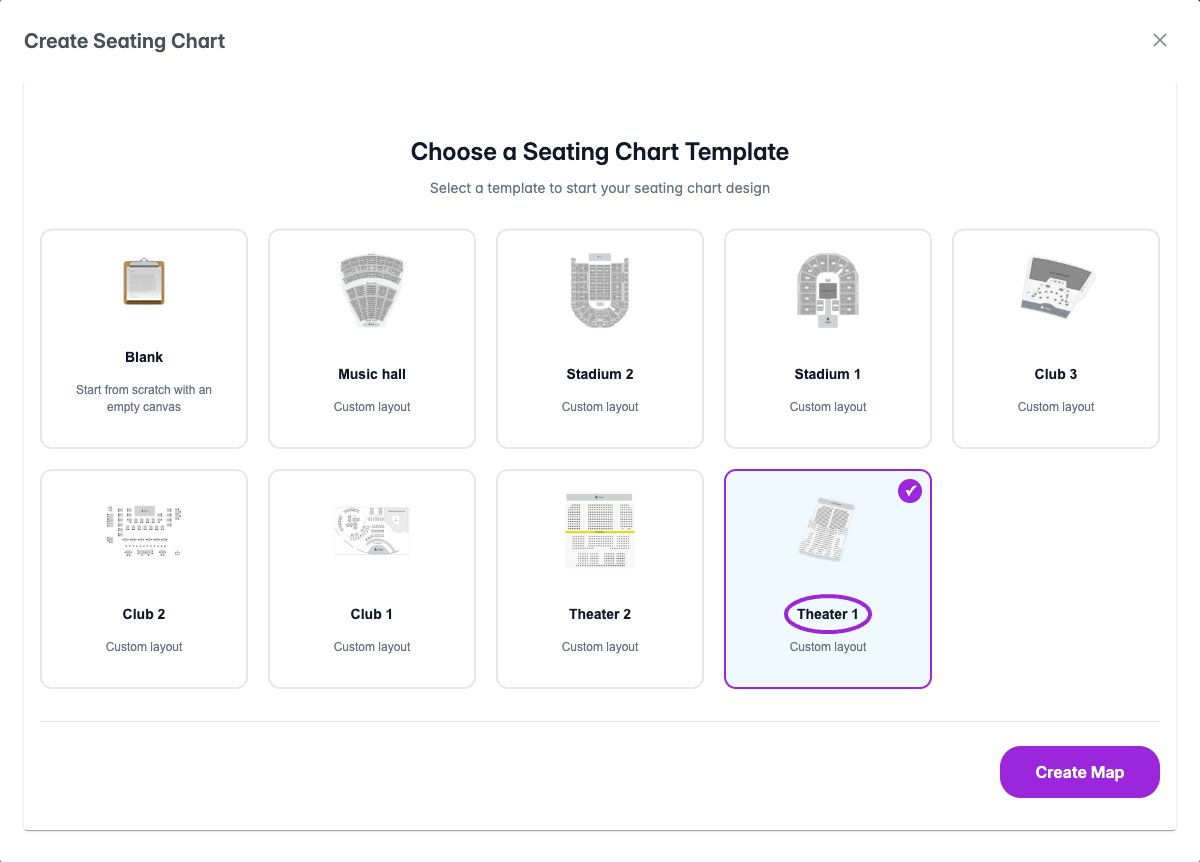
Choose Blank or a venue template, then select Create Map. If the designer does not open automatically, use the new chart’s actions menu → Edit.
Create the venue map
Lay out the venue
Create seat categories
Publish
See the designer, categories, and published result
See the designer, categories, and published result
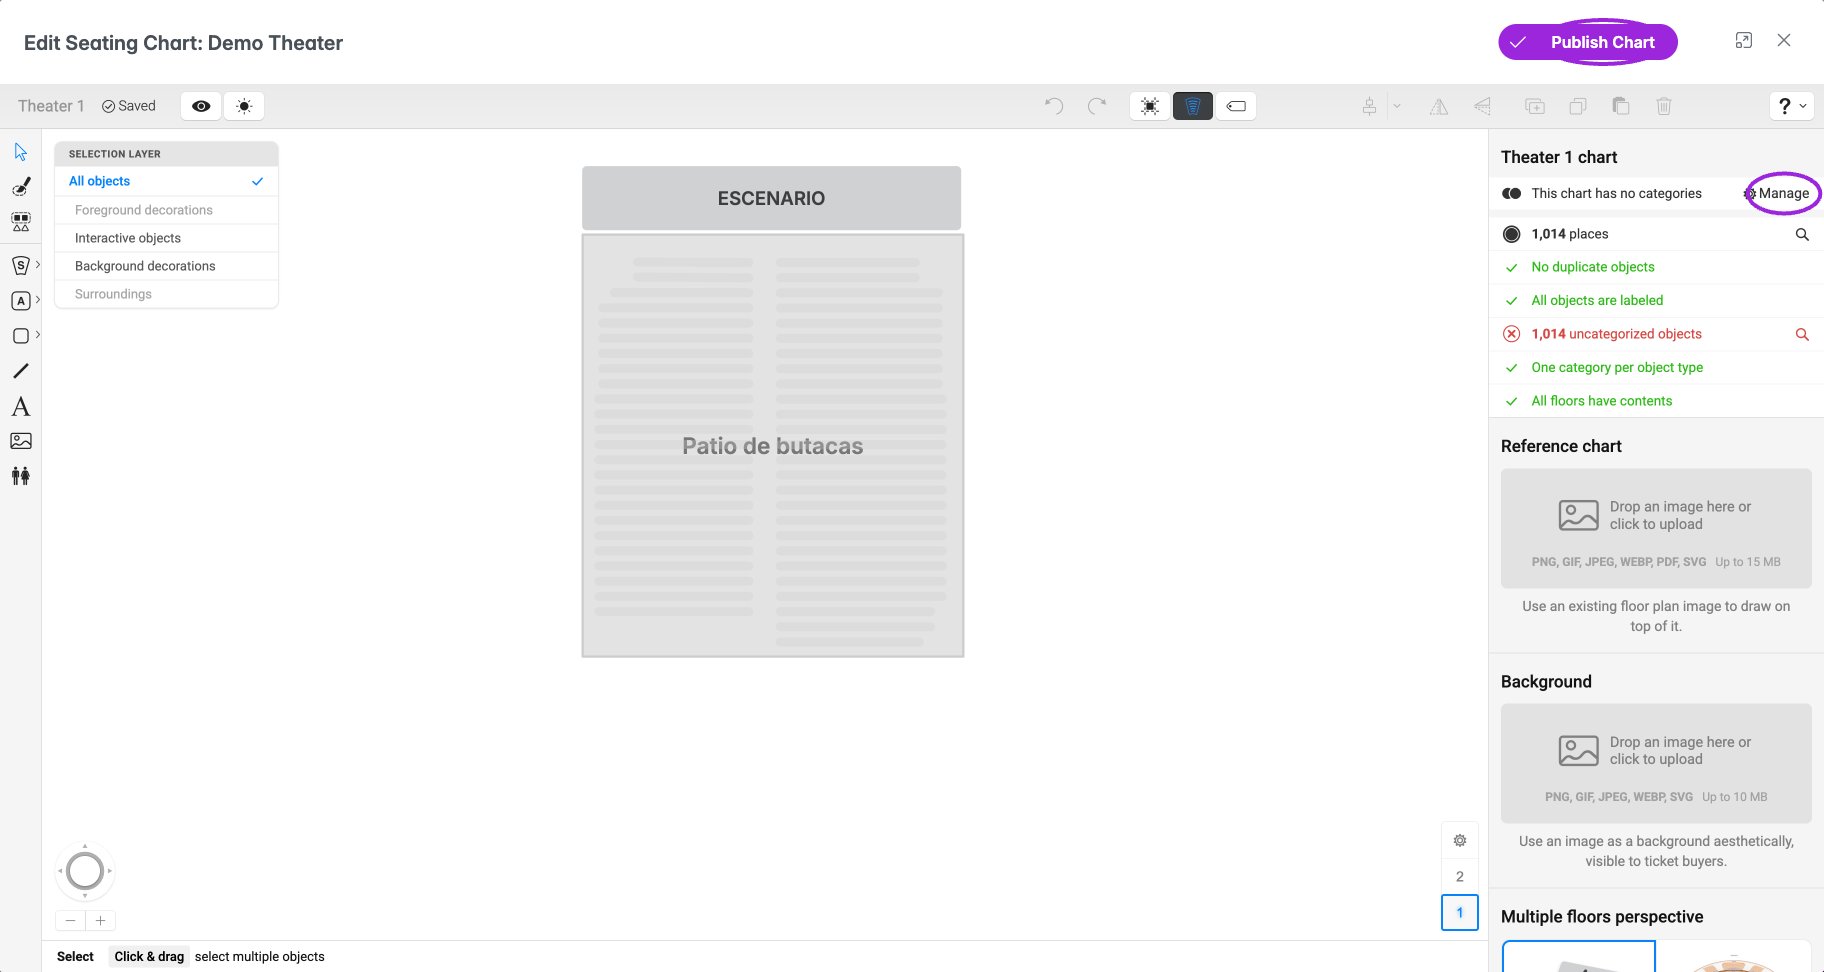
The designer reports uncategorized seats before publishing. Use Manage to create categories, assign every bookable object, then Publish Chart.
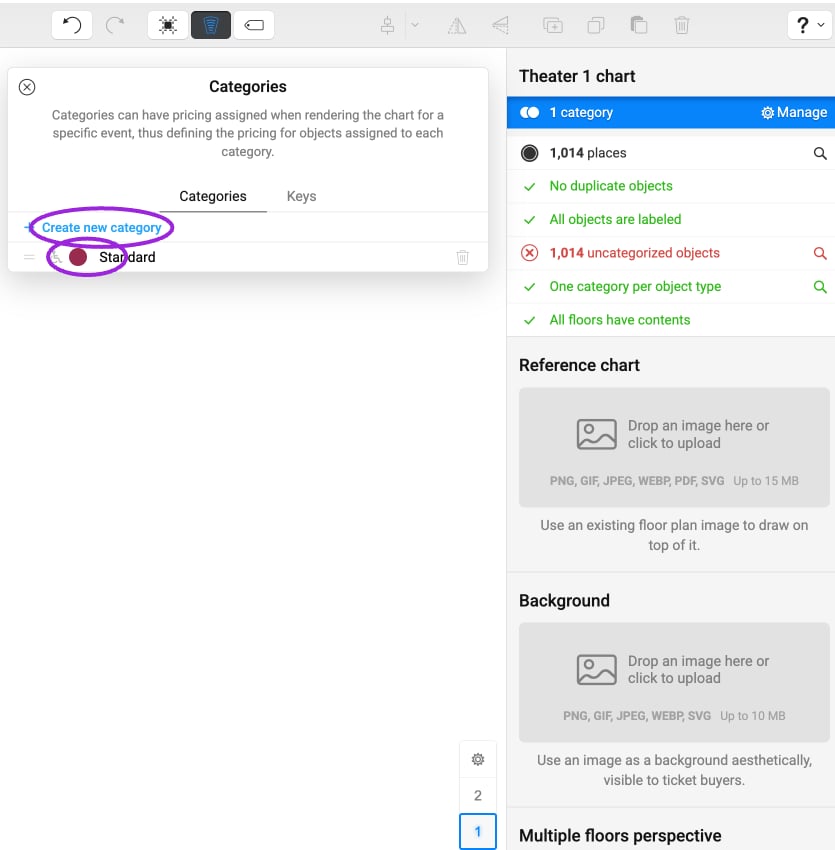
Create named seat categories in the designer. Ticket prices are assigned later on the event.
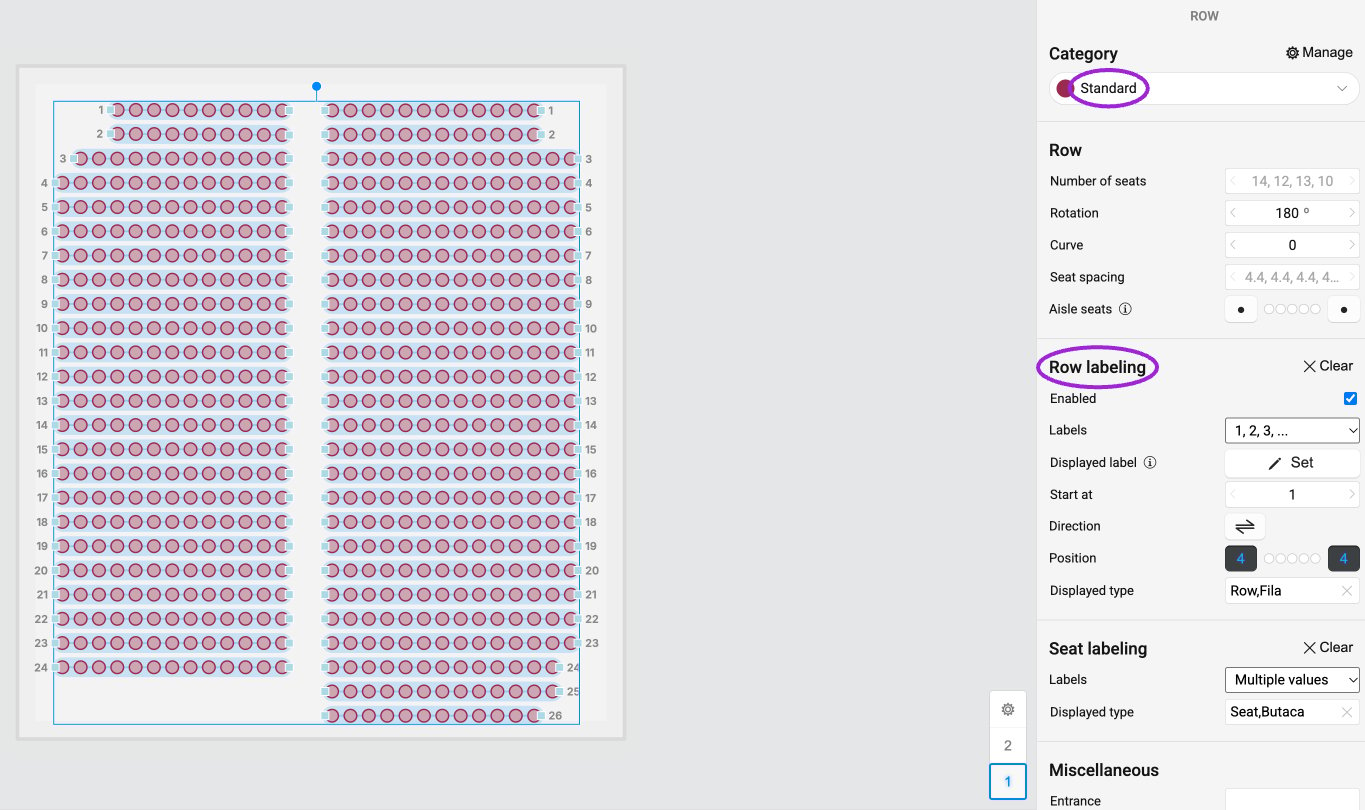
Select rows or seats and choose a Category. The same properties panel controls row and seat labels, spacing and orientation.
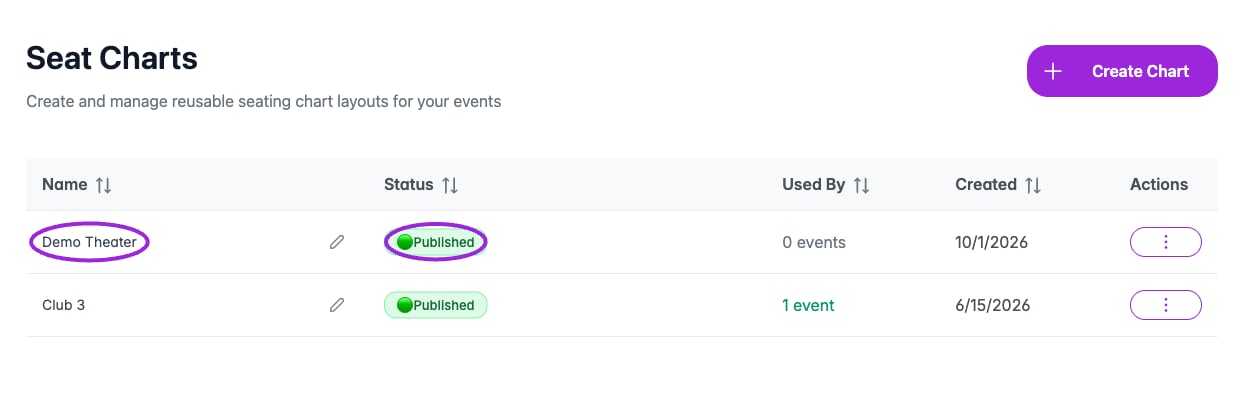
Confirm the chart is Published in Seat Charts before assigning it to an event. Rename with the pencil; the actions menu contains Edit, Duplicate and Delete.
Assign the chart to an event
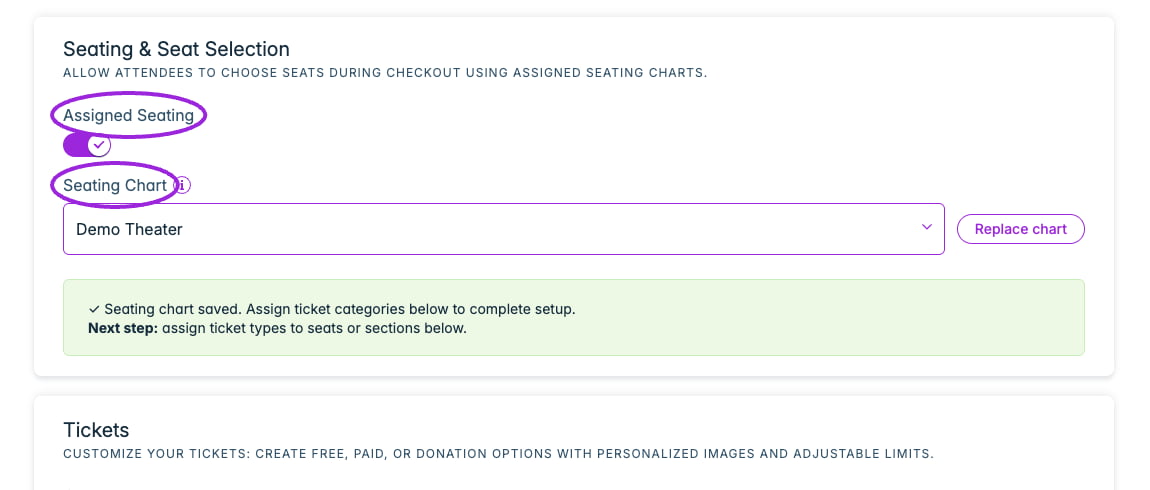
Enable Assigned Seating in Tickets and choose a published chart. Wait for the saved confirmation, then assign seat categories to tickets below.
- Open or create your ticketed event and save it.
- In Tickets, find Seating & Seat Selection and enable Assigned Seating.
- Choose a published Seating Chart. Draft charts are not selectable.
- Create or edit each ticket type. In its Seat Categories settings, select the categories that this ticket can book, and set its price and applicable ticket controls.
- Save the ticket and event. Check that every category offered for sale has an appropriate ticket assignment.