| Role | Permissions |
|---|---|
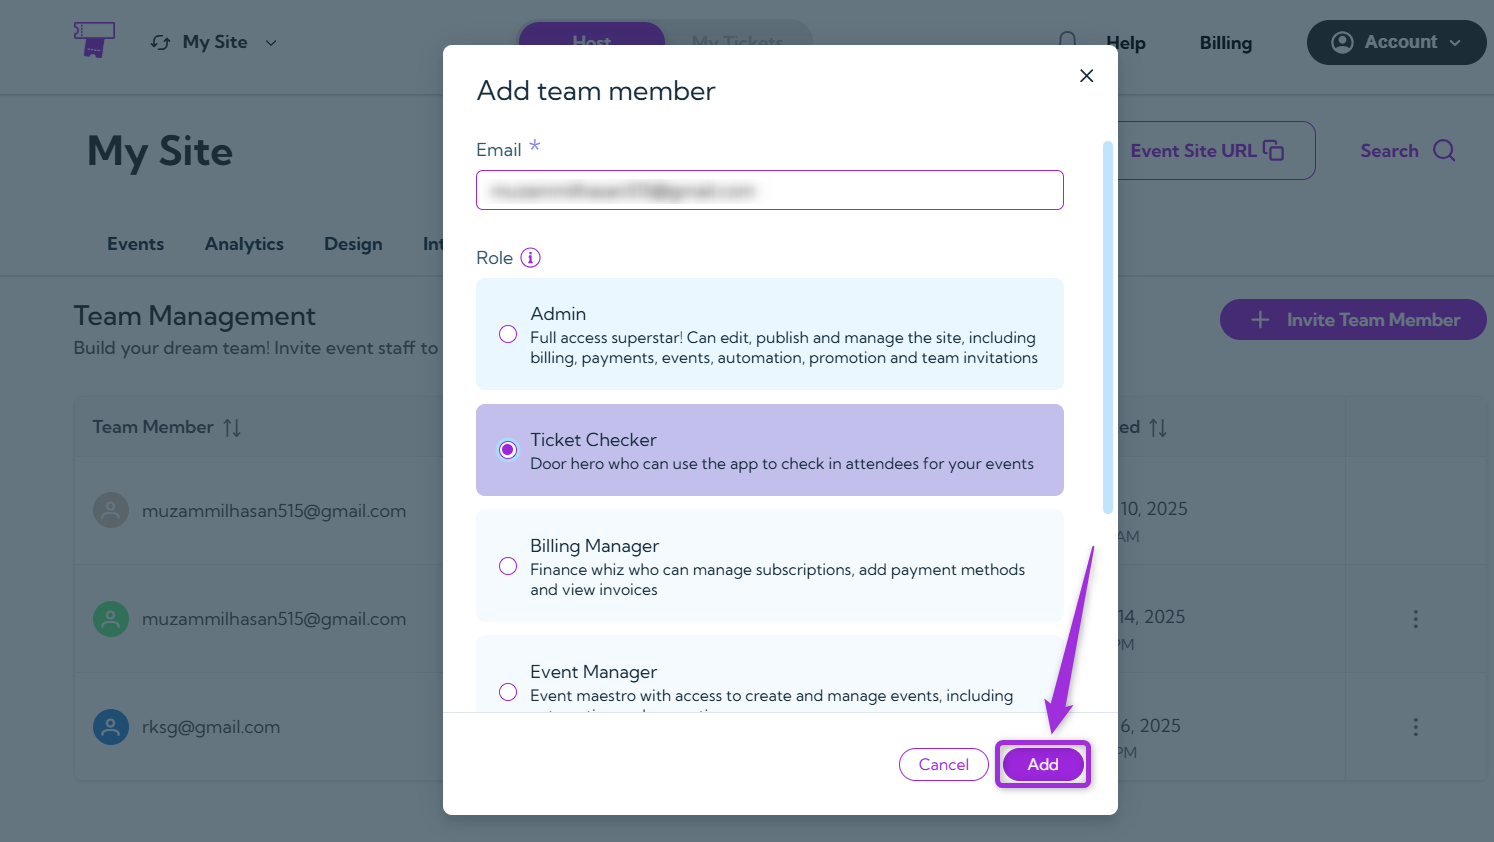
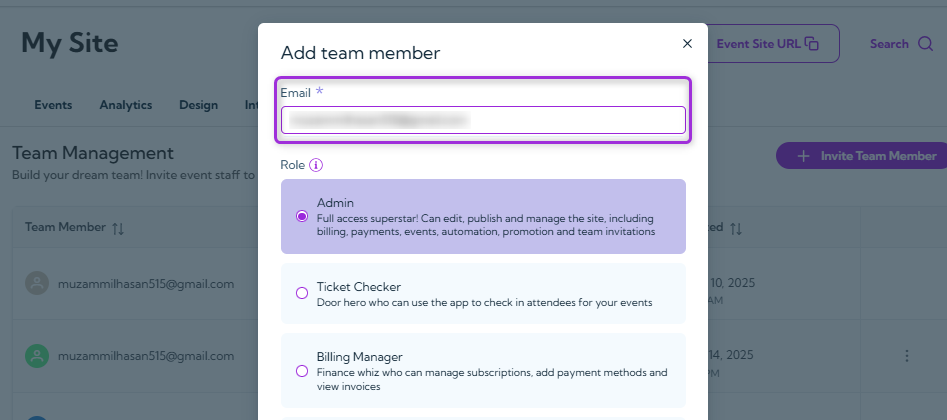
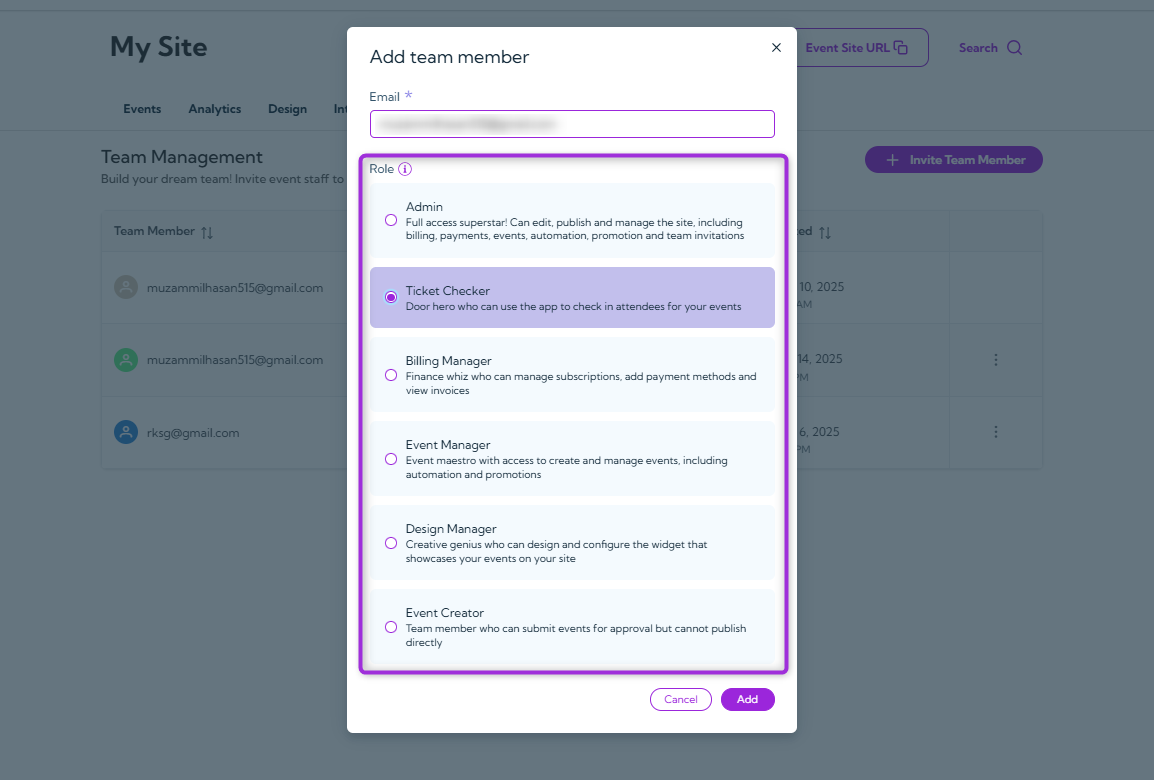
| Admin | Full access to all settings, billing, events, promotions, automation, and team management. |
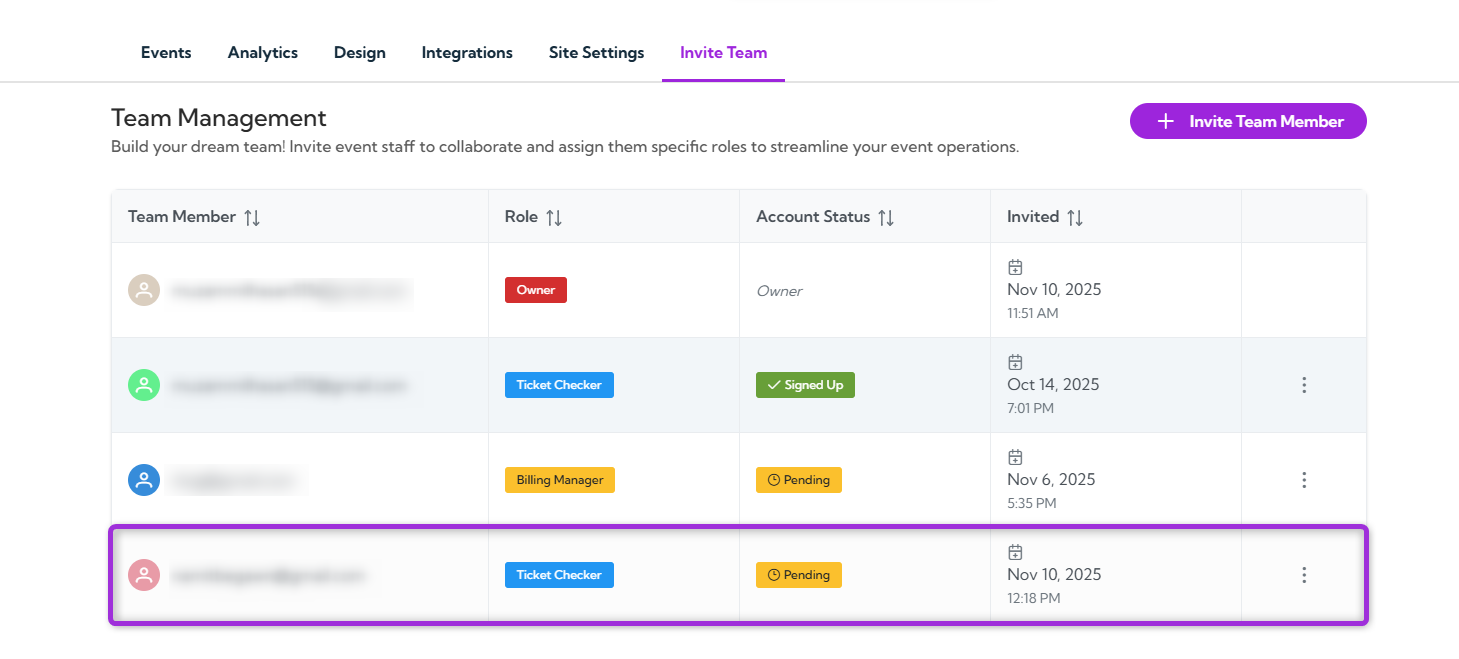
| Ticket Checker | Can check in attendees for events using the app. |
| Billing Manager | Manages subscriptions, billing details, invoices, and payment methods. |
| Event Manager | Can create and manage events, promotions, and automation. |
| Design Manager | Can design and configure the event widget for your site. |
| Event Creator | Can create events and submit them for approval, but cannot publish directly. |