Once you have defined the Date and Time, the next step is to configure the Venue & Location section, which helps you specify where your event will take place — in-person or online. Adding clear and accurate venue information ensures attendees can easily find or join your event and enhances the overall experience. Let’s get started 🚀Documentation Index
Fetch the complete documentation index at: https://docs.ticketspotapp.com/llms.txt
Use this file to discover all available pages before exploring further.
Add Venue Details
You can fill in the following details to define your event location:| No. | Detail | Explanation |
|---|---|---|
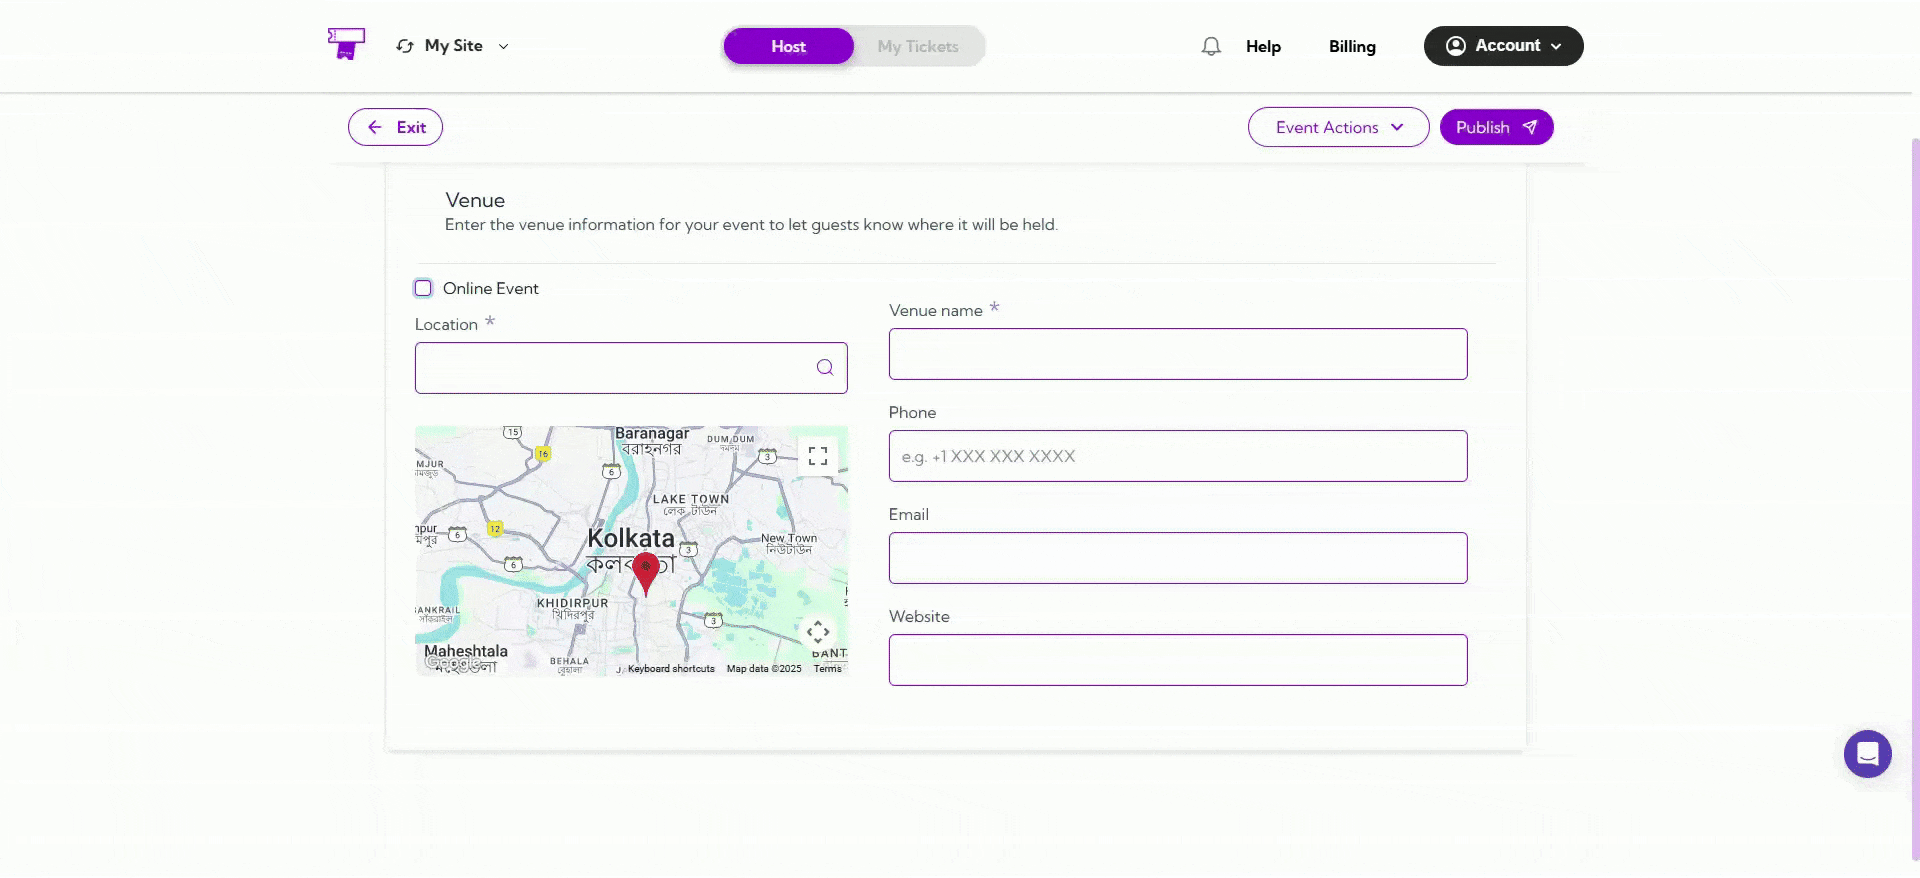
| 1 | Online Event | Check the checkbox if you want the event to be hosted virtually. You can connect your Zoom account to automatically generate meeting or webinar links for attendees. |
| 2 | Location | Enter the complete venue address or search for it using the integrated map to mark the exact spot. |
| 3 | Venue Name | Add the official name of your event venue — for example, PVR Kolkata or Hilton Conference Center. |
| 4 | Phone | Provide a valid contact number attendees can use for inquiries or directions. |
| 5 | Enter an email address for event or venue communication. | |
| 6 | Website | Enter the event website link to share additional details such as directions, images, or venue guidelines. |

💡 Note: Once you’ve added the Venue & Location details, proceed to the Tickets section to set up ticket types, pricing, and availability.
Tips & Best Practices
- Double-check the map pin to ensure your venue is correctly located.
- For online events, connect your Zoom account to automate meeting link creation.
- Keep your contact number and email updated for attendee support.
- Add a website link to make your event listing more detailed and trustworthy.