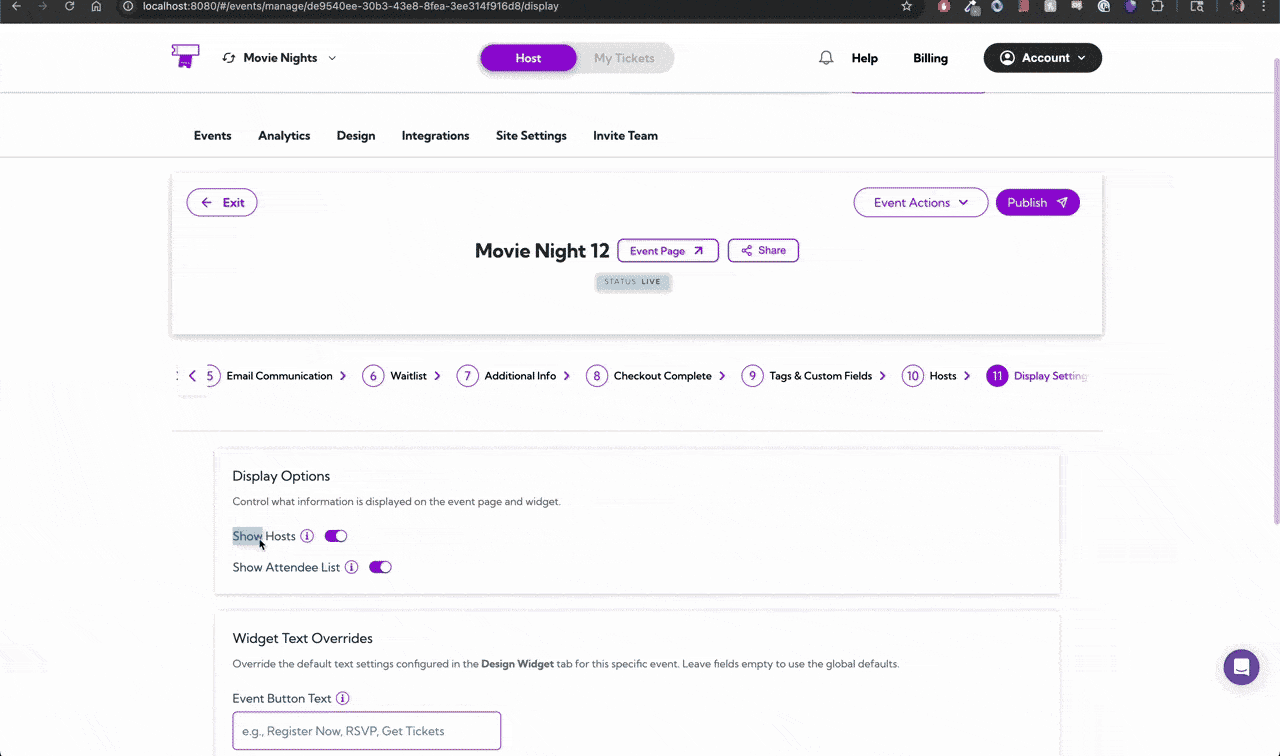
From here, you can decide whether to show hosts or the attendee list, customize the event button text in your widget, and change key labels on the event page—without affecting the global design settings for other events. Let’s get started 🚀
Display Options
The Display Options control what information appears on the event page and widget. Use these toggles to show or hide key event details based on what you want attendees to see.- Show Hosts: Turns on the list of event hosts so attendees can see who is managing or presenting the event.
- Show Attendee List: Shows everyone who has registered for the event on both the event page and widget.
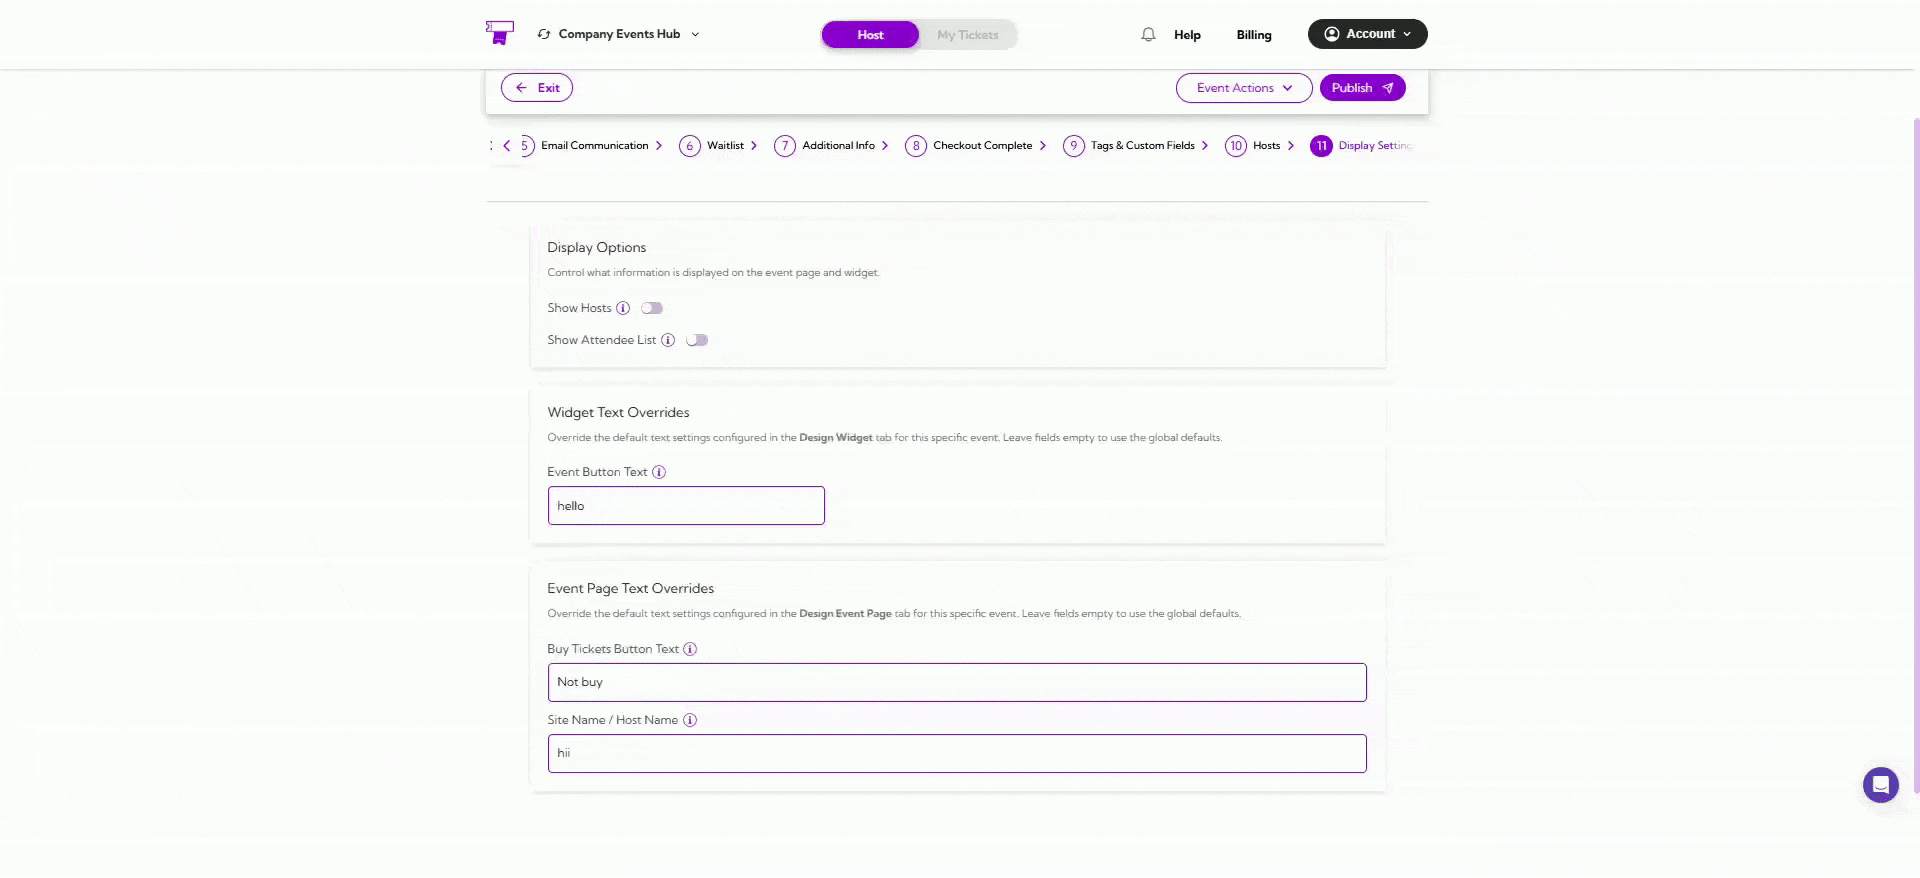
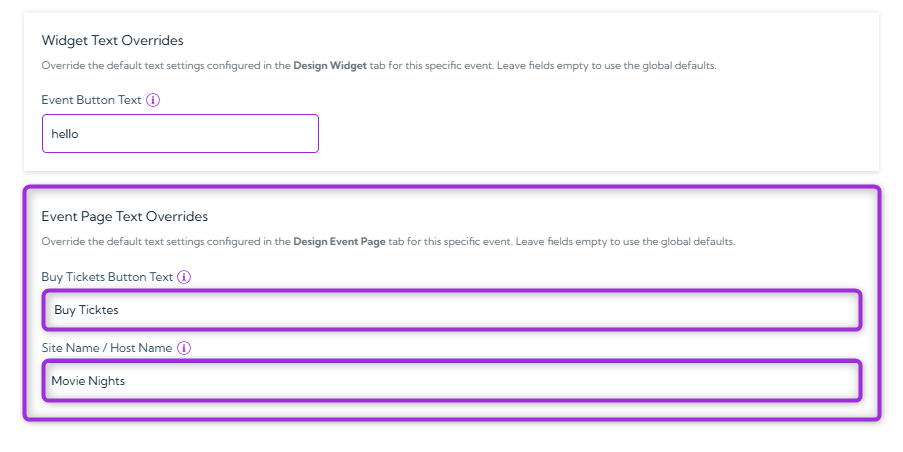
Widget Text Overrides
Widget Text Overrides helps you replace the default button text in the calendar widget for this specific event. This is useful when you want custom wording that applies only to this event, without changing the global settings.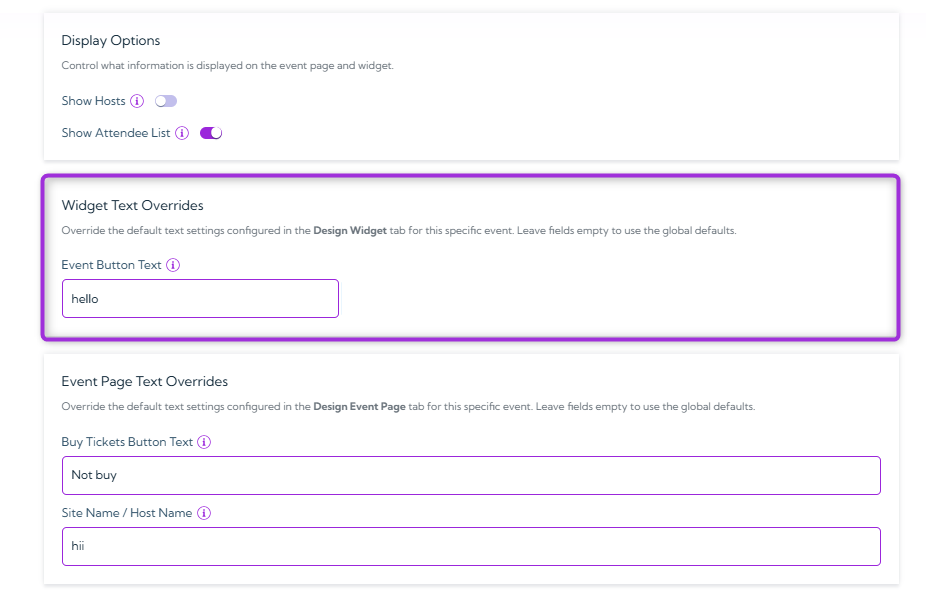
Tip: If you leave a field blank, the widget will automatically use the global default text from the Design Widget tab.
Event Page Text Overrides
Event Page Text Overrides allow customization of the text shown on the event page for this specific event. These changes apply only to this event and do not affect the global text set in the Design Event Page tab.- Buy Tickets Button Text: Enter custom text to change the label on the Buy Tickets button. This is useful if the event requires different wording, such as “Register Now,” “Reserve Seat,” or “Join Event.”
- Site Name / Host Name: Update the site or host name shown on the event page and kiosk check-in. This is helpful when the event needs a different display name than the main site or when a specific host should appear for this event only.
Tip: If you leave a field blank, the widget will automatically use the global default text from the Event Page tab.
Event Page Preview
Before you publish your event, this preview shows exactly what attendees will see. As you update your display settings, text, and host visibility, the preview refreshes automatically.