
| Option | Description | Example |
|---|---|---|
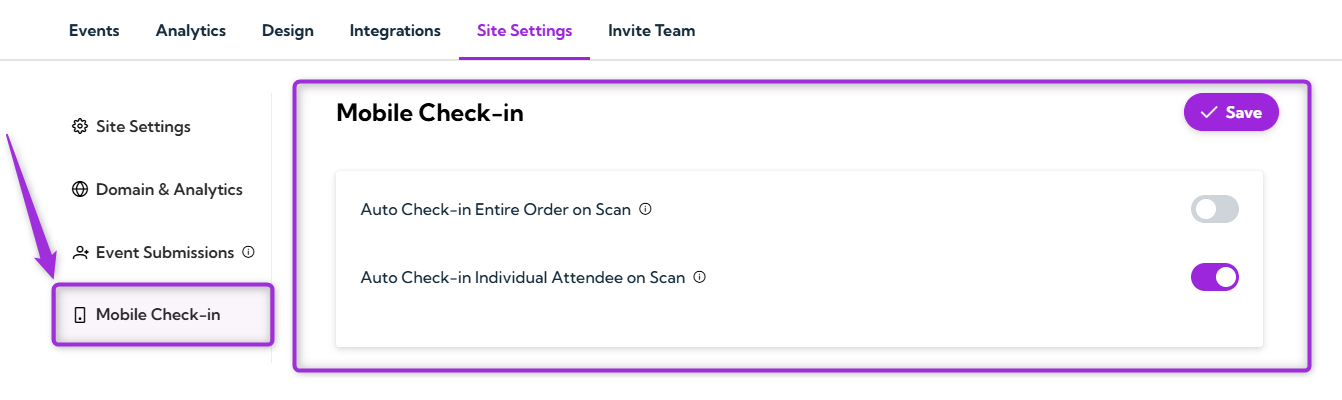
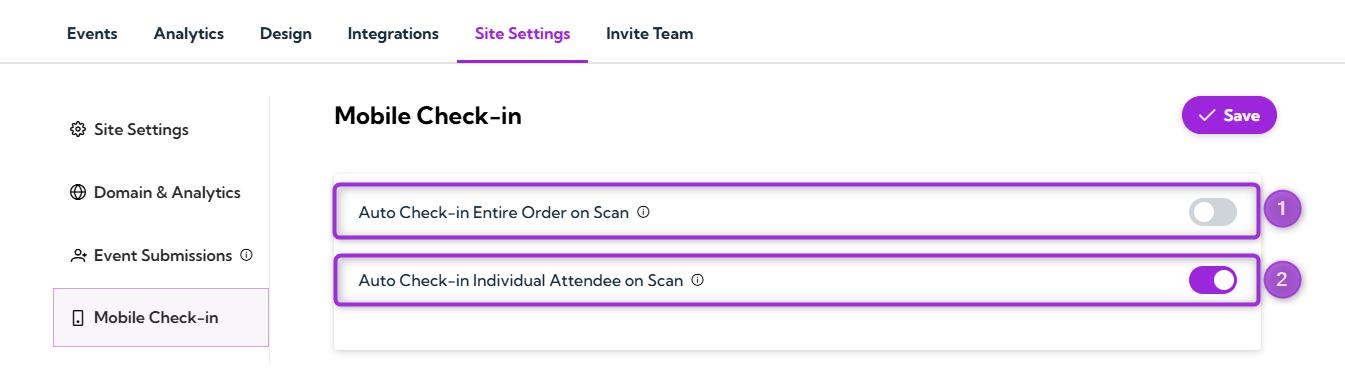
| Auto Check-in Entire Order on Scan | Checks all the tickets in order when you scan any one ticket. | A family or group arrives together. One scan checks everyone in. |
| Auto Check-in Individual Attendee on Scan | Checks in one attendee at a time. Each ticket must be scanned separately. | Helpful when you need to verify each attendee individually. |
Best Practices
- Choose the right mode based on how your attendees typically arrive (groups vs. individuals).
- Test your check-in method before the event using a sample ticket.
- Train your staff so they understand whether you’re using group check-in or individual check-in.
- Use a device with a reliable camera for faster and smoother scanning during entry.