With Zapier integration, you can automate workflows between Ticket Spot and other applications without writing any code. It enables triggering actions such as New Attendee, which occurs when a new attendee is created, and New Ticket Order, which happens when a new ticket order is placed. Once the event is triggered, you can automate the flow, like sending a customized email through Gmail or other actions, to ensure smooth communication and streamlined operations. Let’s get started 🚀

Prerequisites

Before setting up the integration, make sure you have:
  • An active Ticket Spot account with access to the Integrations page.
  • A Zapier account to create and manage your Zaps.

Integration

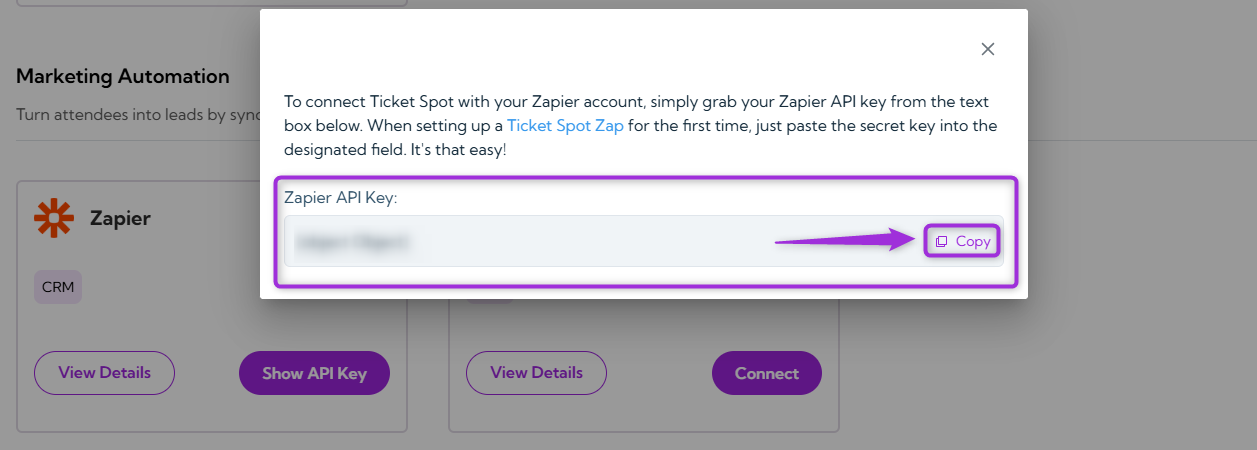
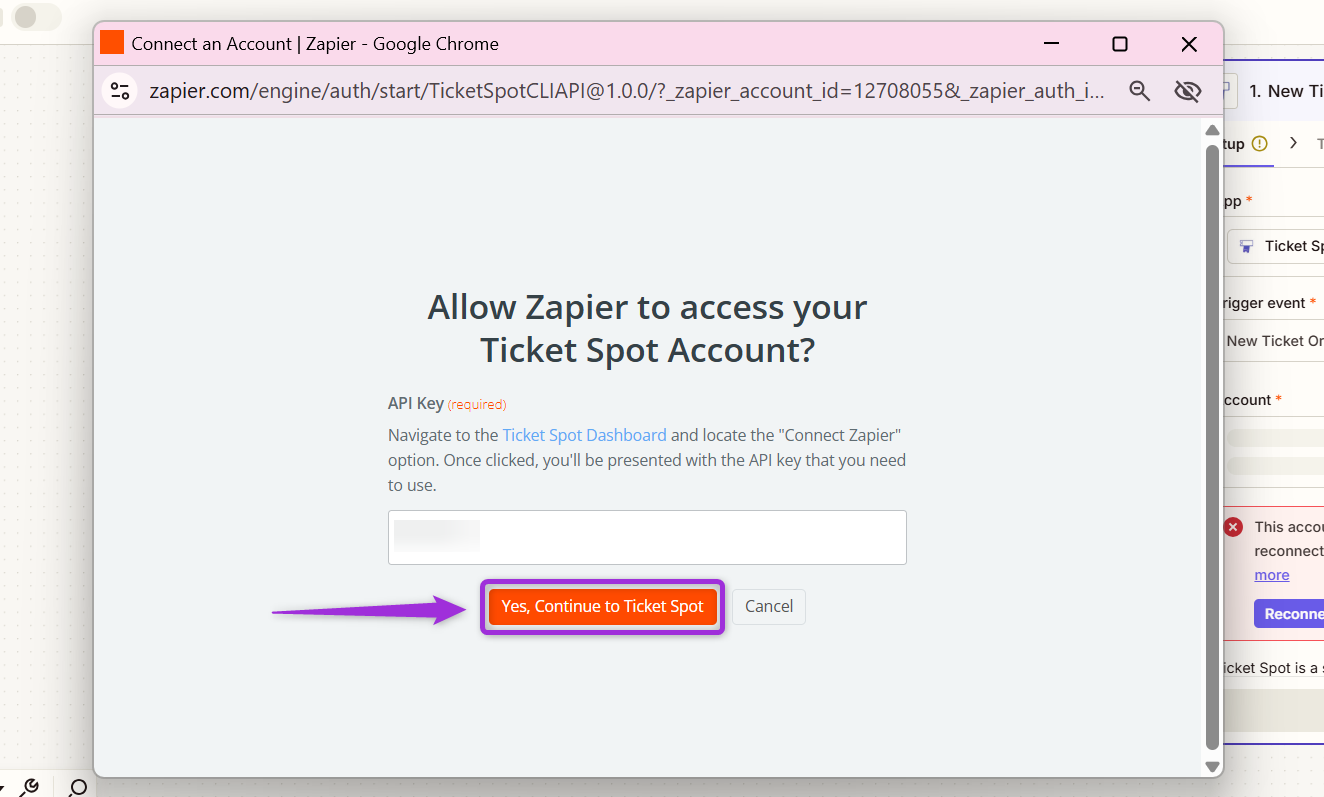
Step 1: Log in to your Ticket Spot account and click on the Integrations tab from the top navigation bar to open the integrations page.
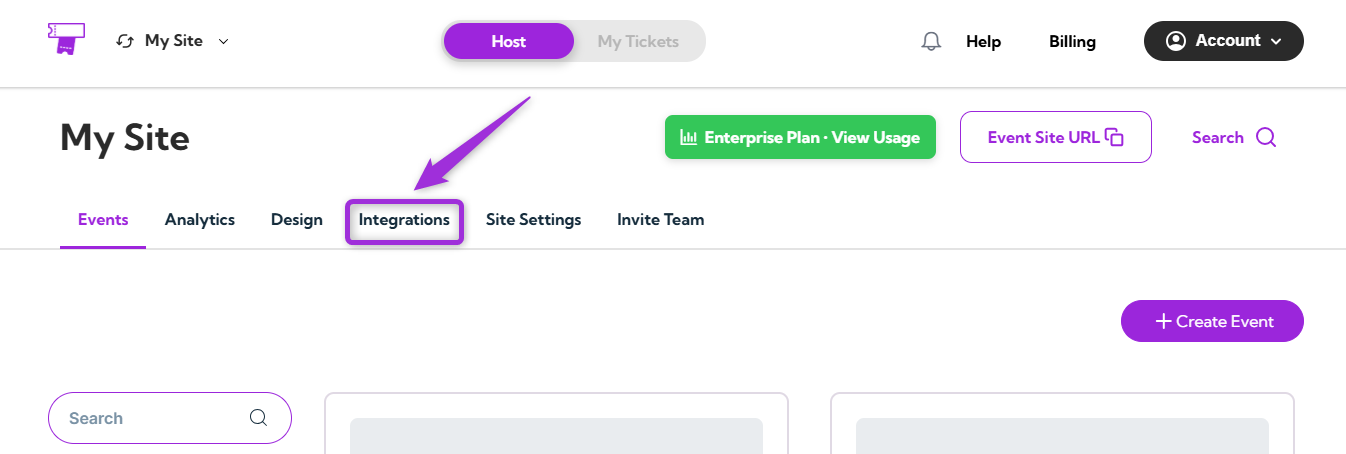
 integration-tab Step 2: Find the Zapier platform under the Marketing Automation category and click the Show API Key button to open the connection details. show-api-btn Step 3: Click Generate Zapier API Key to create your API key. generate-api-key Step 4: Copy the Zapier API Key displayed in the modal window. You’ll use this key when creating your Ticket Spot Zap for the first time. copy-api Step 5: Open the Ticket Spot Zap page on Zapier to set up your first Zap and authenticate it using your Zapier account credentials. sign-in Step 6: In Zapier, select Ticket Spot as the app and choose a Trigger event, such as New Attendee or New Ticket Order. app-trigger-event Step 7: Click Sign in under the Account section to start connecting your Ticket Spot account. signin-btn Step 8: Paste the API key you copied from your Ticket Spot dashboard into the authentication field and click on the Yes, Continue to Ticket Spot button to complete the connection. yes-conti-ts Step 9: Click on the Continue button to proceed and test the connection. click-continue1 Step 10: You will see the available records pulled from Ticket Spot. Select the appropriate record (e.g., Ticket A…) and click on the Continue with selected record button to proceed with setting up the trigger event. conti-select-record Step 11: Once the New Ticket Order trigger event is set up, choose the action app where you want to send the data. For example, if you want to send an email, select Gmail as the app. select-app Step 12: Select the action event you need (e.g., Create Draft, Add Label to Email, Archive Email, etc.), and sign in to your Google account to authenticate it. action-event-accnt Step 13: After setting up all the details, click on the Continue button to configure the next steps. click-continue2 Step 14: To create a draft email, ensure that you complete at least one of the following fields: To, Cc, or Bcc. You can also add other details such as Subject, From, Body, and more. Here’s a breakdown of the fields you’ll configure:
FieldDescription
ToEnter the email addresses of the primary recipients. You can add multiple recipients separated by commas.
CcEnter the email addresses of recipients to be carbon-copied. Multiple addresses are allowed.
BccEnter the email addresses of recipients to be blind carbon-copied. Multiple addresses are allowed.
SubjectDefine the subject line of the email (e.g., “Ticket Spot Test Run”).
FromThis will be auto-filled with your account’s email address (e.g., example@gmail.com).
From NameSpecify the name you want the email to appear from (e.g., Muze).
Body TypeChoose between Plain Text or HTML for the email body format.
BodyWrite the main content of the email (e.g., “Hello there”).
Add SignatureSelect to add the default signature to the email.
Label or MailboxChoose the labels you want to apply to the email (e.g., Inbox and all labels).
AttachmentsOptionally attach files to the email if needed.
configure-gmail Step 15: Test your Zap by confirming that the data from Ticket Spot triggers the desired action (e.g., sending a draft email in Gmail), then click Publish to activate the Zap and automate the workflow. test-publish

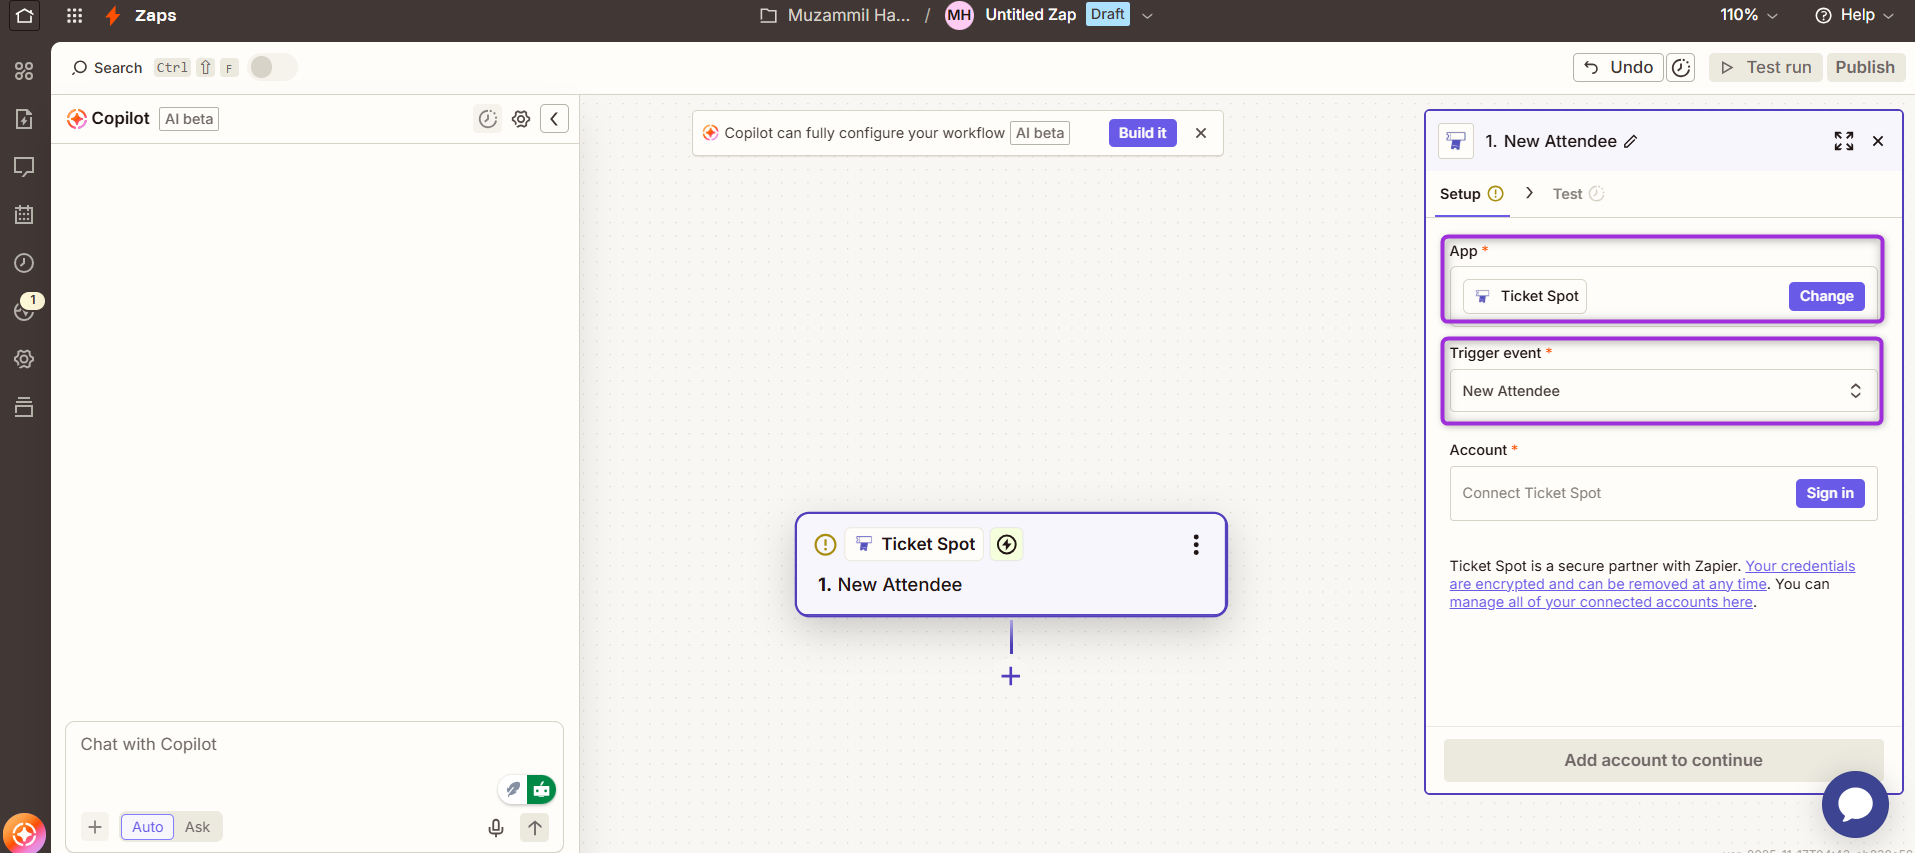
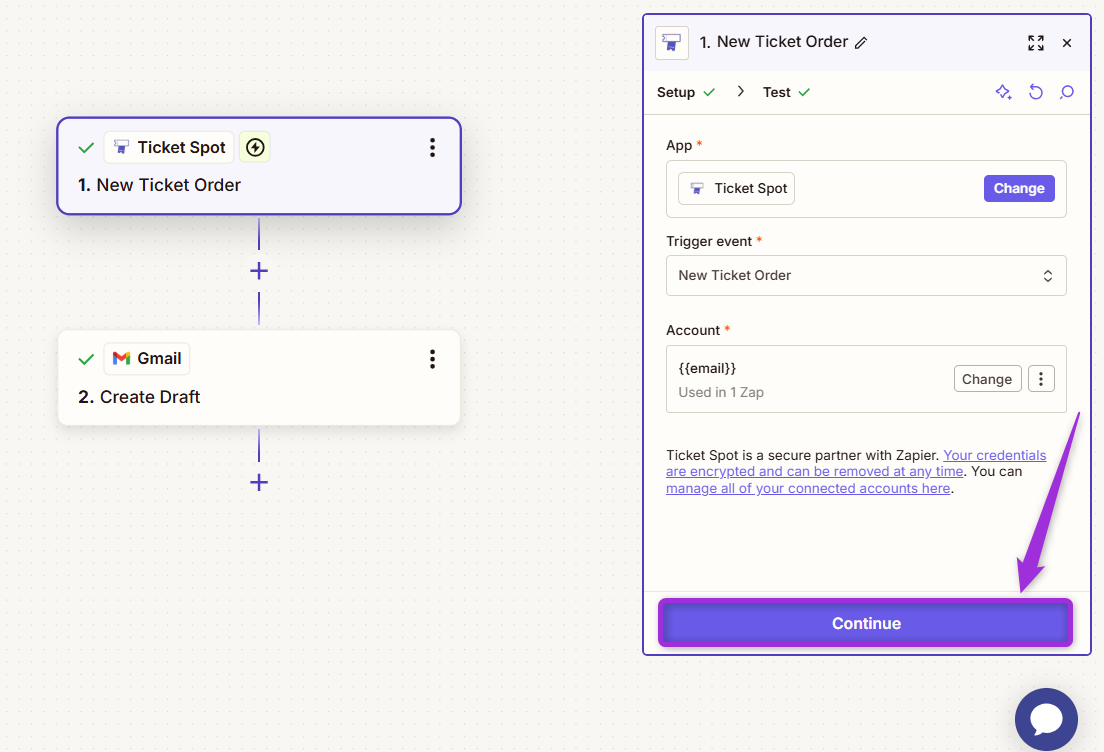
Trigger the Action: Ticket Purchase

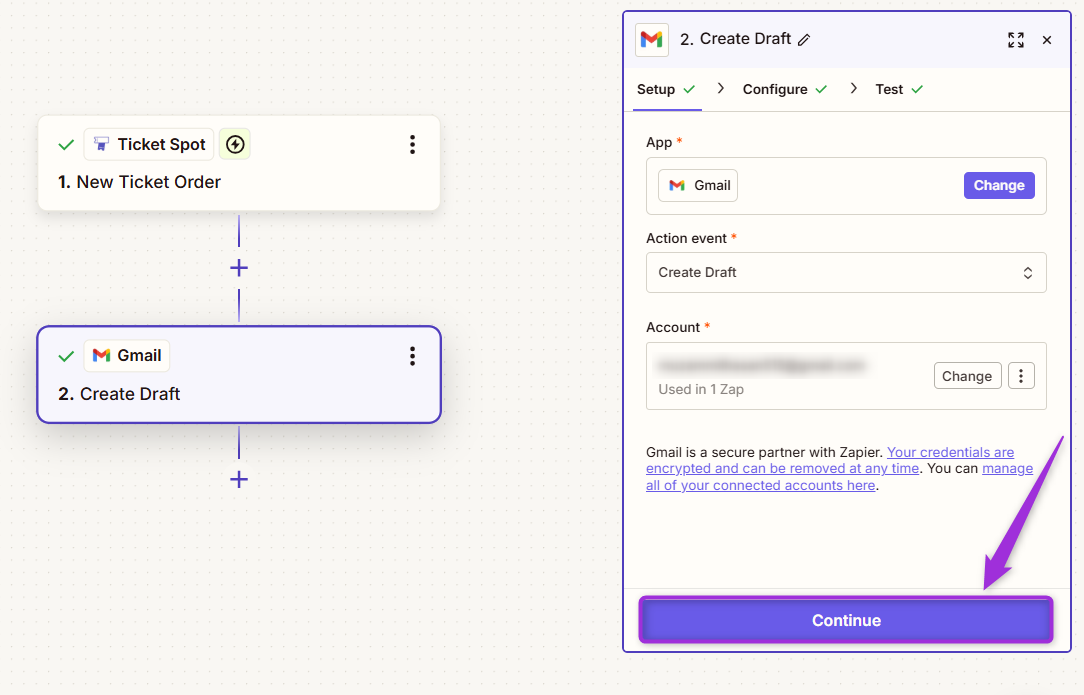
As we’ve set up, when a new ticket is purchased, the trigger event activates, and the corresponding action (e.g., sending a draft email) will occur.
  • Ticket Purchase: When a user buys a ticket, it triggers the Zap.
  • Action: A draft email is automatically sent to the recipient (as configured earlier in Gmail).
purchase-ticket

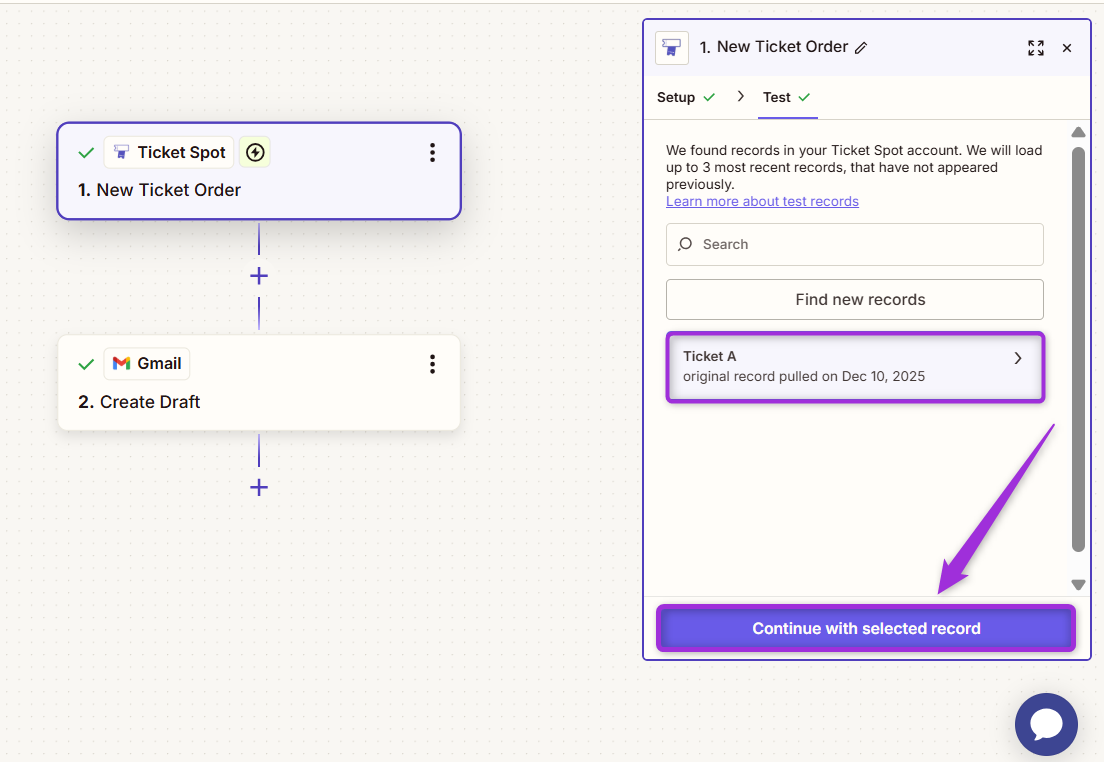
View the Draft Email in Gmail

After triggering the Zap, open Gmail and check for the draft email. You’ll see that the draft email was automatically created and sent after a new ticket purchase in Ticket Spot. draft-email Your Zap is fully set up and tested successfully; the workflow will run automatically each time a ticket is purchased.