This section forms the business backbone of your event — determining how it’s categorized, discovered, and sold on the platform. By setting up details like type, category, registration method, capacity, and visuals, you control your event’s visibility, audience targeting, and revenue potential, ensuring it’s optimized for both engagement and sales performance. Let’s get started 🚀
Type
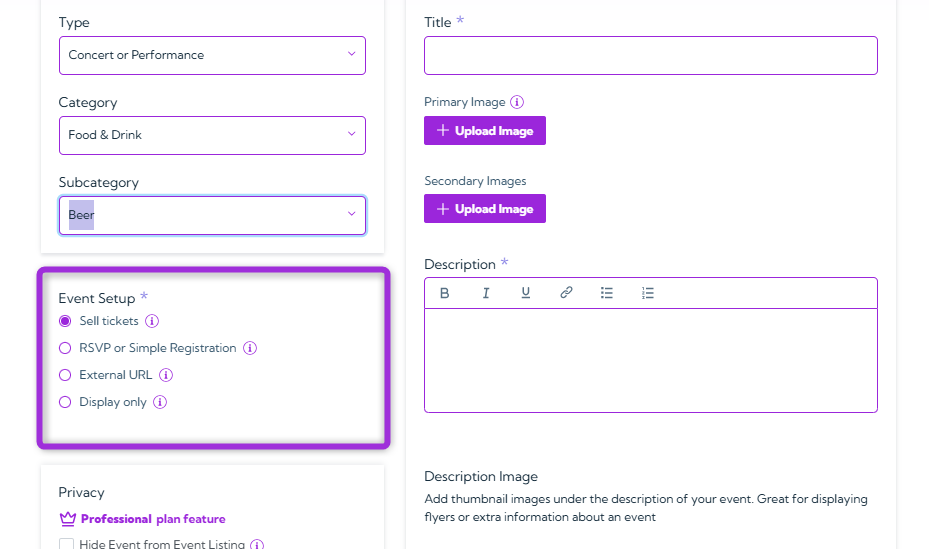
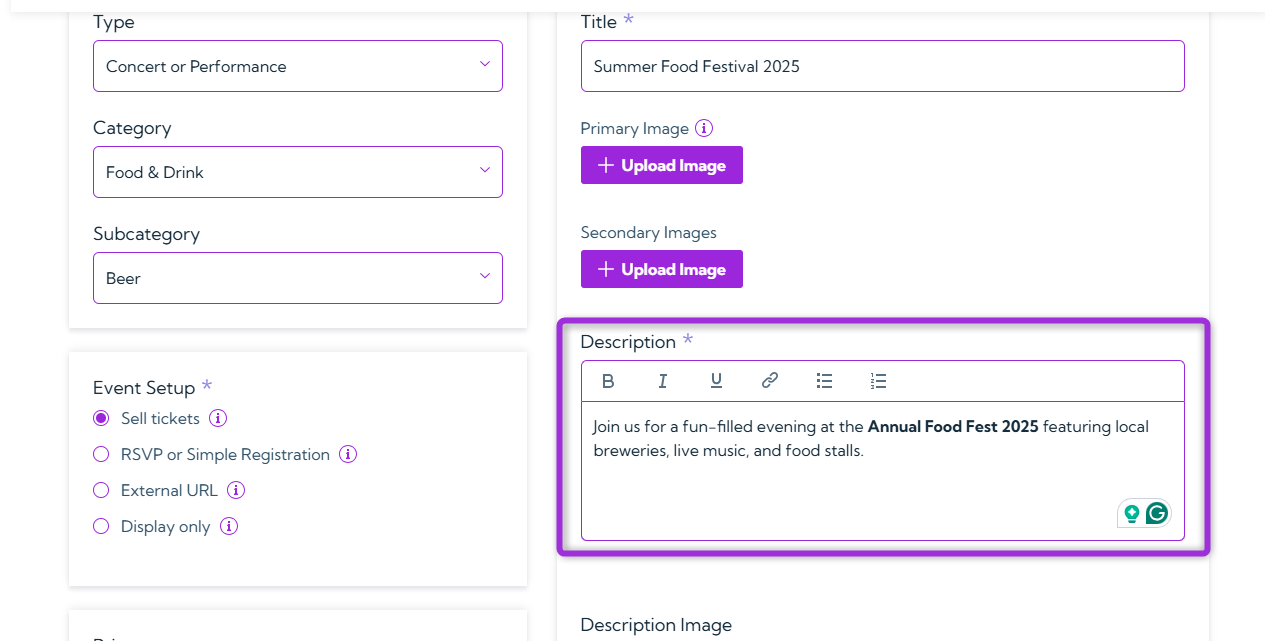
Select the event type that best describes your event. It helps attendees easily understand what kind of event you’re hosting. Example:- For a music show, select Concert or Performance.
- For a learning session, choose Class, Training, or Workshop.
Category
Based on the event type you select, Ticket Spot will show you the list of associated categories in a dropdown. Choose the category that best matches your event — this improves visibility and ensures it appears in relevant searches. Example:- Food festival → Food & Drink
- Art exhibition → Performing & Visual Arts
Subcategory
Based on the category you select, Ticket Spot will show you a list of associated subcategories in the dropdown list. Choose the subcategory that best describes your event. This helps further define your event and makes it easier for people to find in searches. Example:If your category is Food & Drink, you can select Beer, Wine, or Food depending on your event type.
Event Setup
Select from the options listed below on how you want people to register or view your event. Each option defines how attendees can interact with your event listing.Sell Tickets
Offer free or paid tickets directly through Ticket Spot using a simple checkout process.RSVP or Simple Registration
Allow guests to RSVP through a form and collect basic attendee details.External URL
Redirect attendees to an external website or hosted event page. Options:- Redirect users to a dedicated event page when they click Register.
-
Link to hosted event page:
- When ON, the event is hosted on the default page (e.g.,
https://ticketspotapp.com/e/ccg99). - When OFF, you can enter your own domain (e.g.,
https://mybrand.com/event/ccg99).

- When ON, the event is hosted on the default page (e.g.,
Display Only
Show event info without registration or checkout options. Examples:- If you’re hosting a paid concert, select Sell Tickets.
- For a free community meetup, choose RSVP or Simple Registration.
Privacy
Use this option to control the visibility of your event. When enabled, it will not appear in public listings, keeping it hidden from general attendees. Instruction: Tick the checkbox “Hide Event from Event Listing” if you want to keep the event private or temporarily hide it from the public.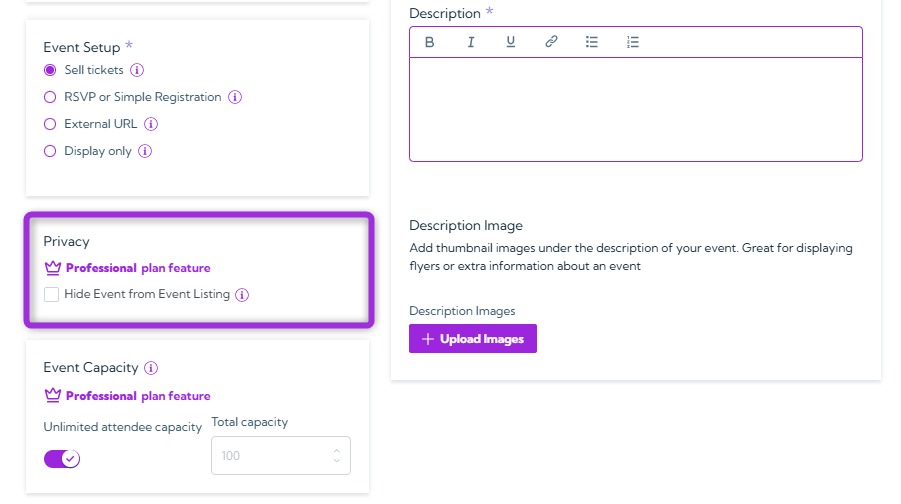
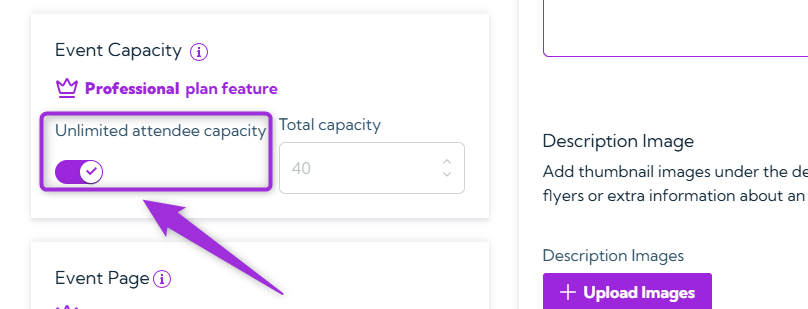
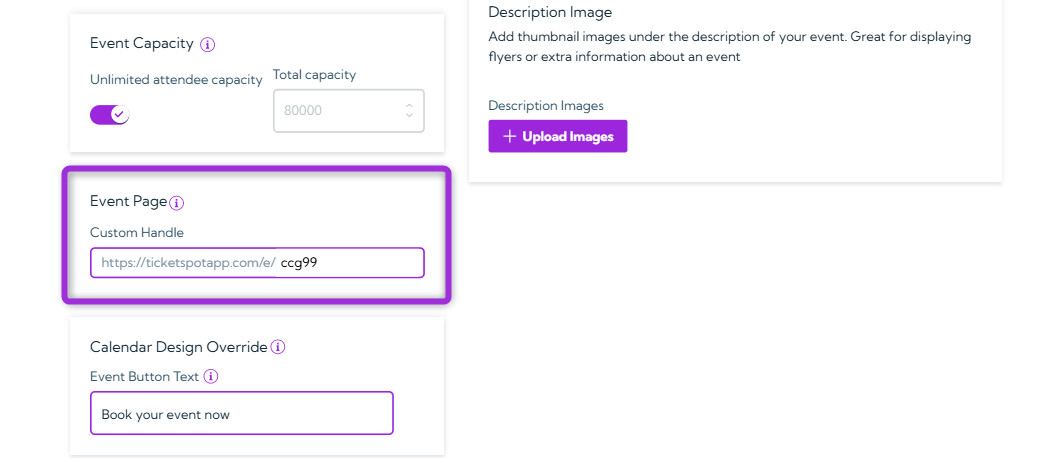
Event Capacity
Set the total number of tickets you want to sell for your event. This defines the maximum event capacity — once all tickets are sold, registrations will automatically close, preventing any extra bookings. This helps you manage crowd limits and ensures the event doesn’t exceed the planned capacity. Example: If you’re hosting an event in a mall and have space for 40 people, set the event capacity to 40 tickets. Once those 40 tickets are booked, no more registrations will be allowed. If your event is open to everyone, like a public concert or festival, simply toggle on Unlimited Capacity. This allows unlimited tickets, so anyone can join freely without any restrictions.
Tip: Enable Unlimited attendee capacity if there’s no limit on the number of attendees.
Event Page
Customize how your event page looks to attendees. You can create a short, shareable link and adjust design elements like button text or site name to match your brand. Custom Handle Set a unique URL handle for your event page to make it easy to share and remember. Your event link will appear as:[https://ticketspotapp.com/e/[your-handle]
Example: Entering ccg99 createshttps://ticketspotapp.com/e/ccg99
Note: The handle must be at least 5 characters long.
Calendar Design Override
Customize how your event appears in the Calendar View by updating the Event Button Text. This lets you create a more personalized call-to-action for individual events. Leave this field empty to use the default button text from the Design Widget tab. Example: Change Book your event now to Reserve Your Spot or Join This Session for a better fit with your event’s tone.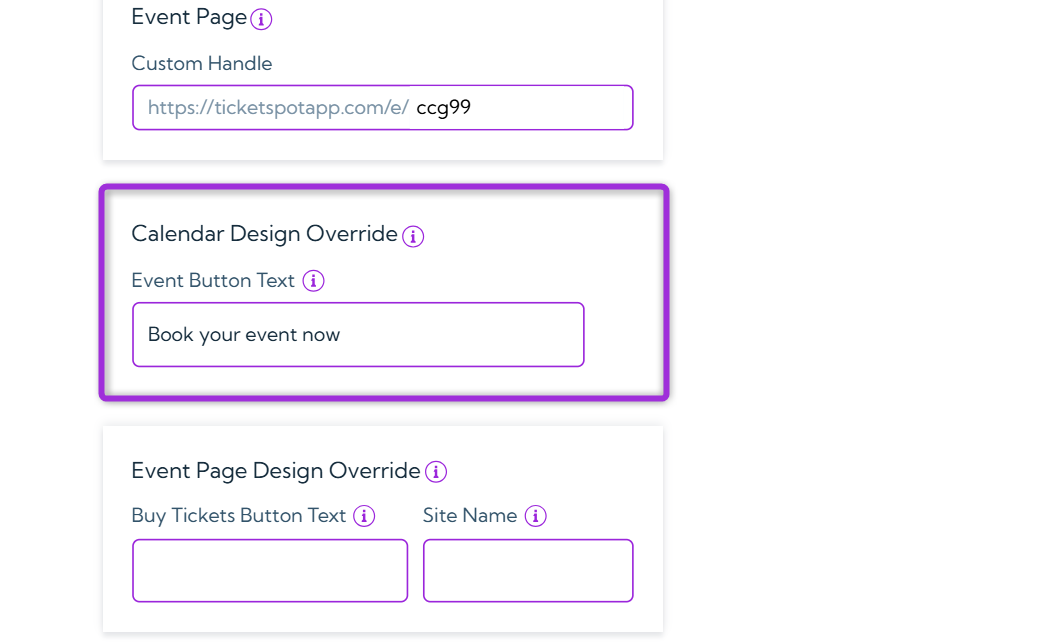
Event Page Design Override
Customize your event page appearance by updating the Buy Tickets Button Text or Site Name. You can override default settings for individual events to better match campaign-specific designs or messaging.- Buy Tickets Button Text - Change the text shown on the ticket purchase button.
- Site Name – Display your brand or website name on the event page for consistency.
Info: Leave these fields empty to use the default settings from the Design Widget tab and your site name.
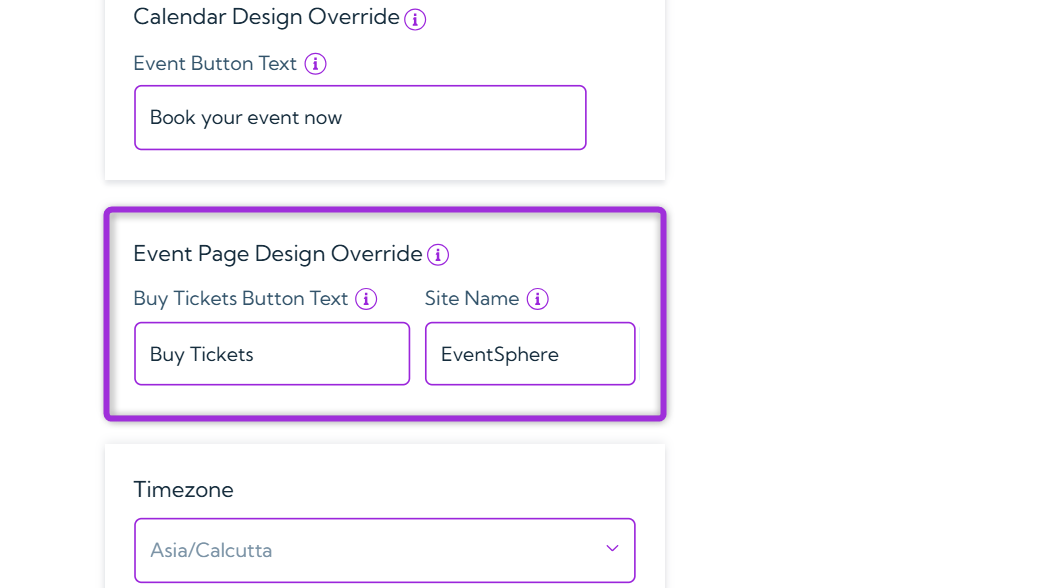
Timezone
Select the timezone where your event will take place. This ensures the event time displays correctly for all attendees. Example:If your event is happening in Los Angeles, select Pacific Time (US/Canada) so the timing reflects the local schedule of that city.
Tip: Always select the timezone of the event location, not your own — this ensures that all attendees see the correct event time.

Title
Enter a clear and descriptive name for your event. The title helps attendees quickly understand what your event is about. Examples:- Summer Food Festival 2025
- Digital Marketing Workshop for Beginners
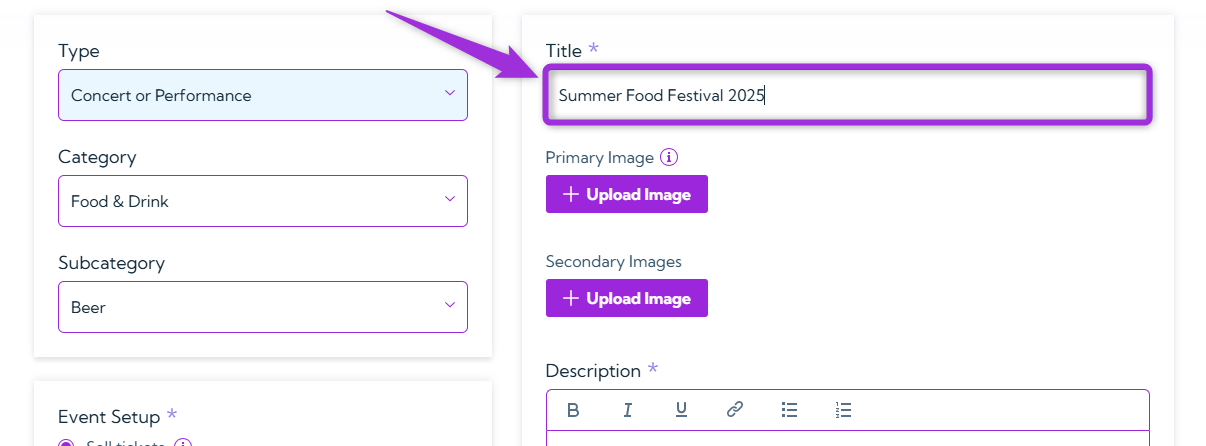
Primary Image
Upload the main image for your event. This image appears on your event listing and helps attract attendees by giving a visual preview.Note: It is recommended that the image follow a 3:2 width-to-length ratio for best display quality.Example:
Use your event’s banner, logo, or a relevant promotional image
Secondary Image
Upload additional images to showcase more details about your event. These images can include venue photos, guest speakers, schedules, or highlights from past events. Example:Add images of the event location or promotional posters to make your listing more appealing.
Description
Write a clear and engaging summary of your event. Include important details such as purpose, activities, date, and what attendees can expect. Example:Join us for a fun-filled evening at the Annual Food Fest 2025 featuring local breweries, live music, and food stalls.
Description Images
Add Thumbnail Images that appear directly below your event description. These images should visually support your event details — for example, flyers, sponsor logos, or additional visuals that highlight specific information mentioned in the description. Example:Include a flyer showing the event schedule or a sponsor banner to give attendees more context and make your listing more engaging.
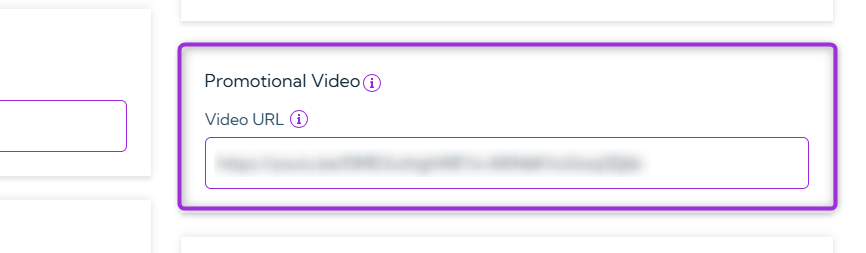
Promotional Video
Add a Promotional Video to your event page to highlight speakers, showcase past events, or provide important information to attendees. You can embed videos from YouTube or Vimeo by pasting the video link in the field provided. Video URL: Enter a valid HTTPS link from YouTube or Vimeo (e.g.,https://www.youtube.com/watch?v=...).
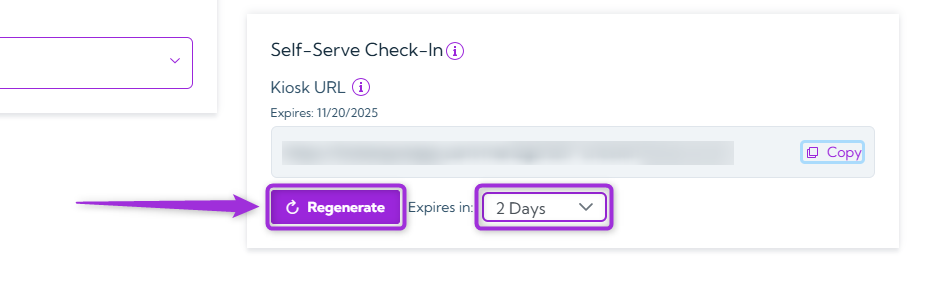
Self-Serve Check-In
Generate a dedicated kiosk URL that allows guests to check in on their own. When enabled, attendees can scan their tickets and complete check-in without staff assistance. Steps to generate a kiosk URL:- Select the kiosk link expiry duration (1–5 days) from the dropdown, then click Generate Kiosk URL to create the link.
- Copy the generated kiosk URL and share it with attendees so they can access the self-check-in screen and scan their tickets.
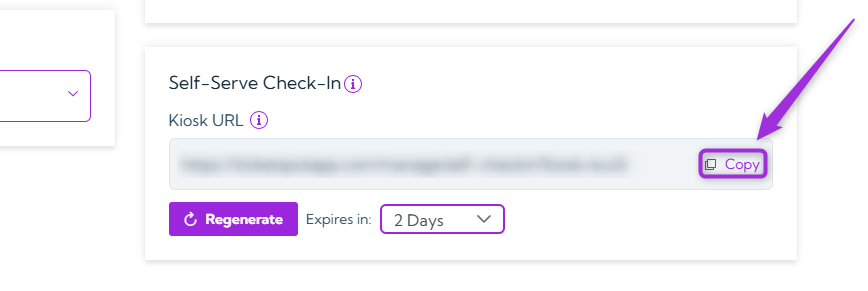
Note: You can regenerate the kiosk URL anytime. Just choose a new expiry duration and click Generate Kiosk URL to create a fresh link.