
Create a payment schedule
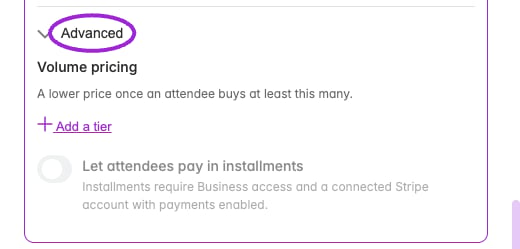
Custom date ticket → Advanced. These controls apply to this date’s own tickets; use Save changes in the date drawer to save edits.
1
Connect Stripe
Open payment settings and connect the account that will collect ticket payments. Use the Ticket Spot Stripe checkout for installment tickets.
2
Enable installments on a paid ticket
Edit the event, open Tickets, and edit a fixed-price paid ticket. Turn on Enable Installment Payments. Group, free, pay-what-you-want, and bulk-discount tickets cannot use this schedule.
3
Enter the payments
Add up to four payments. For each, enter the amount, Due After (days), and an optional description. The first payment is due at checkout: its day offset is zero. Later offsets are measured from purchase, not from the event date. The amounts must add up to the ticket price.For a 100 at checkout, 100 after 60 days. Check that these dates fit your event and admission policy.
4
Save and check checkout
Save the ticket and event. Preview the public checkout, select the ticket, and verify the deposit and future schedule. The attendee must accept the payment agreement. Check your installment email templates before taking bookings.
Due dates do not automatically charge the attendee’s card. An organizer initiates collection of later installments.
Collect a due installment
- Open the event’s Attendees list.
- In the ticket value column, click Paid X of Y to open Payment Installments.
- Review the card, paid amount, remaining balance, due date, and payment status.
- Click Charge Now on the due installment and review Confirm Charge before confirming.
- Reopen the record after processing and verify the payment is marked paid and the remaining balance has decreased.